
Perfect For Summer

Sink Your Teeth into Delicious Easy Chicken Birria Sliders
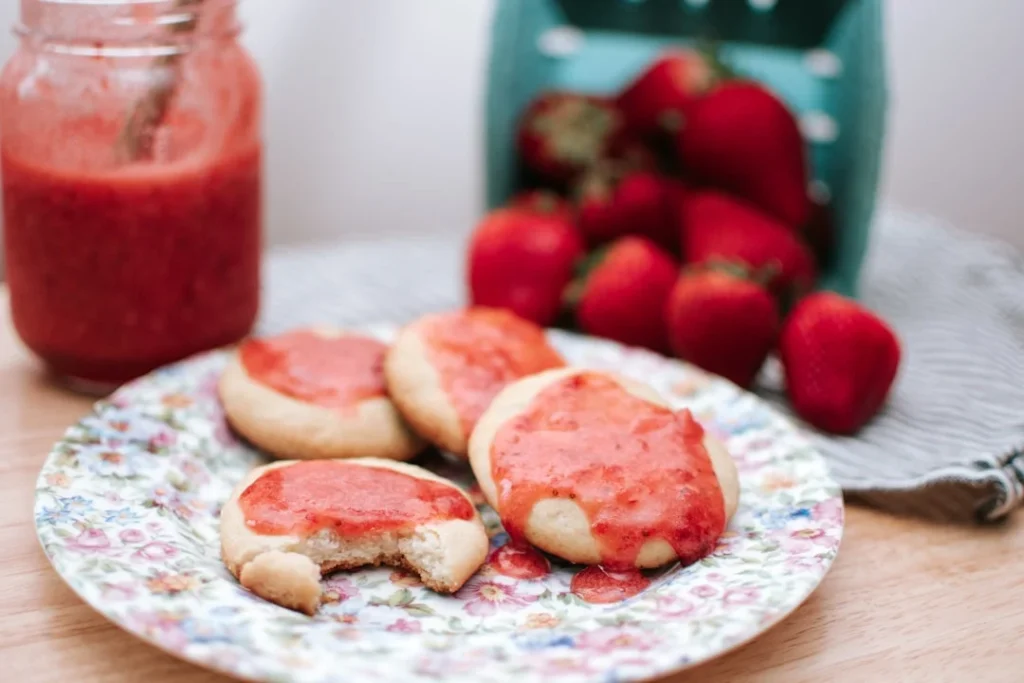
Bake Irresistible Strawberry Cheesecake Cookies Now
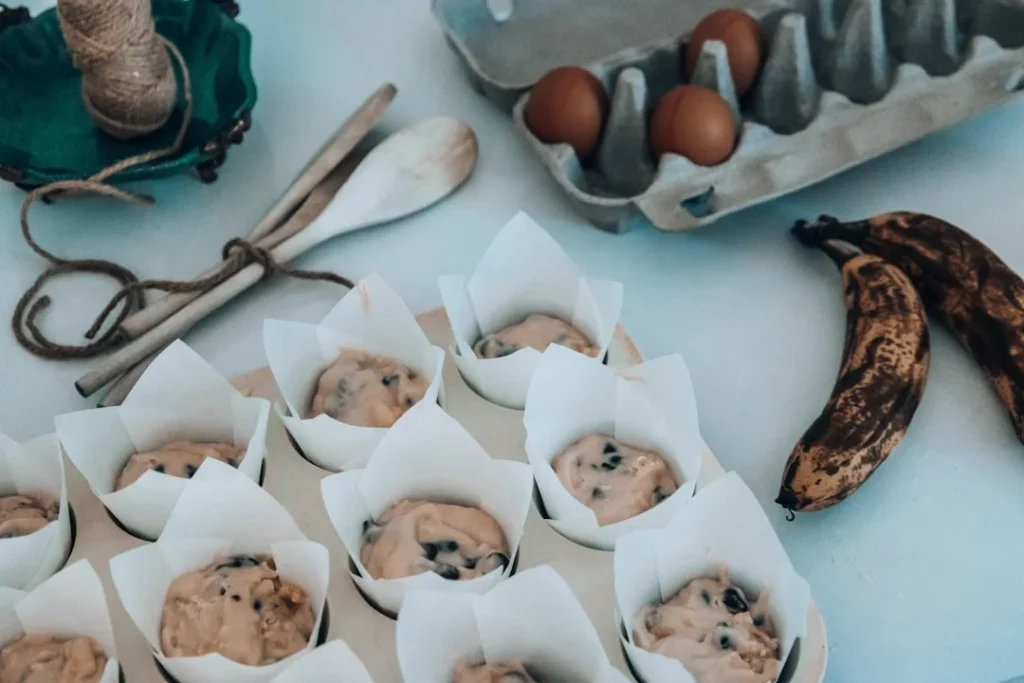
Unlock the Secret to Best Banana Chocolate Chip Muffins

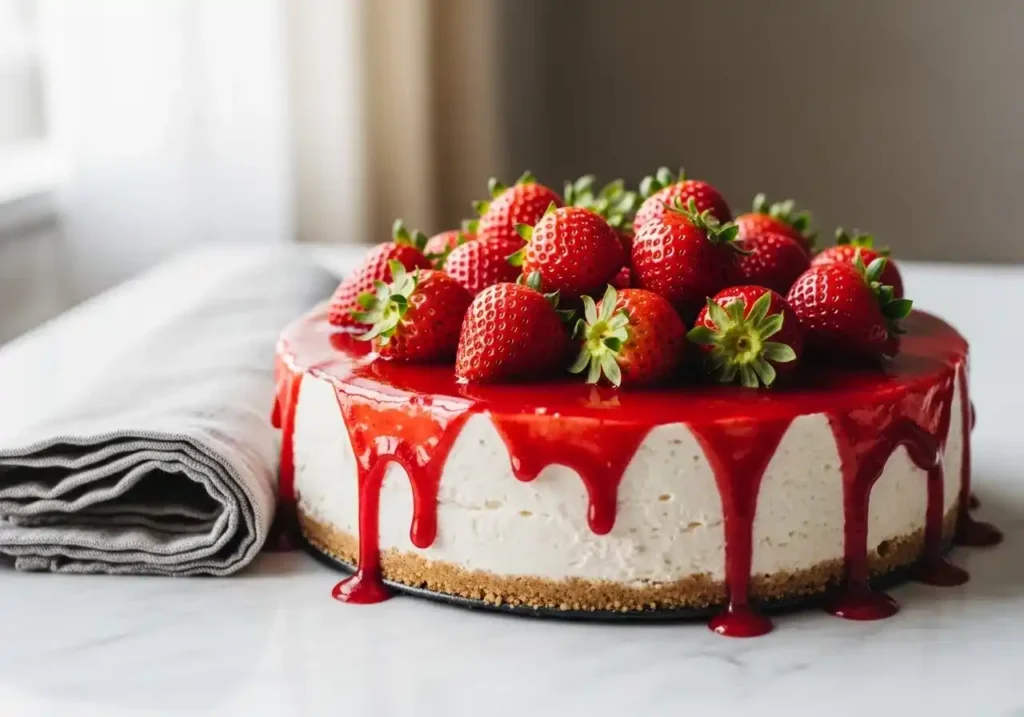
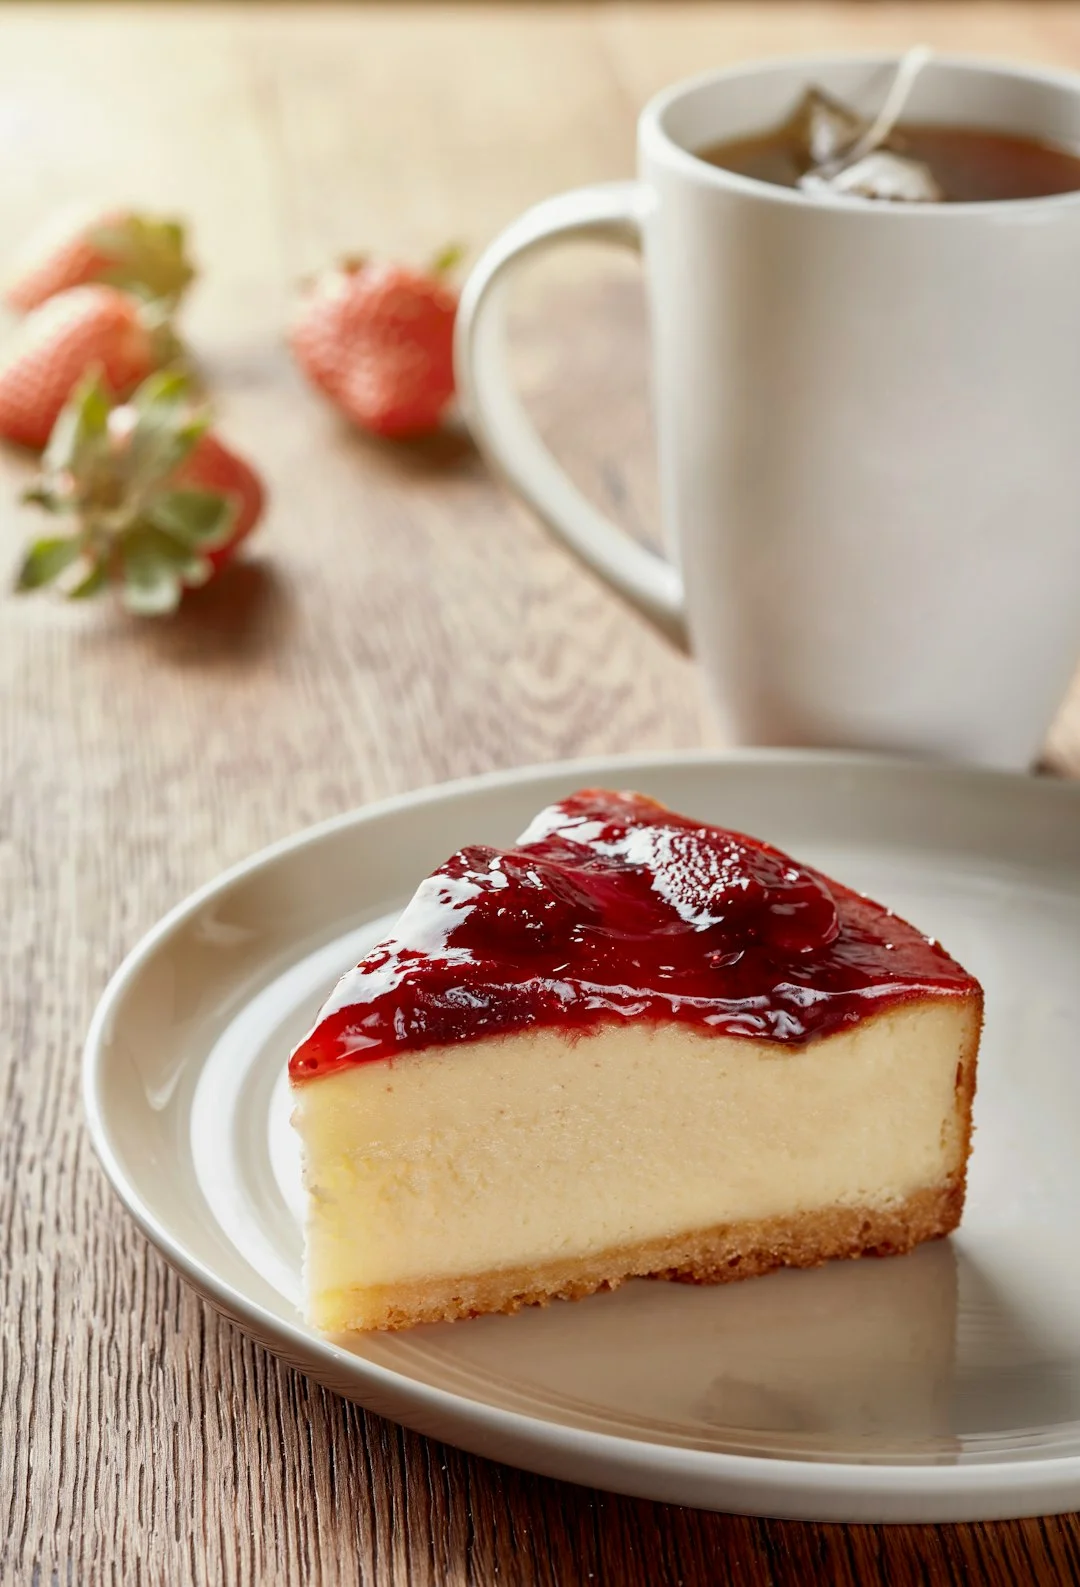
Uncover the Secrets to the Best Strawberry Cheesecake Ever
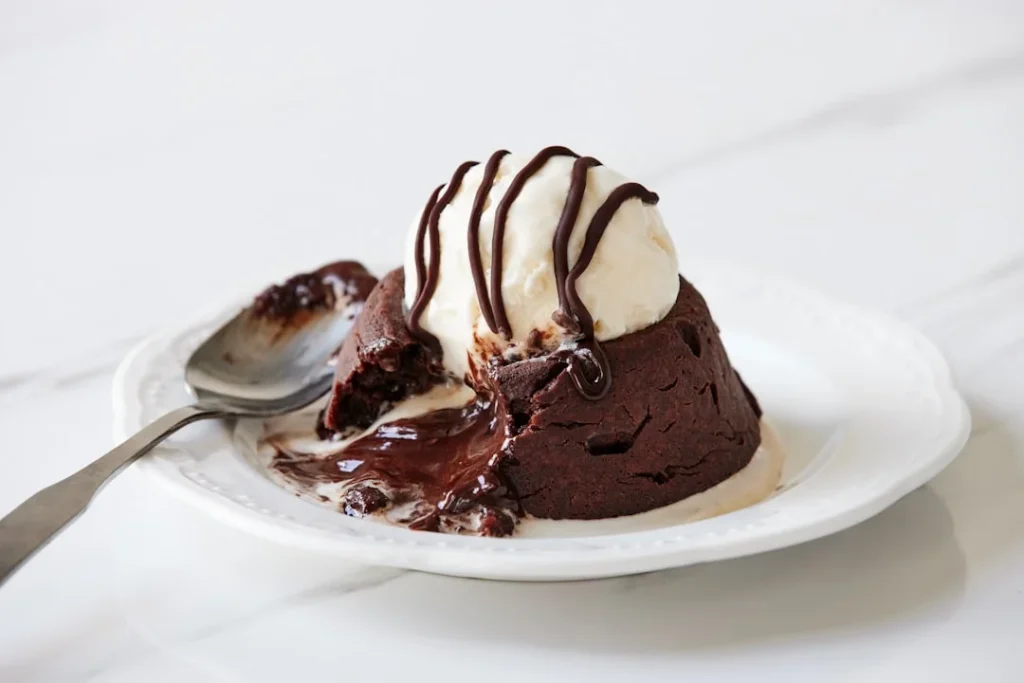
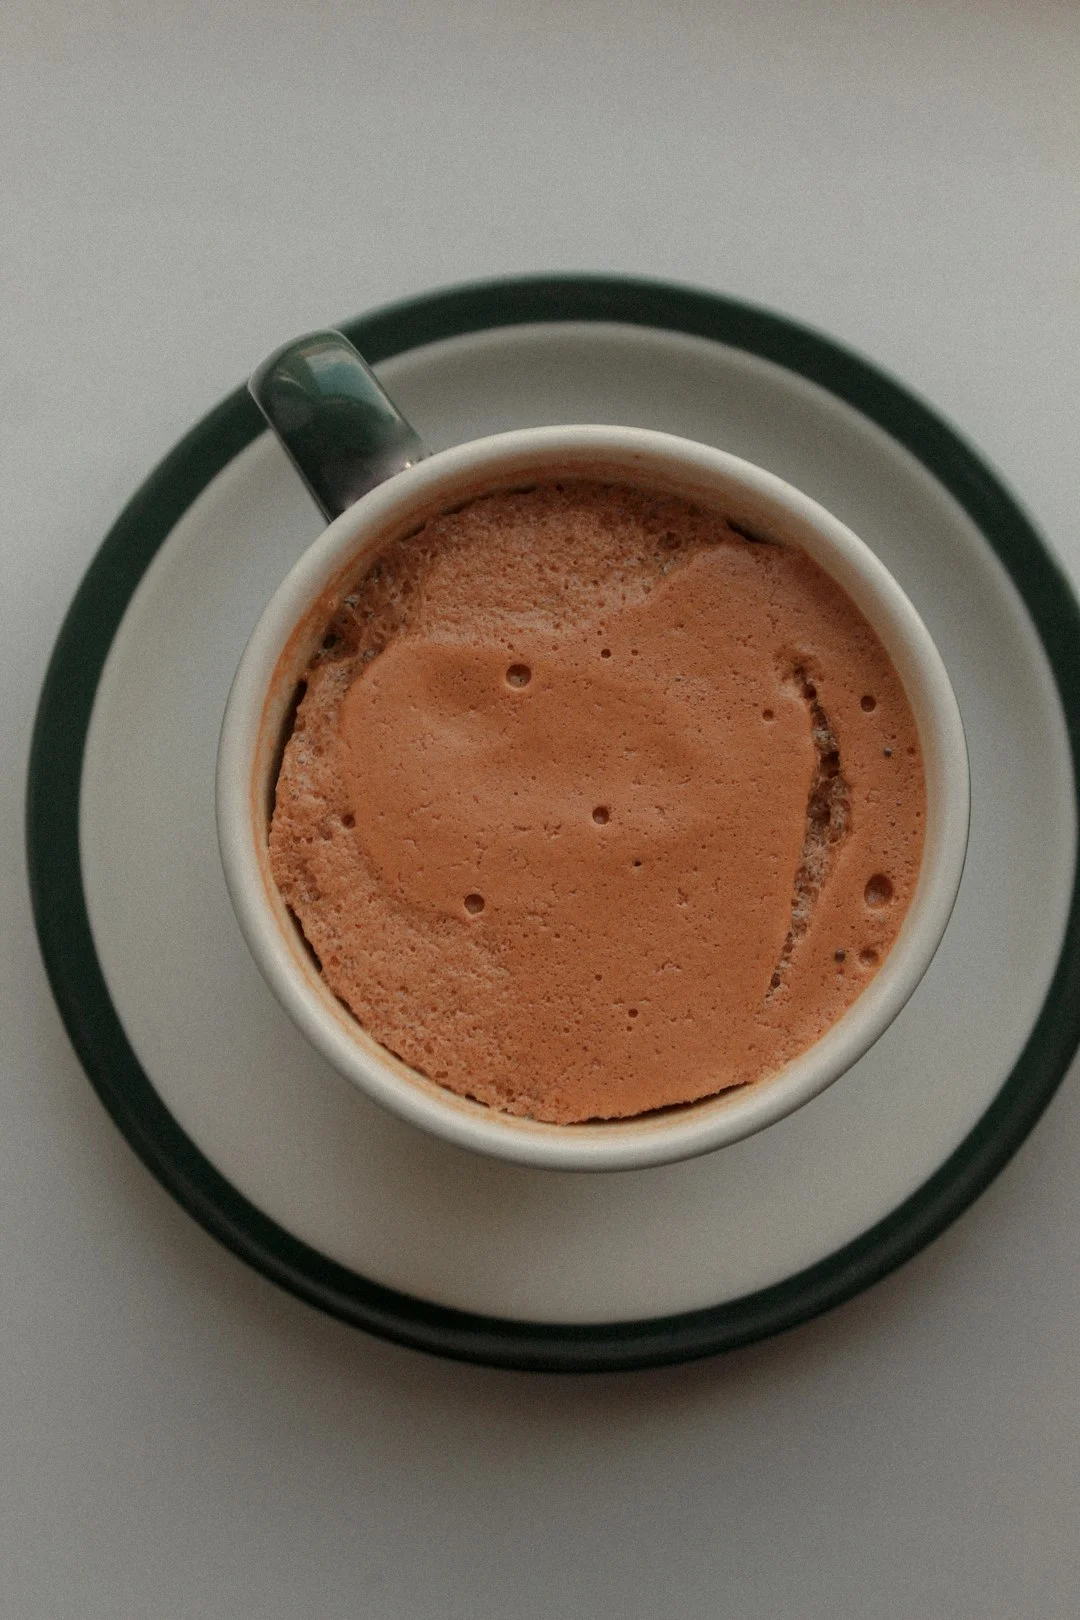
Indulge in a Rich Molten Lava Chocolate Mug Cake
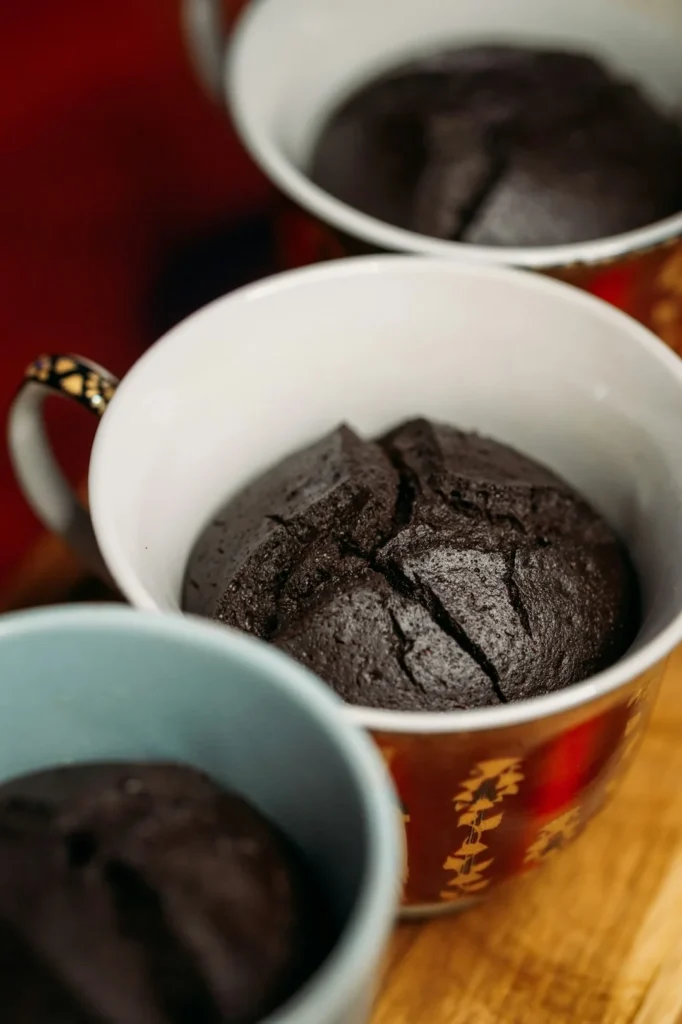
Make a Viral Chocolate Mug Cake in Just 5 Minutes
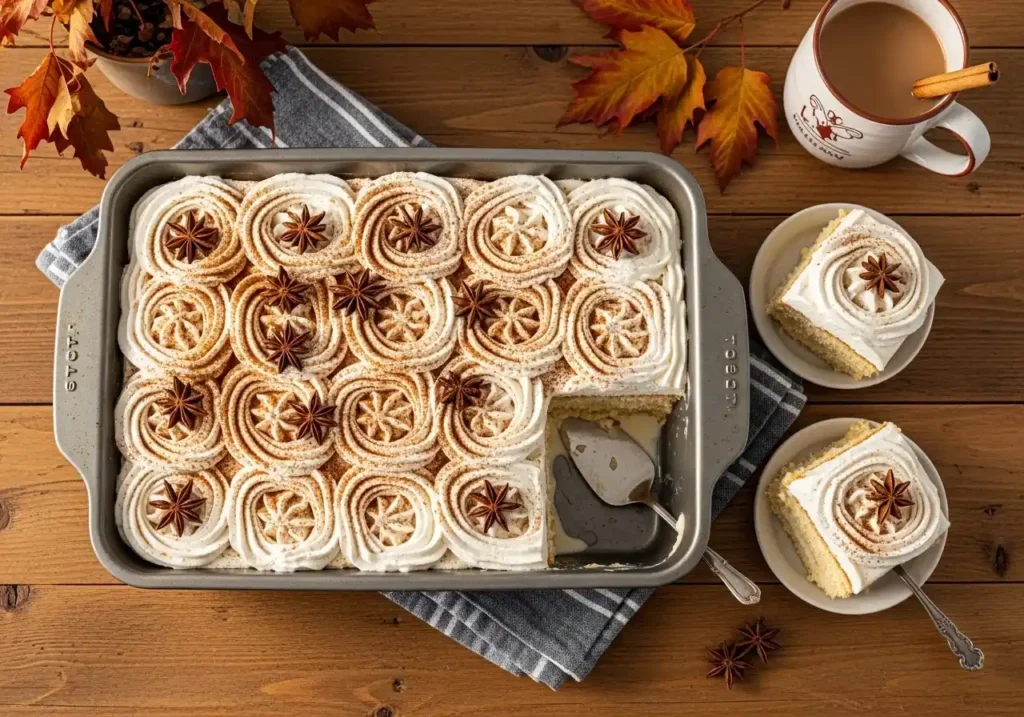
No Bake Chai Tres Leches Cake
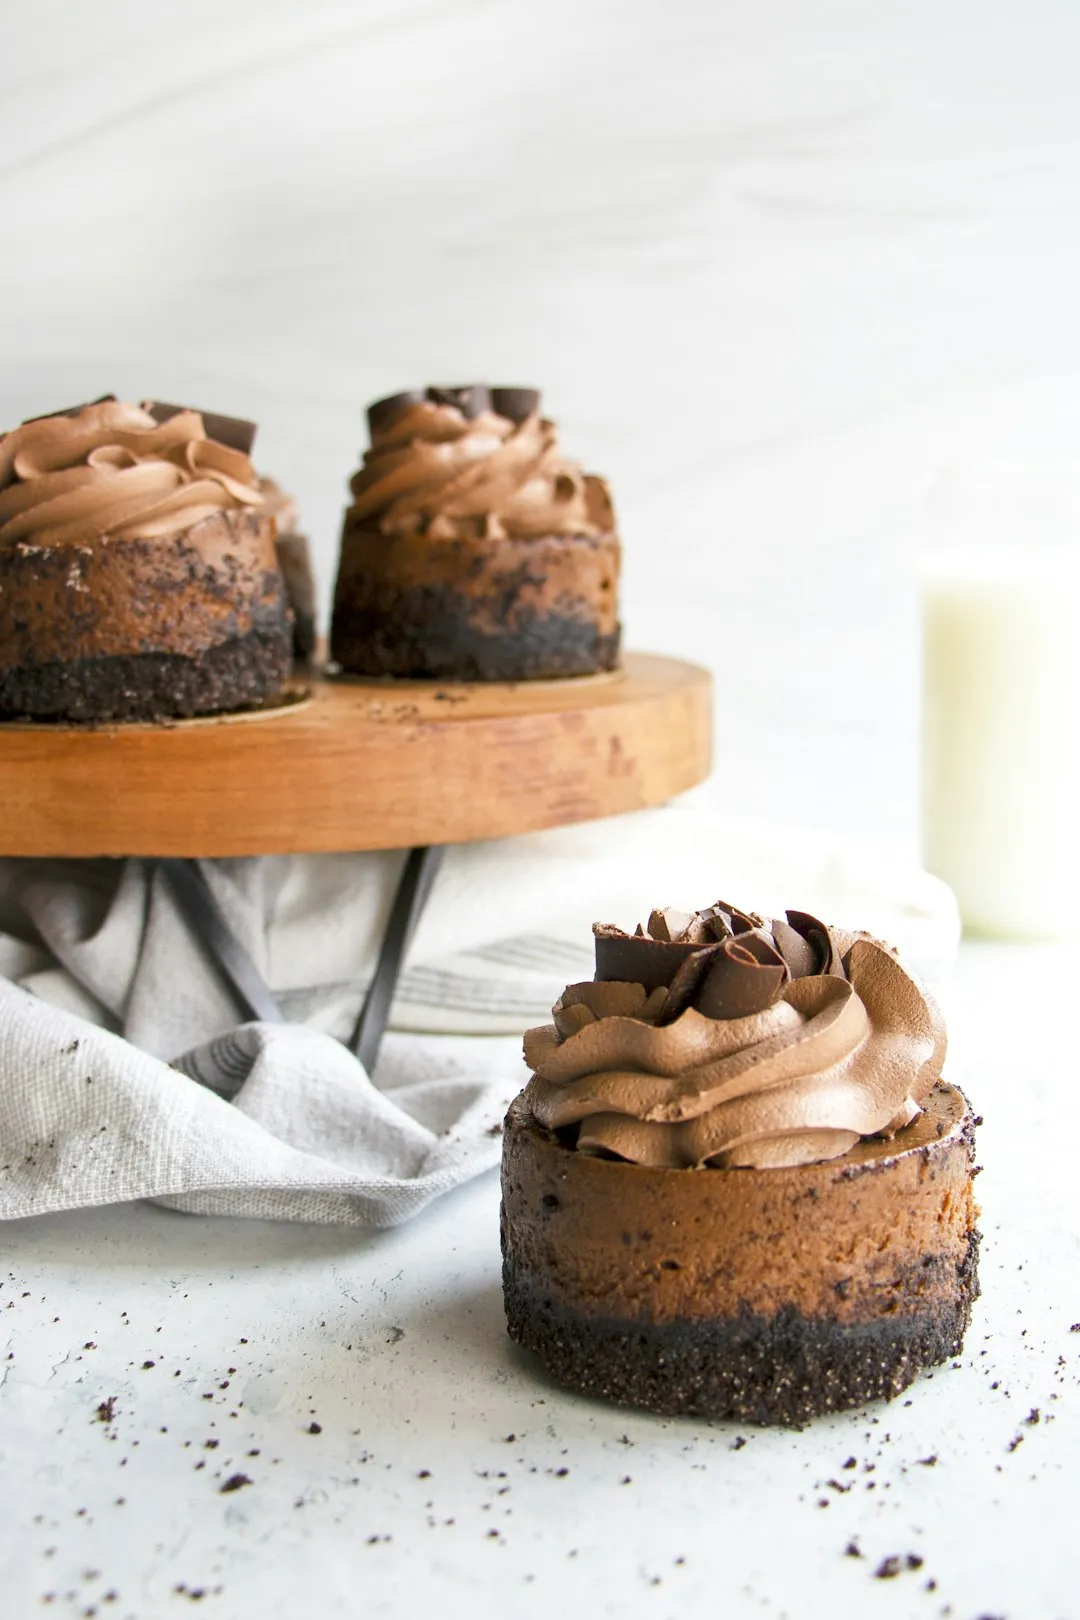
Best No Bake Cheesecake Recipe

Oreo Mug Cake: Ready in 2 Minutes
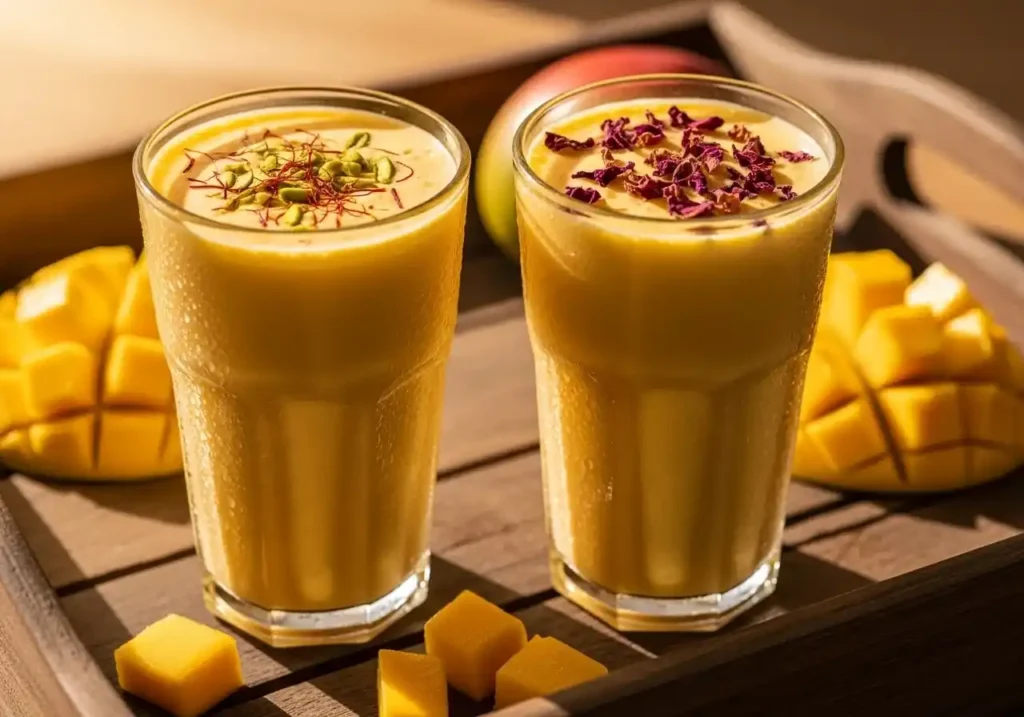
Mango Lassi: Thick, Creamy & Ready in 5 Minutes
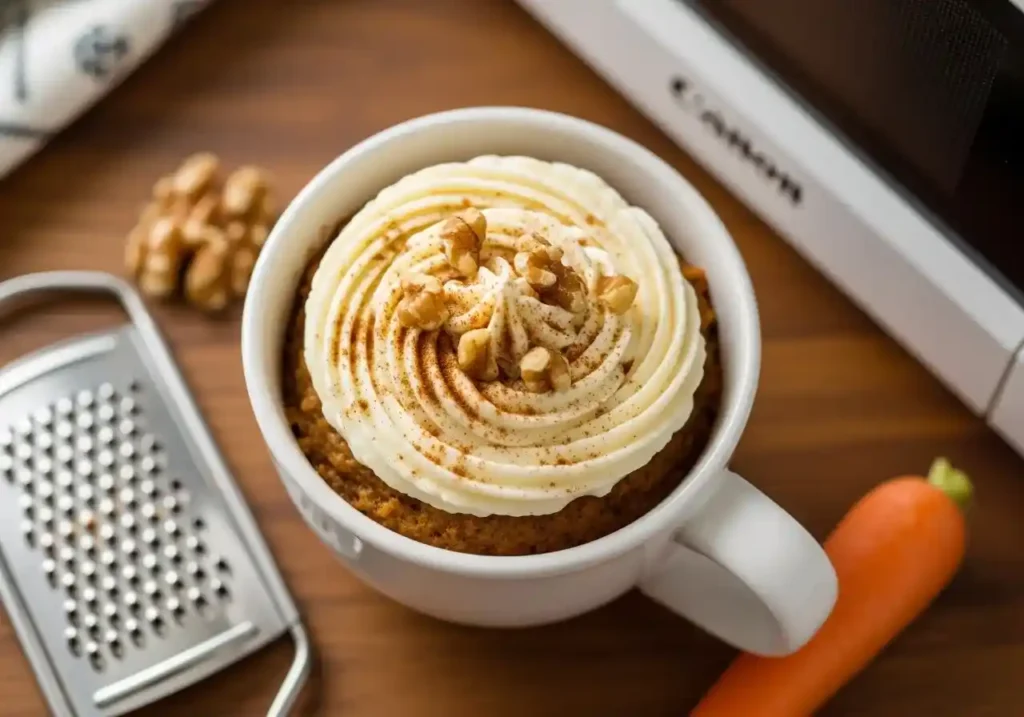
Carrot Mug Cake: Quick, Moist & Ready in 5 Minutes
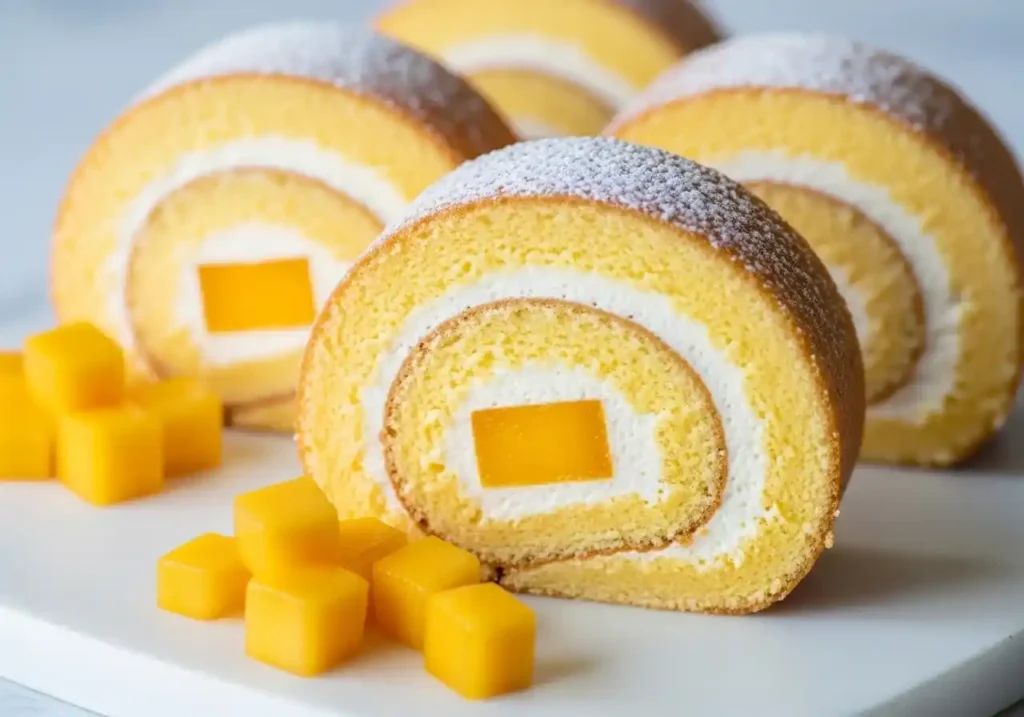
Mango Chantilly Swiss Roll – Light, Fruity & Elegant
Browse By Catagory
Baked Desserts
Brownies and Cookies
Cakes
Cheese Cake
Comfort Food
Crumble Style Cookies
Fall Recipes
Mug Cakes
No Bake Desserts
Pakistani

Savory Breads
Small Serve Desserts

Spring Recipes

Summer Recipes
Sweet Breads
Winter Recipes
Welcome to Bake With Zoya
Bake With Zoya is your go-to spot for easy, homemade baking and dessert recipes — from rich chocolate cakes to simple no-bake treats. Every recipe is written with clear, simple steps so you can bake with confidence, whether it’s your first cake or your fiftieth. Browse by category below, or check out what’s new on the blog.
New On The Blog

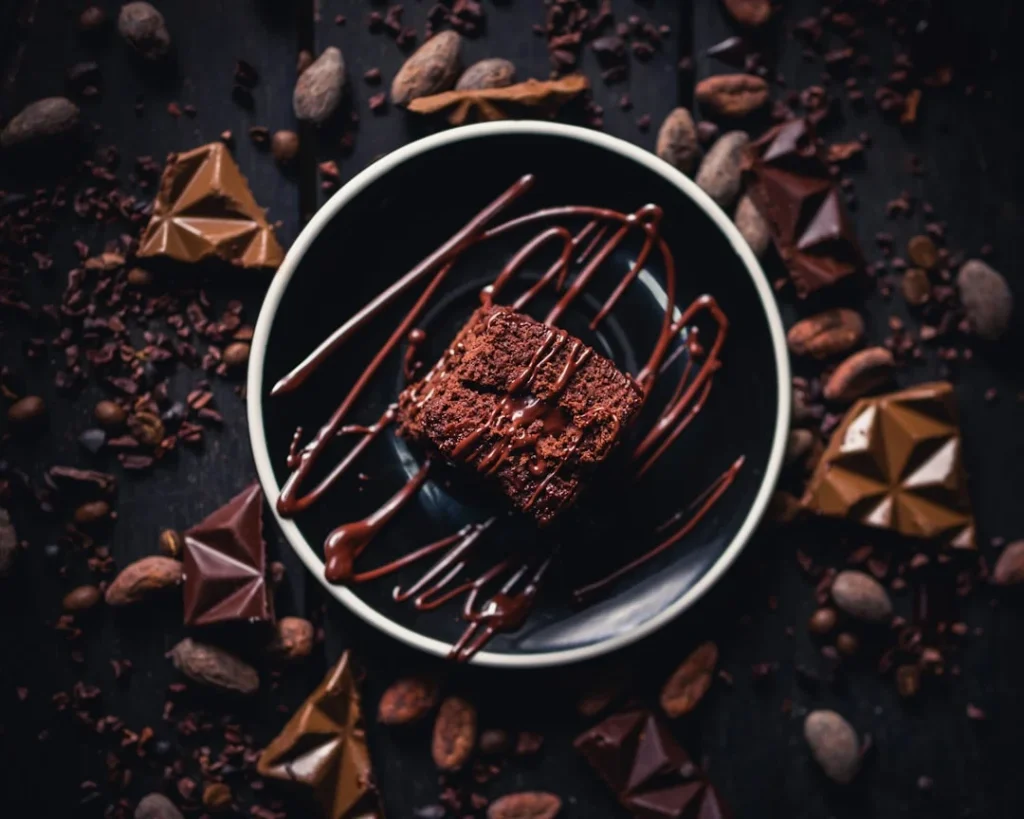
Indulge in a Rich Single-Serve Fudgy Brownie
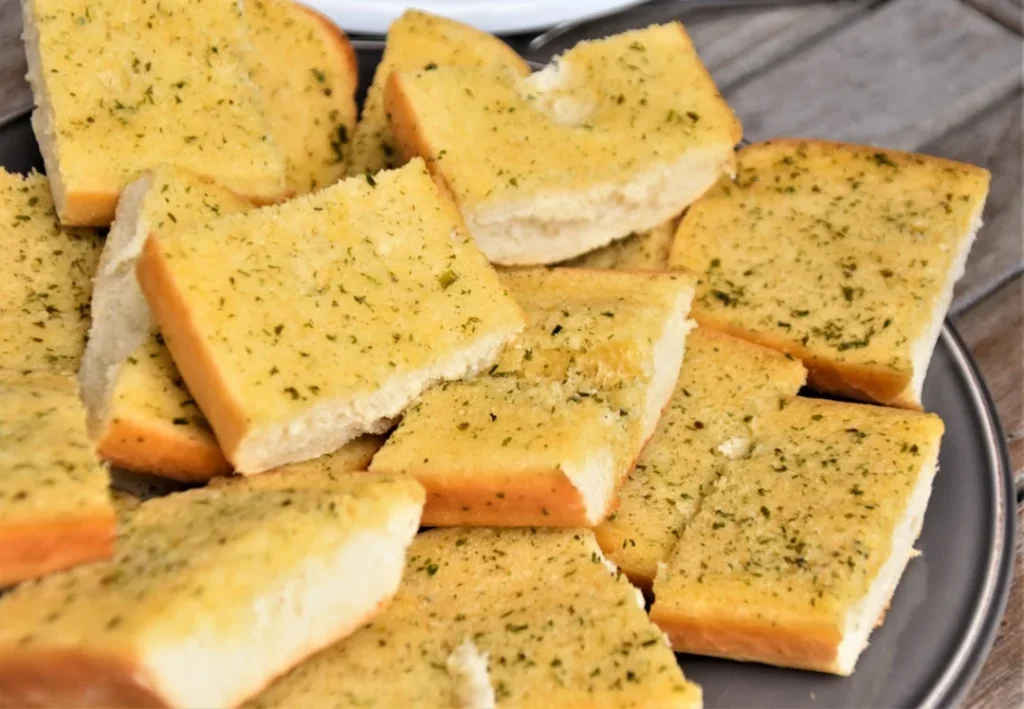
Easy Garlic Butter Dinner Rolls Recipe
Indulge in Rich Single Serve Hot Fudge Chocolate Cake
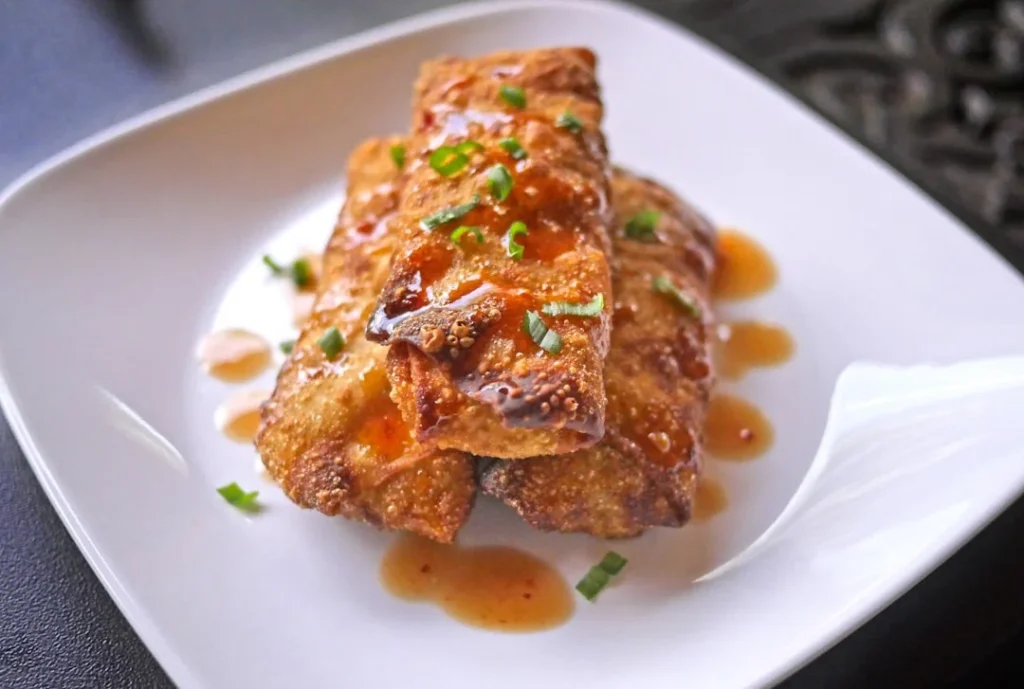
Crispy Fried Lasagna Rolls Recipe: Irresistible Italian Delight
Make Irresistible Papparoti Coffee Buns at Home
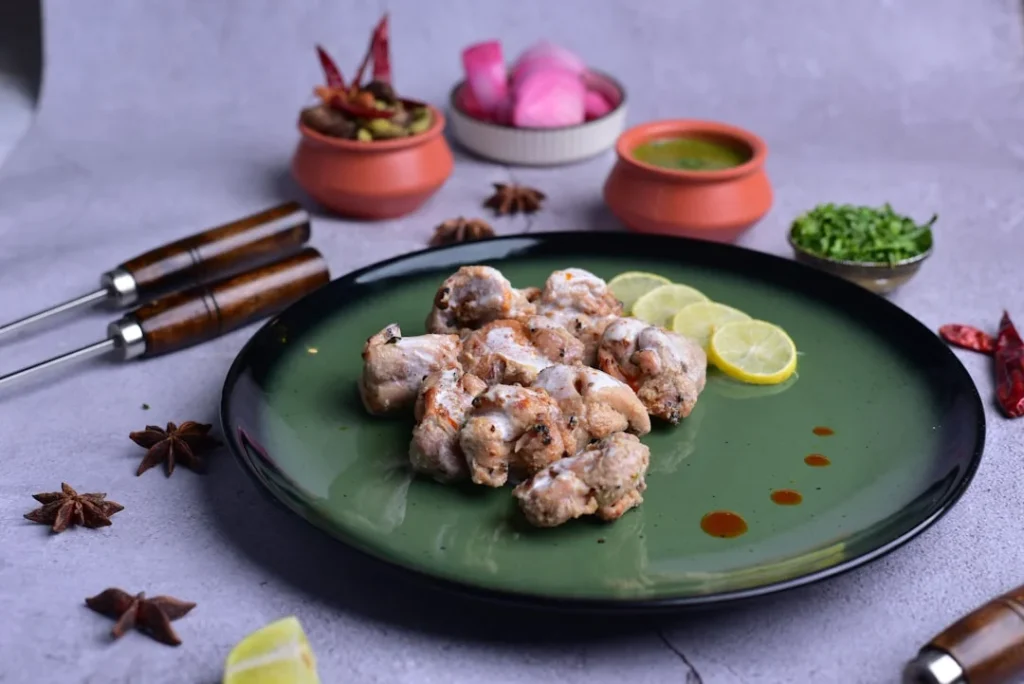
Crispy Chicken Tikka Paratha Rolls Recipe Revealed

Easy Homemade Pakora Mix Recipe Revealed
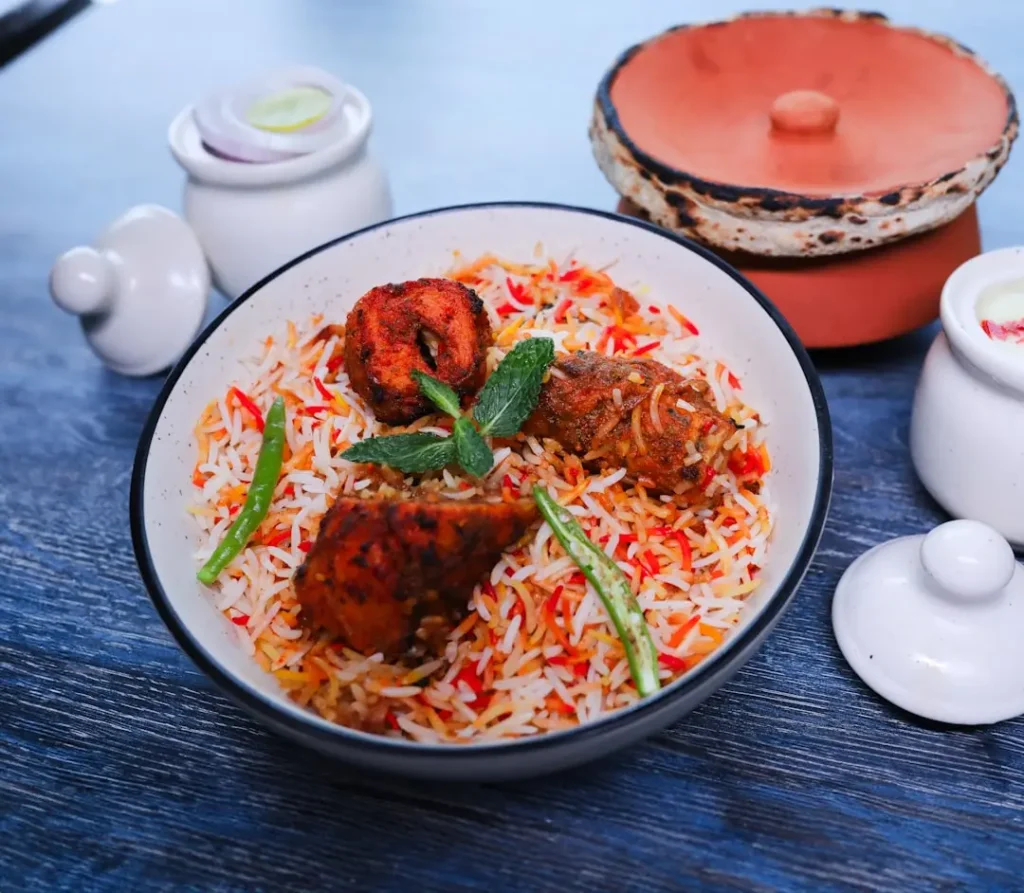
Unlock the Secret to the Best Chicken Biryani

Irresistible No Bake Mango Cheesecake Cups
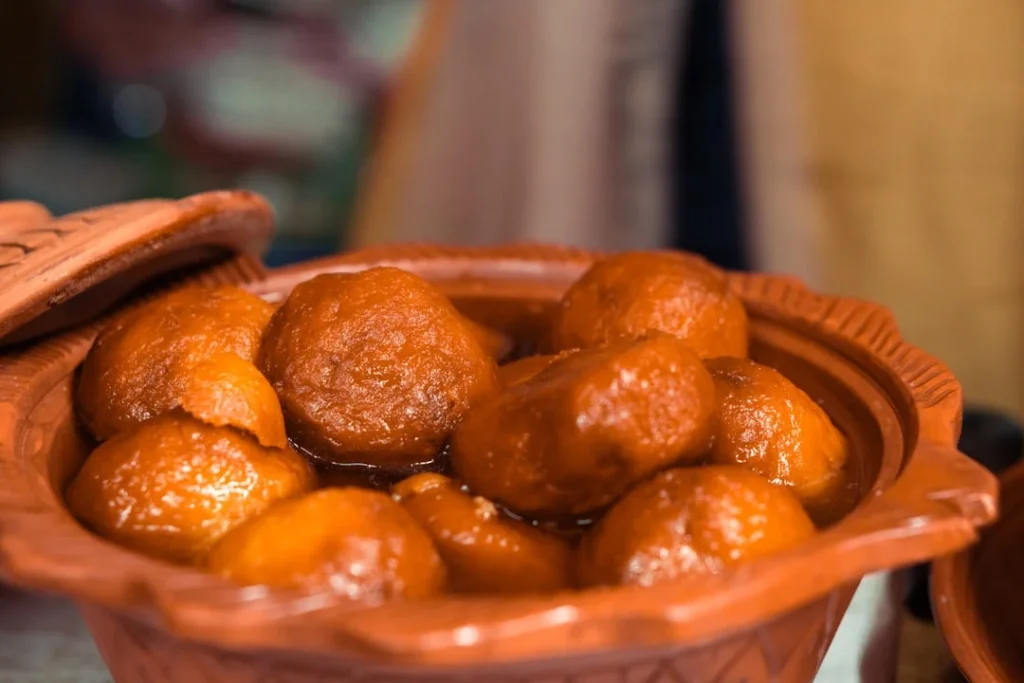
Easy Bread Gulab Jamun Recipe: 30 Minutes to Sweet Bliss
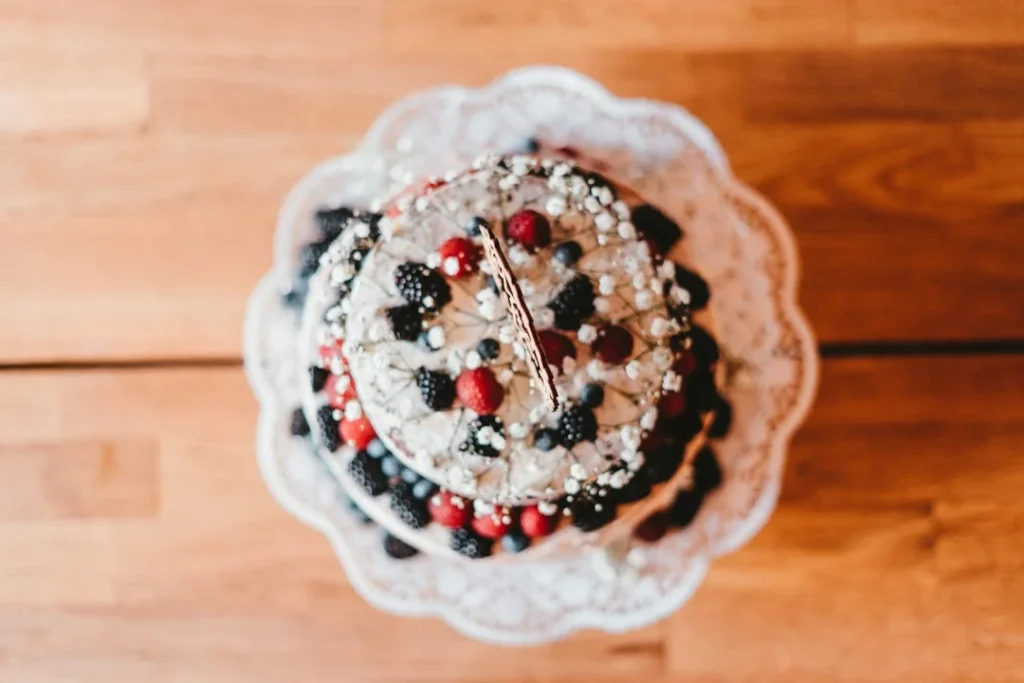
Berry Chantilly Cake: A Delicious Dessert to Impress
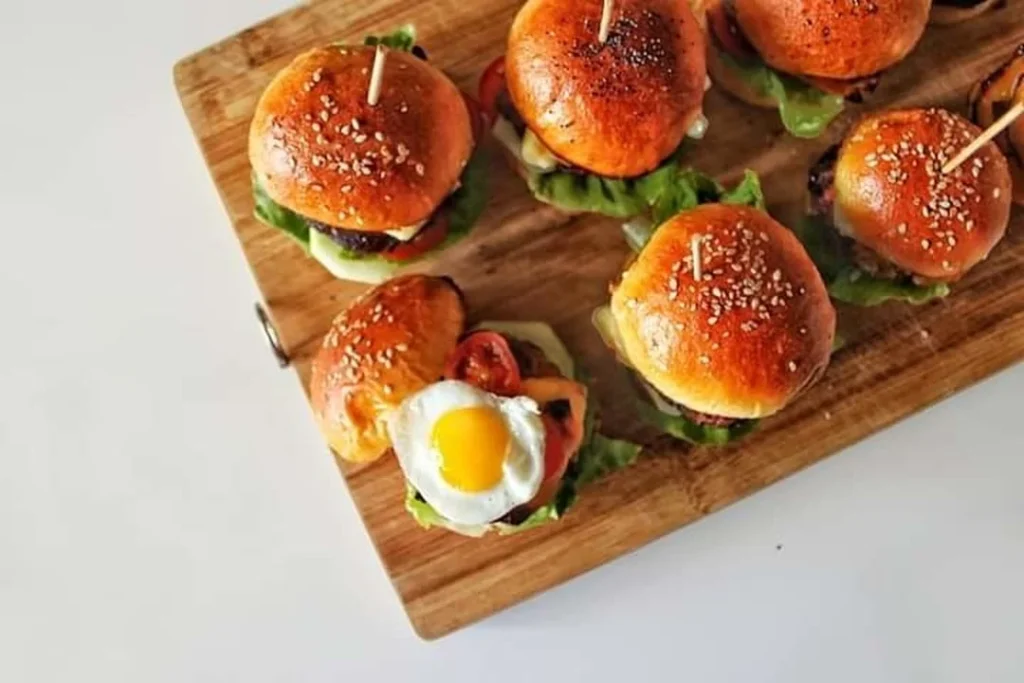
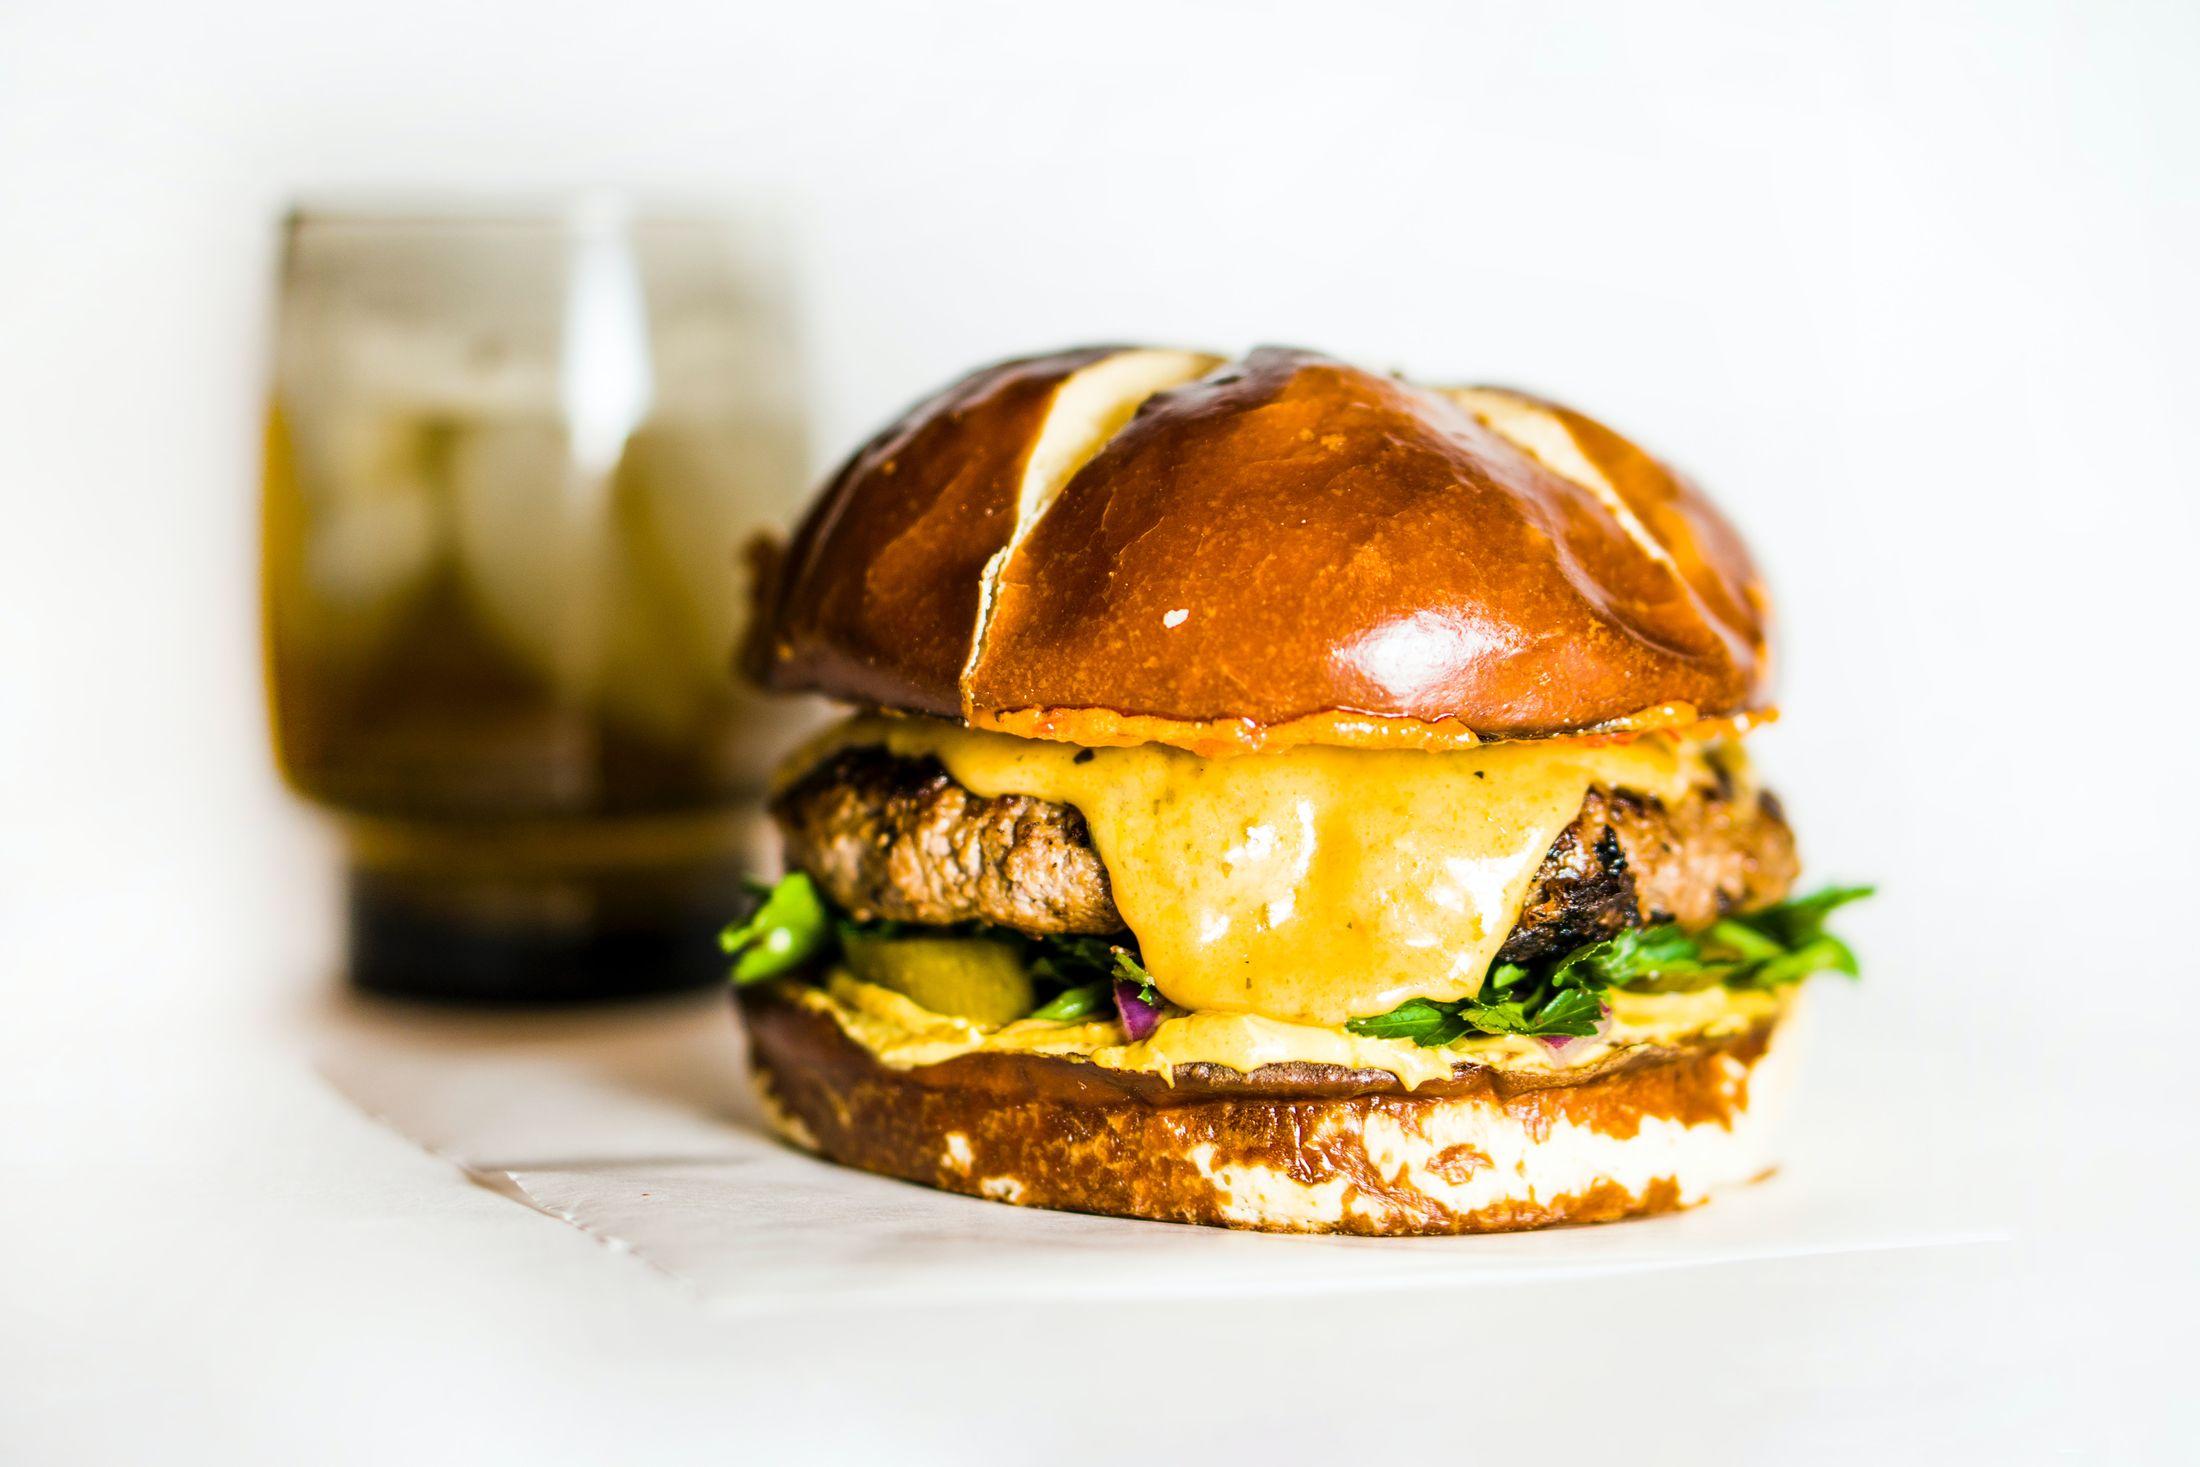
Unlock the Best Nashville Hot Chicken Sliders Recipe