Best Authentic Basque Cheesecake Recipe: The Burnt Cake
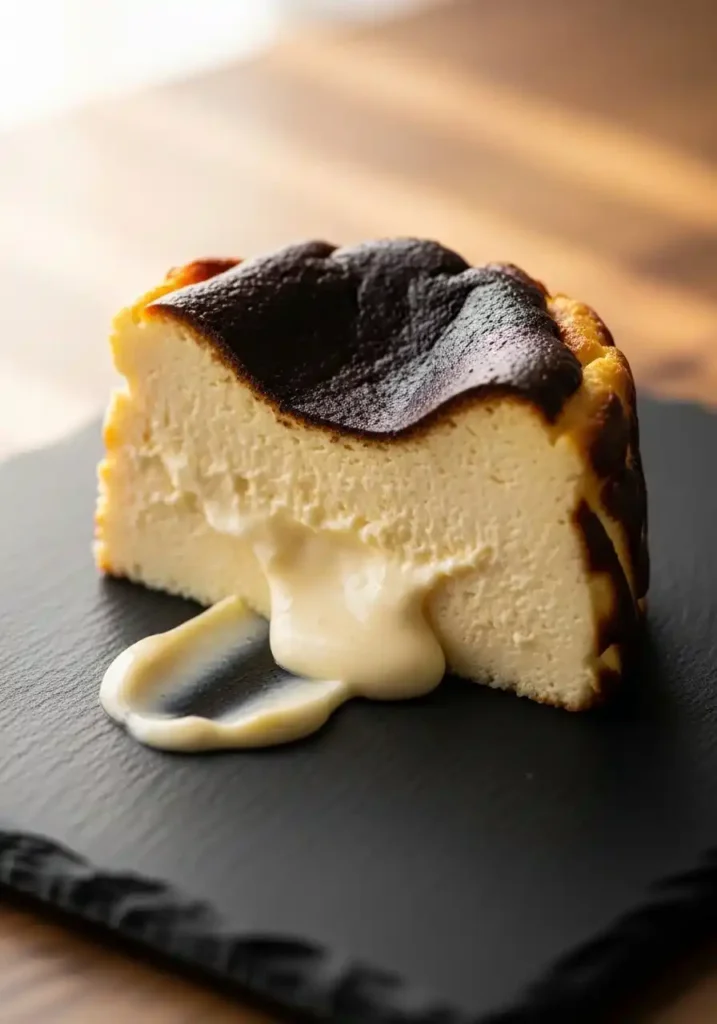
In the world of fine desserts, few things are as visually striking or as deliciously paradoxical as the basque cheesecake. Originally hailing from La Viña, a small bar in San Sebastián, Spain, this dessert has taken the global culinary scene by storm. Unlike its more formal cousins—the dense, pressed-crust New York style or the ethereal, jiggly Japanese version—the version from the Basque country is celebrated for its intentional imperfections. It is a crustless, ‘burnt’ cake that defies the traditional rules of basque cheesecake baking. Its top is scorched to a deep, dark brown, almost black, while its interior remains incredibly creamy, soft, and nearly molten in the very center. This juxtaposition of a bitter, caramelized exterior and a sweet, silky heart is exactly what makes it so extraordinary.
Making this dessert is a lesson in simplicity and patience. It requires no special equipment, no finicky water baths, and only a handful of everyday ingredients. However, the magic lies in the high-heat baking process that creates those complex toasted flavors. In this comprehensive guide, we will walk you through every step—from the selection of the right cream cheese to the crucial cooling phase—ensuring you achieve that signature rustic look and velvety texture in your own kitchen.
The Origin and Global Appeal
The basque cheesecake was born in the 1990s at La Viña, where owner Santiago Rivera sought to create a dessert that was both fast to prepare and high in quality. The result was a radical departure from the norm. By omitting the crust and increasing the temperature of the oven, he achieved a level of caramelization that was previously unheard of in cheese-based desserts. What started as a local secret in the Basque region soon spread through social media and specialty bakeries to every corner of the globe, from Tokyo to New York. The appeal is twofold: it is indisputably one of the most ‘Instagrammable’ cakes due to its dark, crinkled surface, and it is remarkably easy for home bakers to replicate with professional results.
This global phenomenon has led to numerous interpretations, yet the authentic version remains the benchmark. It is a dessert that celebrates the beauty of the bake itself, where the oven does most of the heavy lifting. Whether you are a seasoned pastry chef or a beginner looking to impress, this cake offers a high reward for minimal technical effort. Its rise in popularity is a testament to the idea that sometimes, letting go of perfectionism in the kitchen leads to the most perfect results imaginable.
What You Will Need
To achieve the perfect texture and flavor, the quality of your ingredients is paramount. Because there are so few components, each one must be of the highest standard. Ensure your cream cheese and eggs are at room temperature before you begin; this is the single most important factor in achieving a smooth, lump-free batter. Using a full-fat cream cheese is non-negotiable for that legendary richness.

Core Ingredients (for a 9-inch cake):
| Ingredient | Quantity | Notes |
| Full-fat cream cheese | 2 lbs (900 g) | Softened to room temperature |
| Granulated sugar | 1 1/2 cups (300 g) | |
| Large eggs | 6 | Room temperature |
| Heavy cream | 2 cups (480 ml) | 35% fat minimum |
| All-purpose flour | 1/3 cup (45 g) | Sifted |
| Vanilla extract | 1 tsp | Optional, for depth |
| Salt | 1/2 tsp | Enhances the cheese flavor |
Equipment and Setup:
| Ingredient | Quantity | Notes |
| 9-inch springform pan | — | Lines with parchment paper |
| Parchment paper | 2 large sheets | To create the rustic overhang |
| Large mixing bowl | — | For hand or electric mixing |
| Sieve | — | For sifting the flour |
| Wire cooling rack | — | Essential for air circulation |
Step-by-Step Guide to Bake Basque Cheesecake
Step 1 – Preparation and Lining
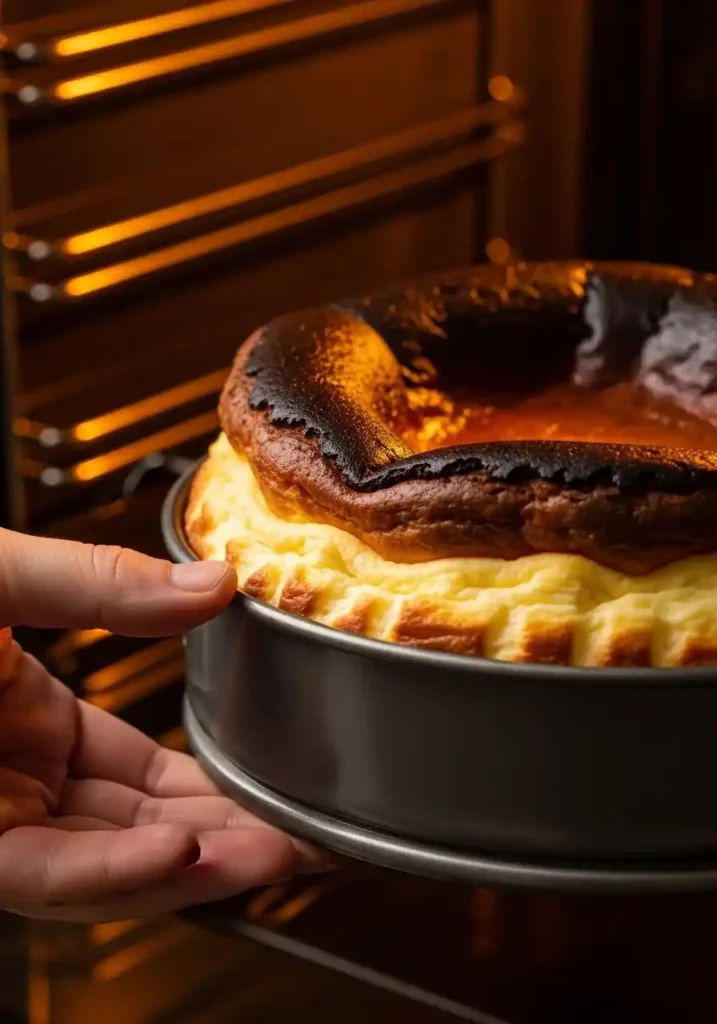
Preheat your oven to a high temperature—usually around 200 C to 210 C (400 F to 425 F). This is significantly higher than a traditional basque cheesecake oven temperature. Grease your 9-inch springform pan and line it with two large sheets of parchment paper, crossing them so that at least 2 inches of paper overhang the top of the pan all the way around. Do not worry about the paper being neat; those rustic folds and creases give the cake its characteristic jagged sides. This setup is crucial because the cake will rise significantly like a souffle during baking.
Step 2 – Creating the Batter
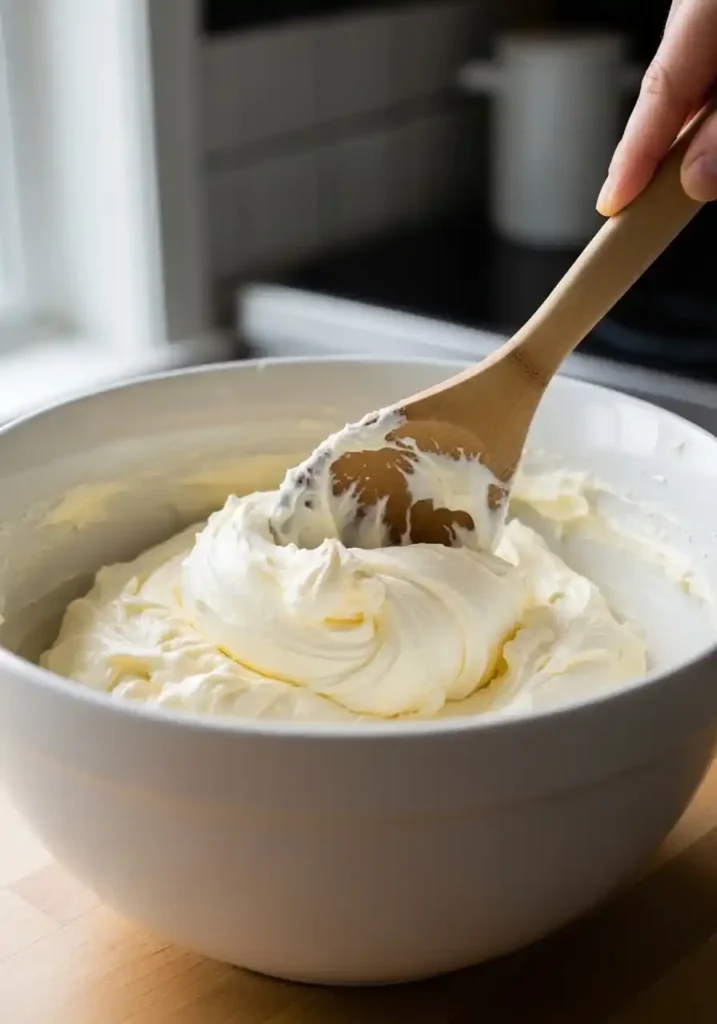
In your large mixing bowl, beat the softened cream cheese with the sugar until the mixture is completely smooth and the sugar has dissolved. If using an electric mixer, keep it on low to avoid incorporating too much air, which can cause cracking. Add the eggs one at a time, beating just until combined after each addition. Mix in the heavy cream and vanilla. Finally, sift in the flour and salt, and stir gently with a spatula until no streaks of white remain. The final batter should be thin, glossy, and pourable. Pour it into the prepared pan and tap the pan firmly on the counter twice to release any large air bubbles.
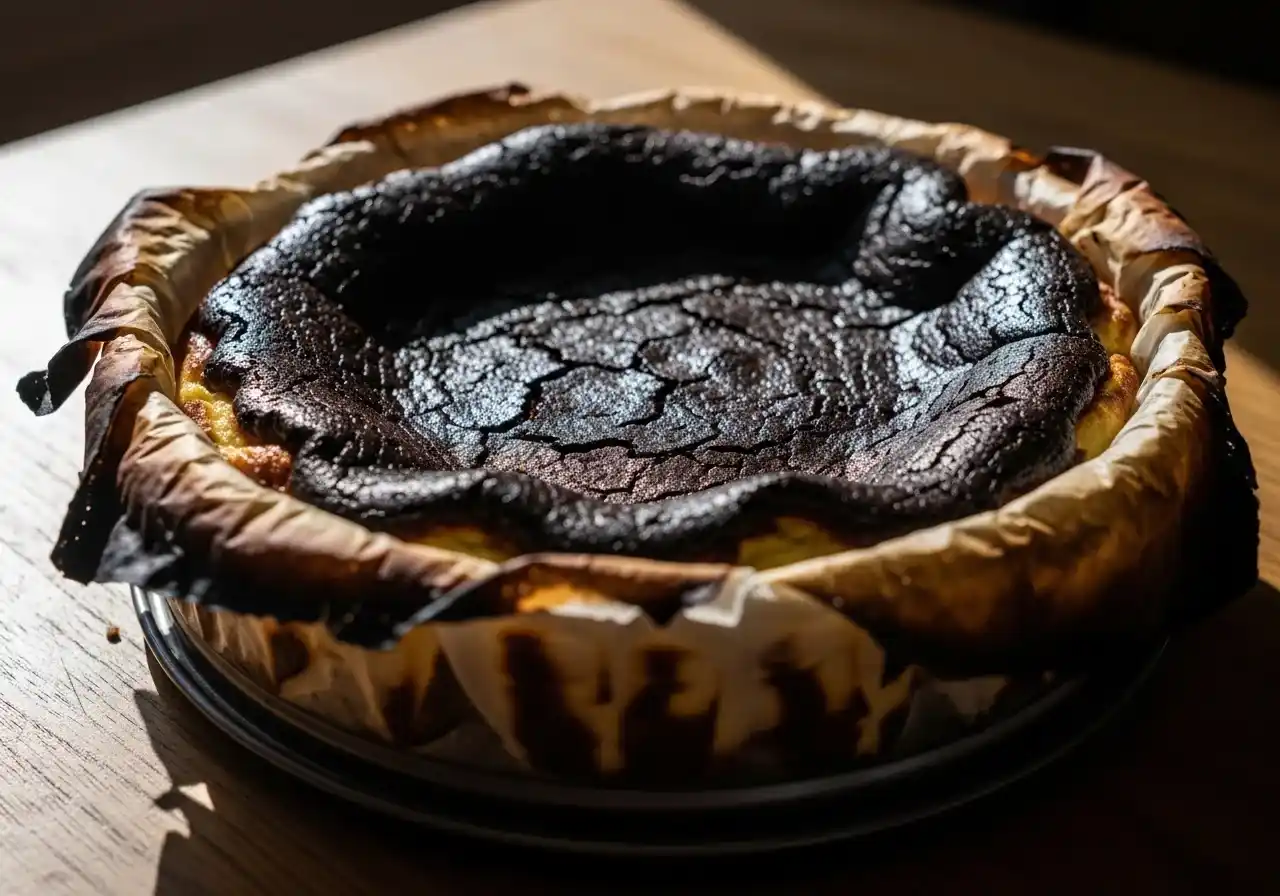
Step 3 – The High-Heat Bake
Place the pan on the middle rack of your oven. Bake for approximately 50 to 60 minutes. Every oven is different, so start checking at 45 minutes. You are looking for a deep, burnt-looking brown on top—this is not a failure; it is the goal! The top should be dark, but the cake should still have a very pronounced jiggle when you gently nudge the pan. It will look underdone in the center, and that is perfectly okay. The residual heat will finish the cooking as it cools. If the top isn’t dark enough but the cake is getting firm, you can use the broiler for the last 2 minutes, but watch it like a hawk!
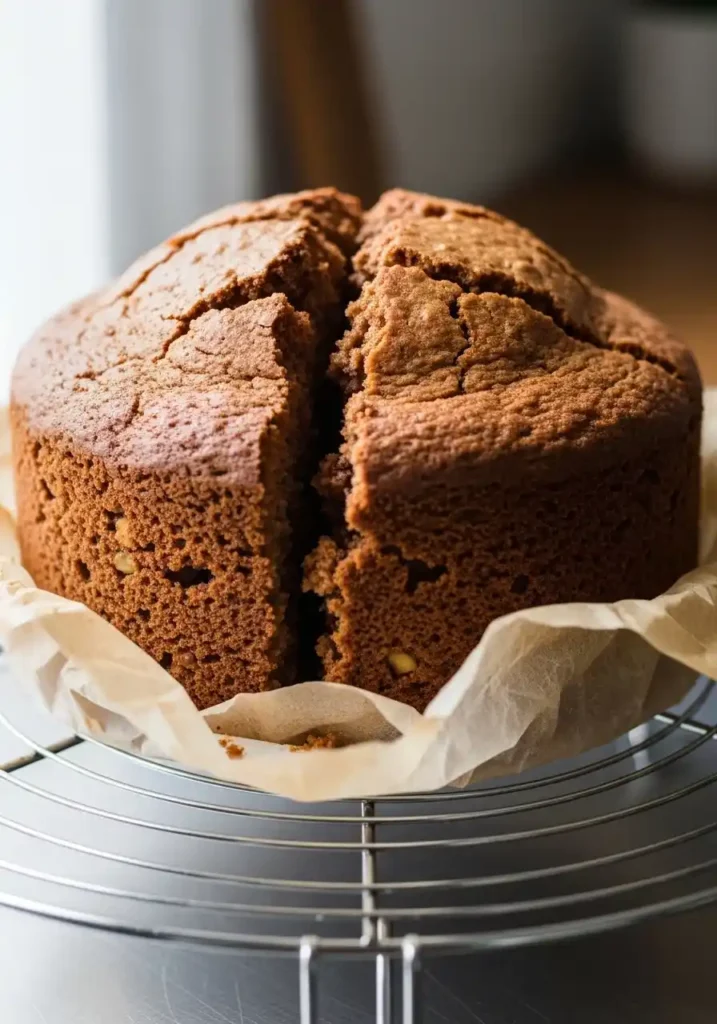
Step 4 – The Crucial Cooling Phase
Remove the cake from the oven and place it on a wire rack. It will be puffed up high, but as it cools, it will slowly collapse into a dense, creamy disc. This is expected. Let it cool completely in the pan at room temperature for at least 4 hours. Once cool, refrigerate it overnight (or for at least 8 hours). Do not try to unmold it early; it needs this time for the fats to set and the flavors to fully develop. Serving it too early will result in a messy, unintegrated texture.
Pro Tips for a Flawless Result
- Room temperature ingredients are mandatory for a smooth, creamy batter.
- Do not over-beat the eggs; we want a dense creaminess, not an airy sponge.
- Use high-quality cream cheese—store brands can sometimes be too watery.
- The parchment paper overhang is vital for the cake’s rise and rustic look.
- Trust the jiggle! If the center is firm when it leaves the oven, it will be dry later.
- Give it time in the fridge—the flavor improves dramatically after 24 hours.
- For the best texture, let it sit at room temperature for 30 minutes before serving.
Creative Variations
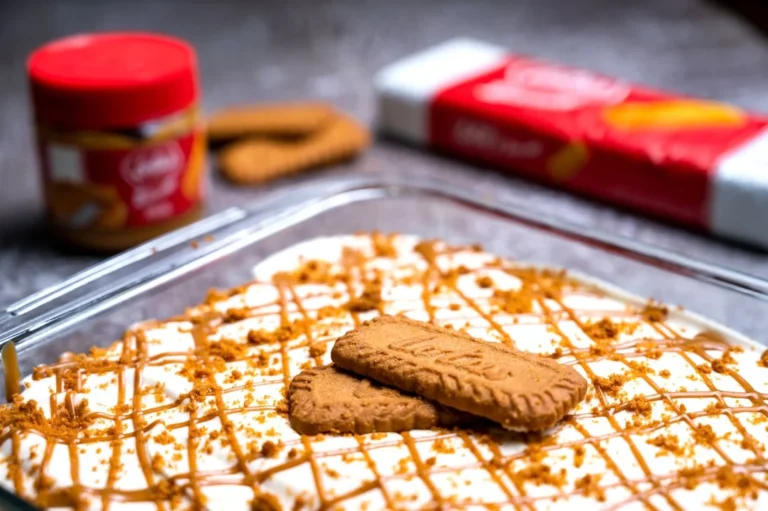
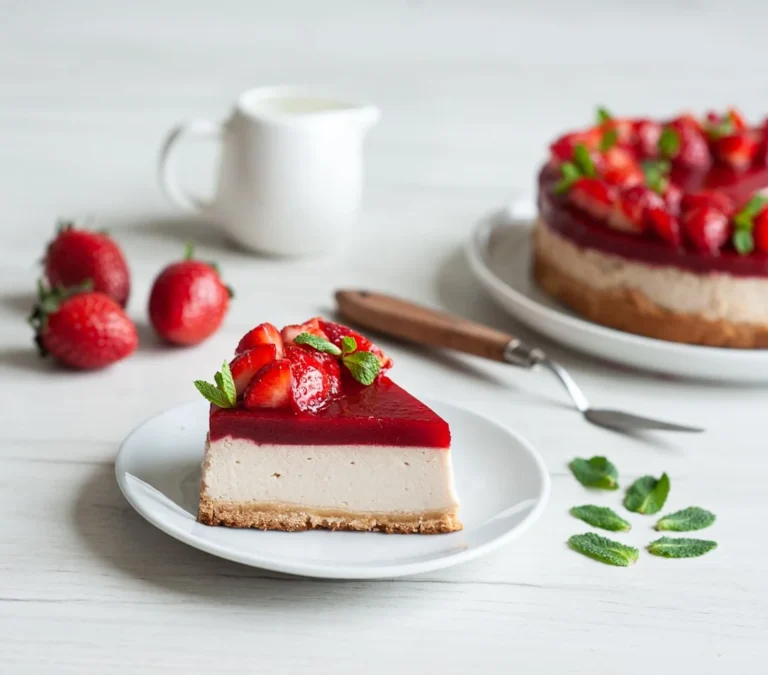
While the original is legendary, the basque cheesecake is a fantastic canvas for experimentation. You can infuse the heavy cream with lavender or Earl Grey tea for a sophisticated floral note. Adding a tablespoon of miso paste or a pinch of blue cheese into the batter creates a savory-sweet complexity that is favored by modern chefs. For a citrusy twist, add the zest of two lemons and a splash of juice. Some people even like to add a layer of fresh berries at the bottom of the pan before pouring in the batter, though this is a departure from the traditional crustless minimalism.
How to Serve and Store Basque Cheesecake
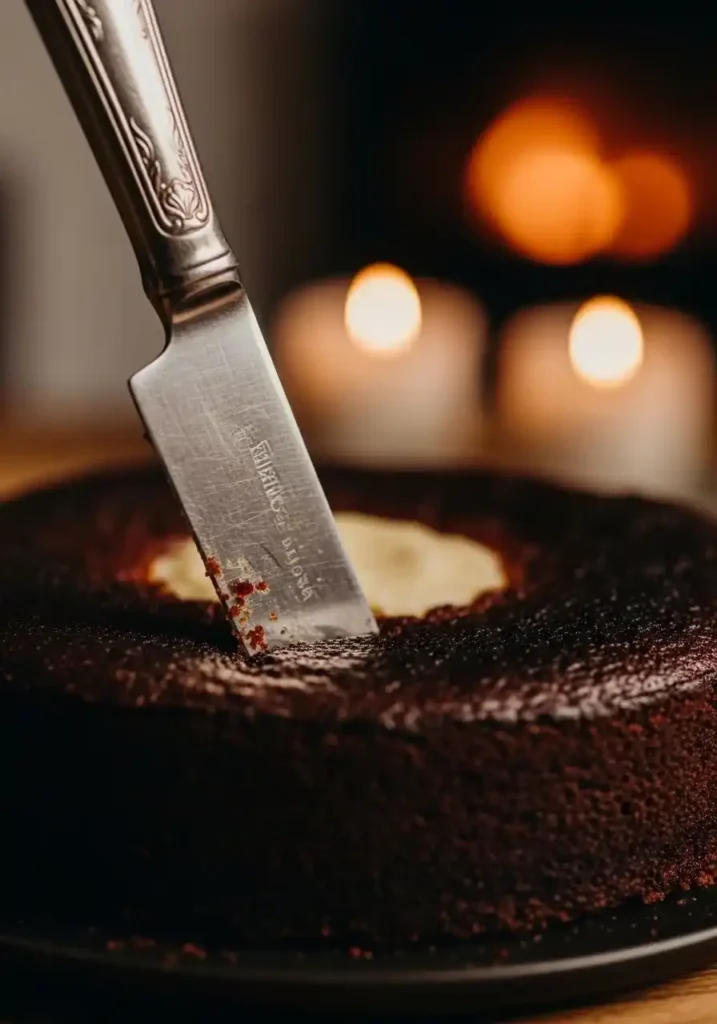
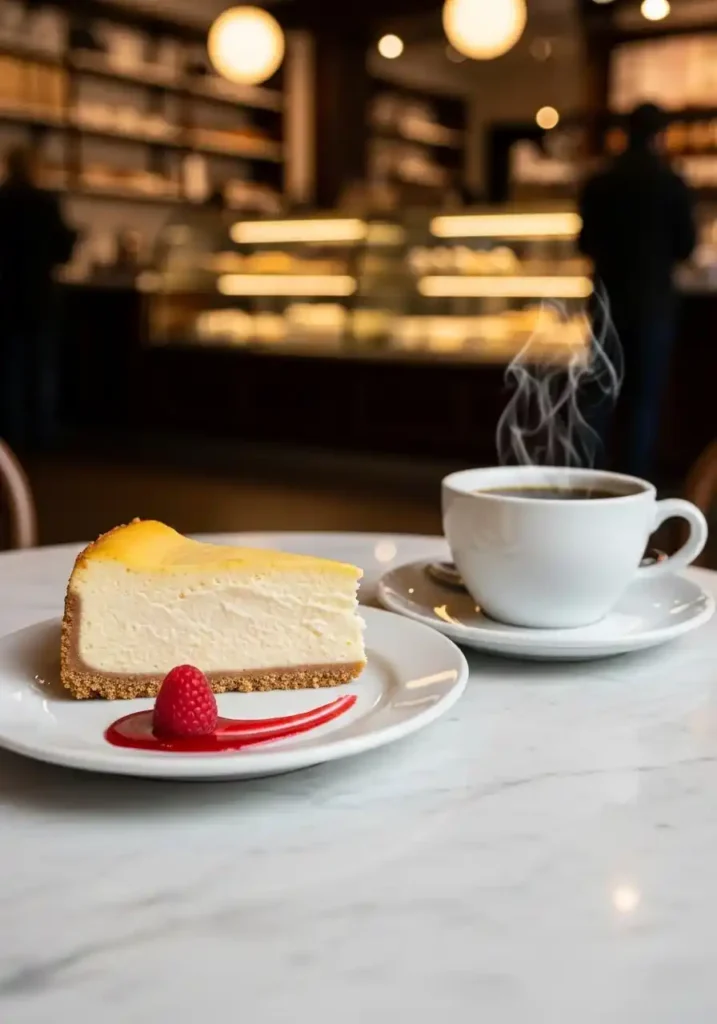
This cake is best served at room temperature, which allows the creaminess to shine through. Slice it using a warm, clean knife for the neatest presentation. While it is delicious on its own, a drizzle of honey, a dollop of crème fraîche, or a small glass of sherry or port makes for an exceptional pairing. Store any leftovers in an airtight container in the refrigerator for up to 5 days. It also freezes surprisingly well; simply wrap individual slices tightly in plastic wrap and then foil, thawing in the fridge before serving.
Final Thoughts
Approaching a basque cheesecake for the first time can be intimidating due to its scorched appearance, but once you take that first bite, you will understand the hype. It is the ultimate low-effort, high-impact dessert that celebrates the alchemy of high heat and simple ingredients. Whether you are serving it at a formal dinner or eating a slice for breakfast with a strong coffee, its decadent, burnt-sugar charm never fails to delight. Just remember: embrace the burn, trust the jiggle, and give it the time it needs to rest. Your taste buds will thank you. And if you are craving something warm, syrupy, and deeply comforting after this, our Best Authentic Gulab Jamun Recipe is the perfect next bake — soft, melt-in-mouth, and absolutely irresistible.