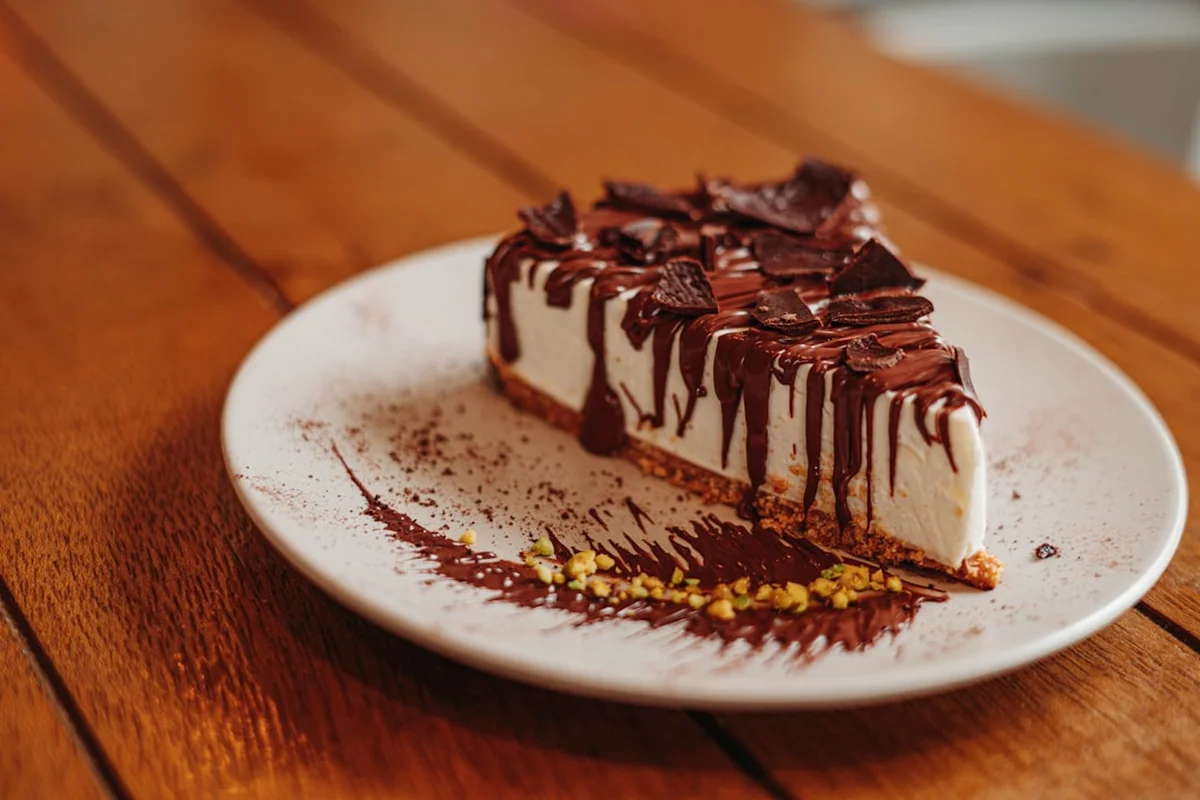
Best No Bake Chocolate Cheesecake Recipe Revealed
Are you tired of baking cheesecakes that crack or fall apart? You’re in luck because today, we’re making the best no-bake chocolate cheesecake dip that’s not only easy to make but also incredibly delicious. This recipe takes approximately 15 minutes to prepare, yields 8 servings, and is perfect for hot summer days when you don’t feel like turning on your oven.
Why No-Bake Cheesecakes Are a Game Changer
The Benefits of No-Bake
No-bake cheesecakes take approximately 30 minutes to chill, which means you can make them ahead of time and refrigerate them until serving. The best part is that they’re incredibly easy to make and require minimal effort, making them perfect for beginners.
The best no-bake chocolate cheesecake dip is a staple for any dessert lover. With a creamy texture and a rich, velvety chocolate flavor, it’s hard to resist. Trust me, this step makes all the difference! By using high-quality chocolate, you’ll get a deeper, more complex flavor that will leave your guests wanting more. And the best part? You can customize it to your liking with different types of chocolate or mix-ins.
The Importance of Using High-Quality Chocolate
Choosing the Right Chocolate
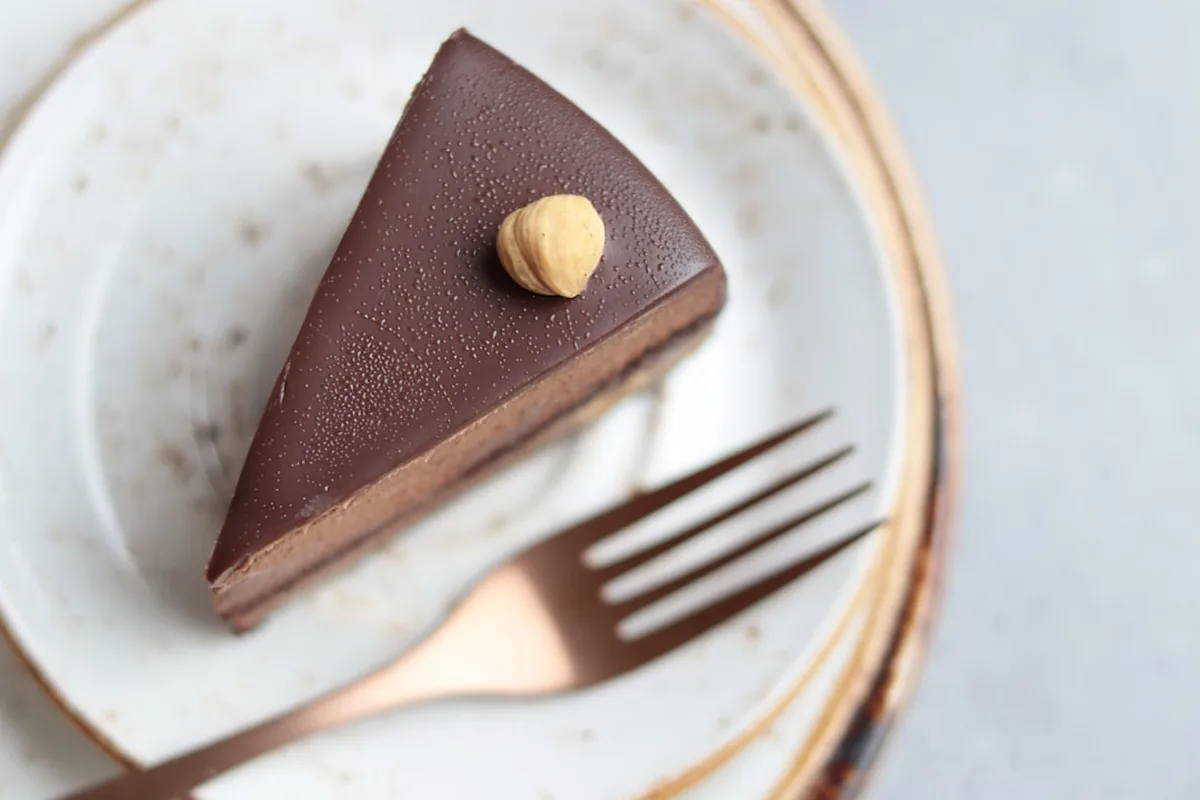
When it comes to making the best no-bake chocolate cheesecake dip, the type of chocolate you use is crucial. Look for high-quality chocolate with at least 70% cocoa solids for the best flavor.
Using high-quality chocolate makes a huge difference in the flavor and texture of your cheesecake dip. With a higher cocoa content, you’ll get a richer, more intense flavor that’s perfect for satisfying your sweet tooth. And don’t even get me started on the aroma – it’s like a warm hug in a bowl. The key is to find a balance between flavor and texture, and that’s where the cheesecake dip recipe comes in.
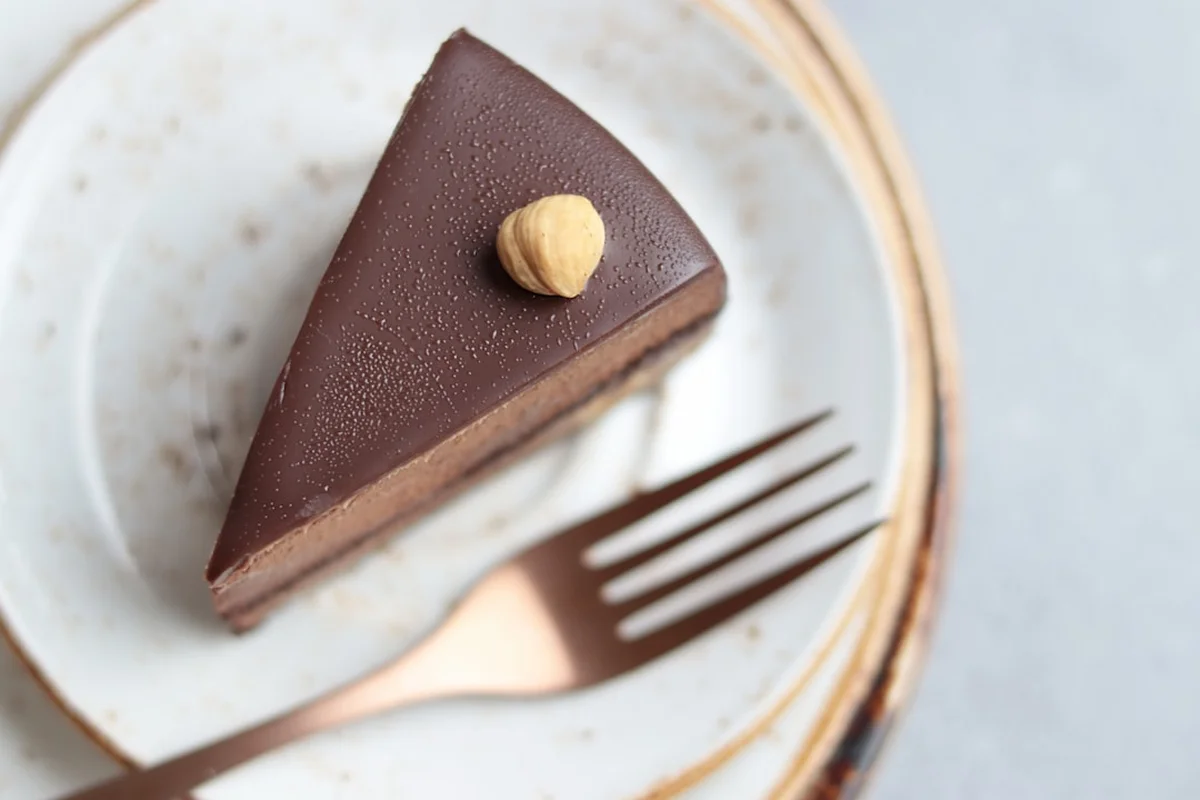
How to Make the Best No-Bake Chocolate Cheesecake Dip
Step 1: Whip the Cream Cheese
To make the best no-bake chocolate cheesecake dip, start by whipping 16 ounces of softened cream cheese with a hand mixer or stand mixer on medium speed until it’s smooth and creamy, with no lumps visible.
Step 2: Add the Sweetener
Add 1/2 cup of powdered sugar to the whipped cream cheese and mix until well combined. This will help balance the flavor and add a touch of sweetness to the dip.
Step 3: Fold in the Whipped Cream
Fold in 1 cup of whipped cream or Cool Whip into the cream cheese mixture until well combined. This will help add a light and airy texture to the dip.
Step 4: Swirl in the Fruit Topping
Swirl in 1/2 cup of your favorite fruit topping, such as strawberry or raspberry, into the cream cheese mixture. This will help add a pop of color and flavor to the dip.
Step 5: Chill the Dip
Chill the dip in the refrigerator for at least 30 minutes to allow the flavors to meld together. This will help the dip set and become creamy and smooth.
Step 6: Serve and Enjoy
Serve the dip in a wide, shallow bowl and enjoy with your favorite dippers, such as graham crackers, vanilla wafers, pretzels, or apple slices.
Making the best no-bake chocolate cheesecake dip is easier than you think. By following these simple steps, you’ll have a delicious and creamy dip that’s perfect for any occasion. And the best part? You can customize it to your liking with different types of chocolate or mix-ins.
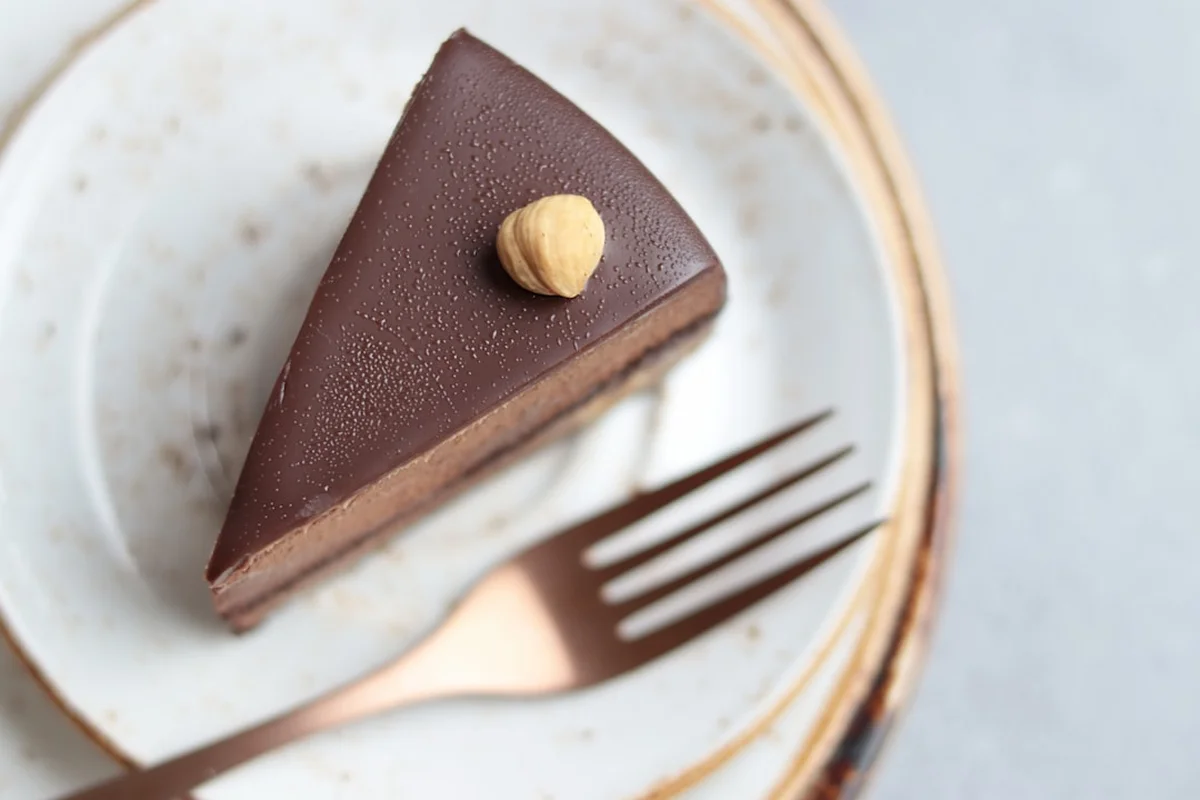
Tips and Variations for the Best No-Bake Chocolate Cheesecake Dip
Using Different Types of Chocolate
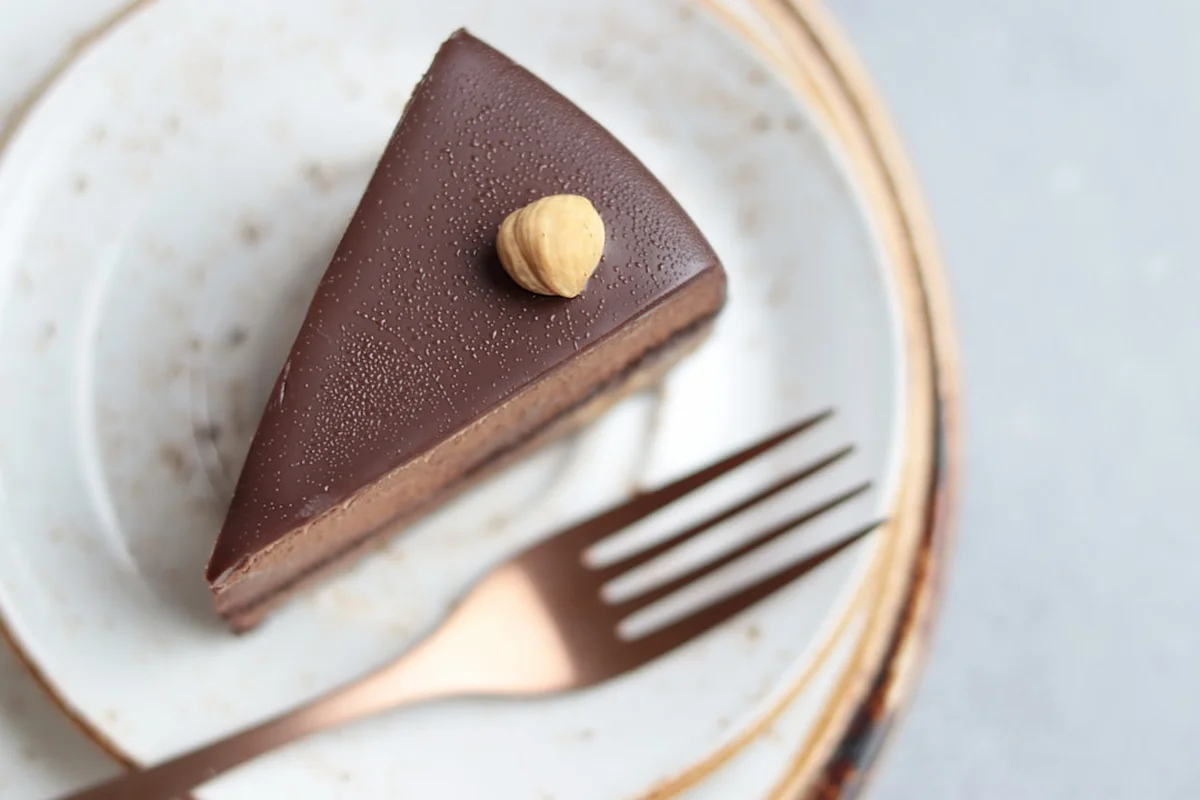
You can use different types of chocolate to create unique flavor combinations, such as a white chocolate or dark chocolate dip.
The best no-bake chocolate cheesecake dip is a versatile dessert that can be customized to your liking. By using different types of chocolate or mix-ins, you can create a unique flavor combination that’s perfect for any occasion.
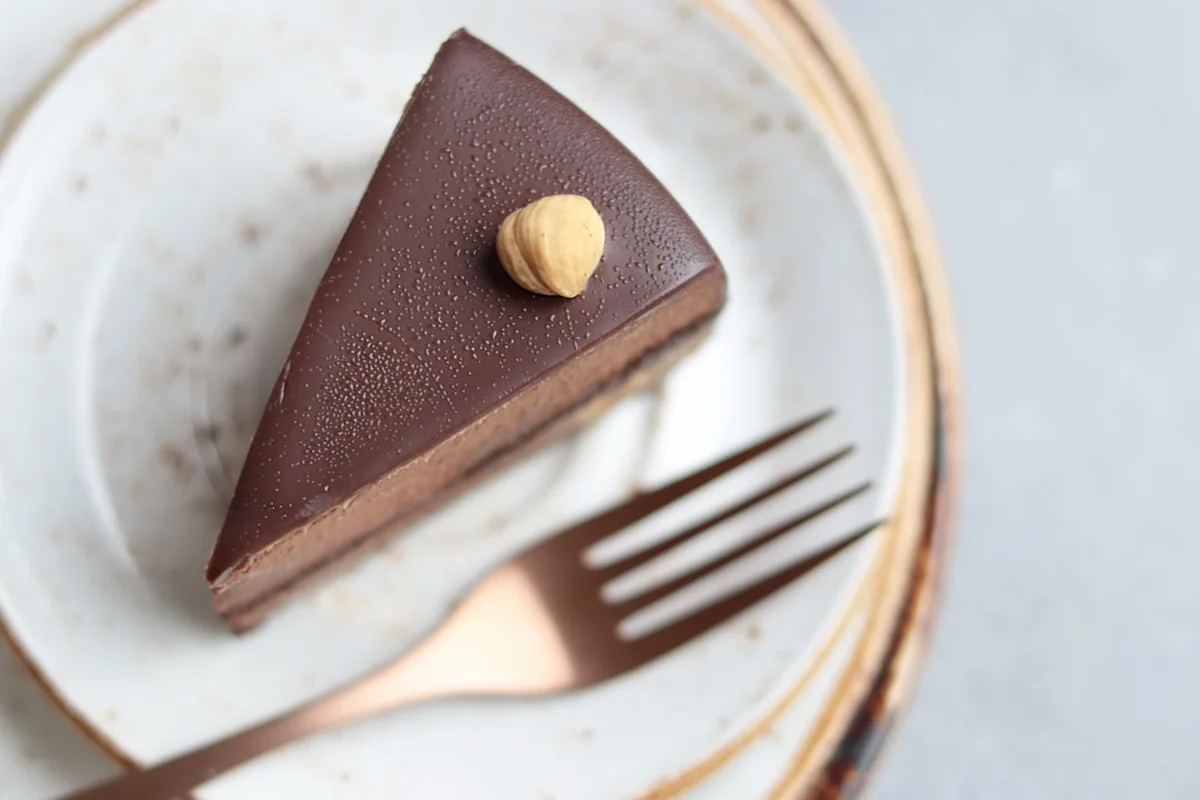
Storage and Freezing Instructions
Storing the Dip
The dip can be stored in the refrigerator for up to 5 days. Simply cover it with plastic wrap or aluminum foil and keep it away from strong-smelling foods.
Storing and freezing the best no-bake chocolate cheesecake dip is easy. By following these simple tips, you’ll be able to enjoy your dip for days to come. And the best part? You can also freeze it for up to 2 months, making it perfect for meal prep or special occasions.
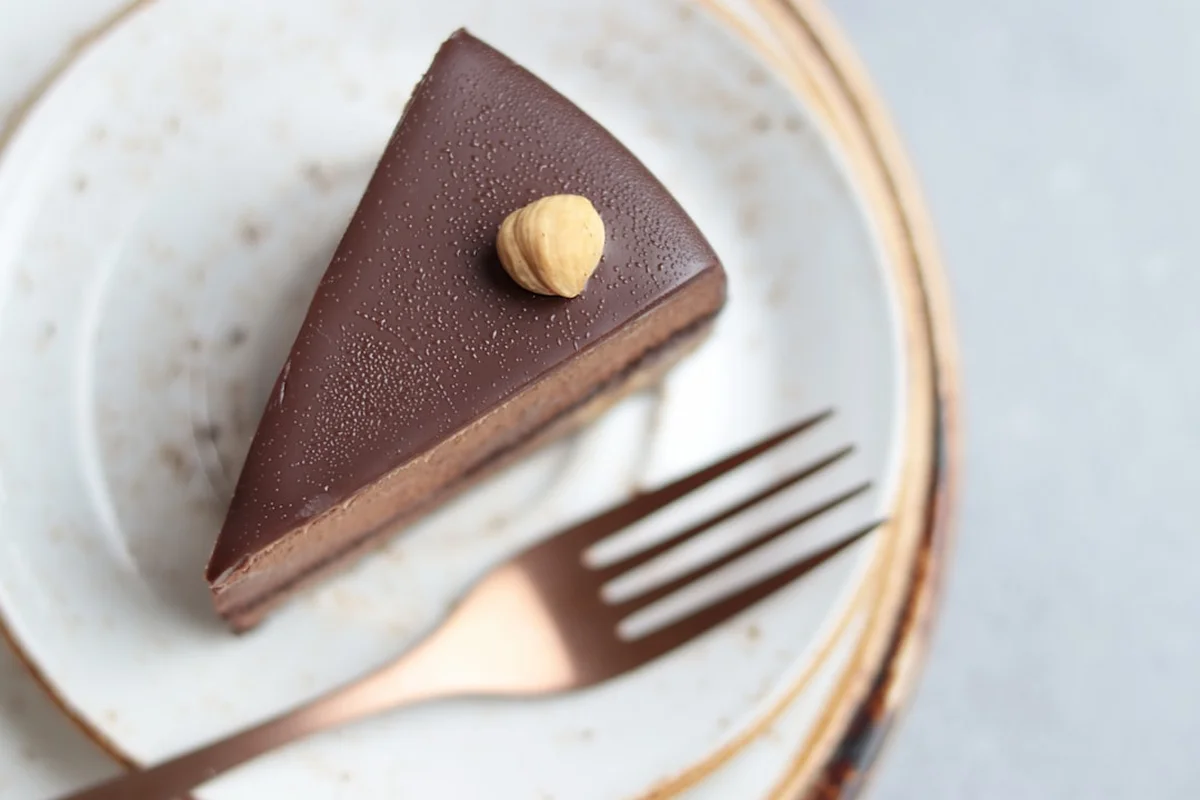
Serving Suggestions
Dippers and Vessels
Serve the dip in a wide, shallow bowl, such as a ceramic or glass bowl, and enjoy with your favorite dippers, such as graham crackers, vanilla wafers, pretzels, or apple slices.
Serving and customizing the best no-bake chocolate cheesecake dip is easy. By following these simple tips, you’ll be able to create a unique and delicious dessert that’s perfect for any occasion.
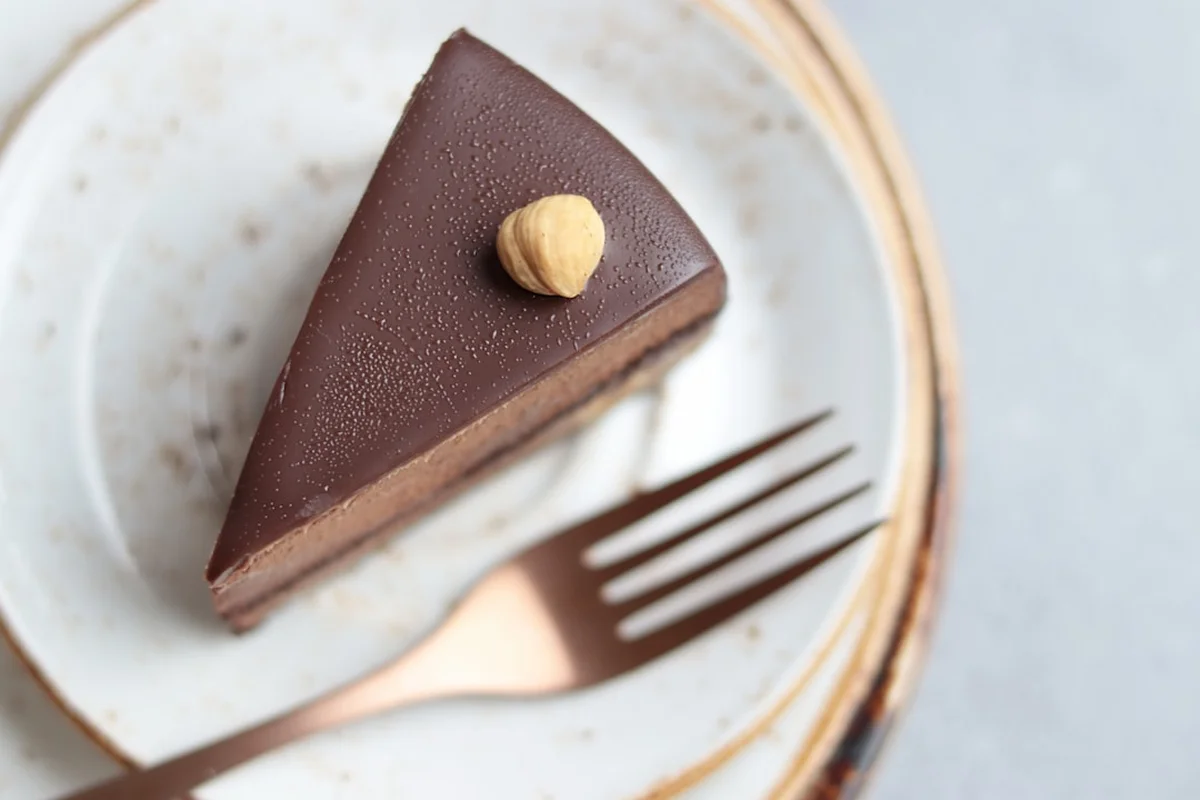
Recipe Checklist
- 16 ounces cream cheese
- 1/2 cup powdered sugar
- 1 cup whipped cream or Cool Whip
- 1/2 cup fruit topping
Frequently Asked Questions
Final Thoughts
I still remember the first time I made a no-bake cheesecake dip for my birthday party – it was a huge hit! The creamy texture and rich, velvety chocolate flavor were a perfect combination. Since then, I’ve perfected the recipe and technique, and I’m excited to share it with you. So, go ahead and give it a try – I promise you’ll love it! And don’t forget to share your creations with us and let us know how it turns out.
If you enjoyed this recipe, you might also love No-Bake Baked Tiramisu Cheesecake (Hot Chocolate Version) and Irresistible Cheesecake Bars Recipe in 35 Minutes.