Cheesy Bread Rolls – Soft, Gooey & Irresistible
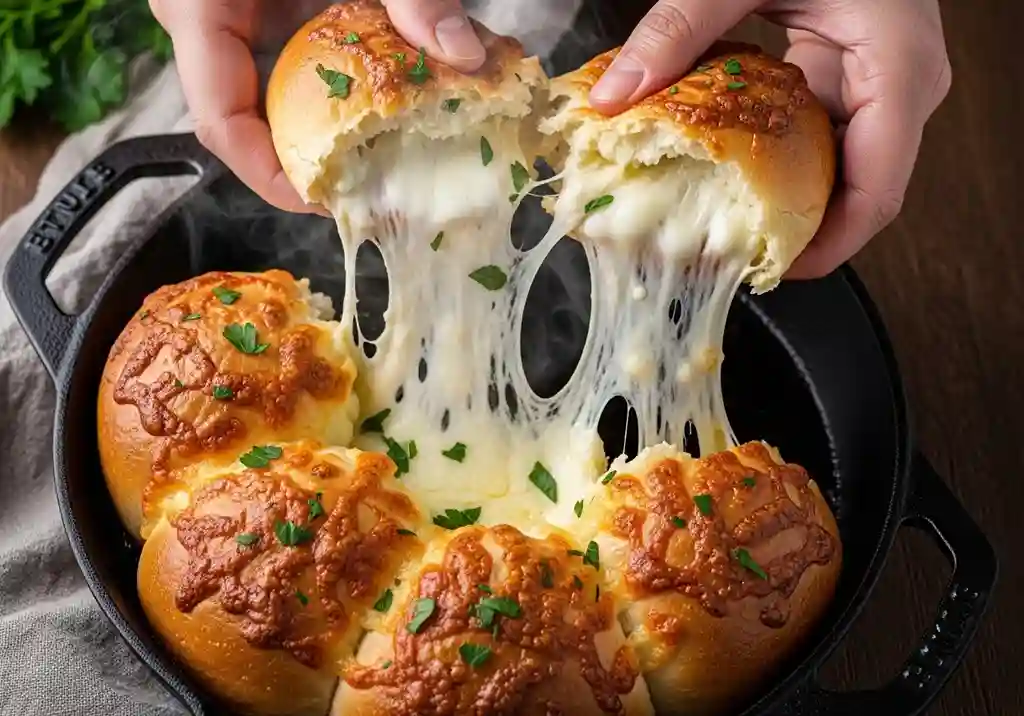
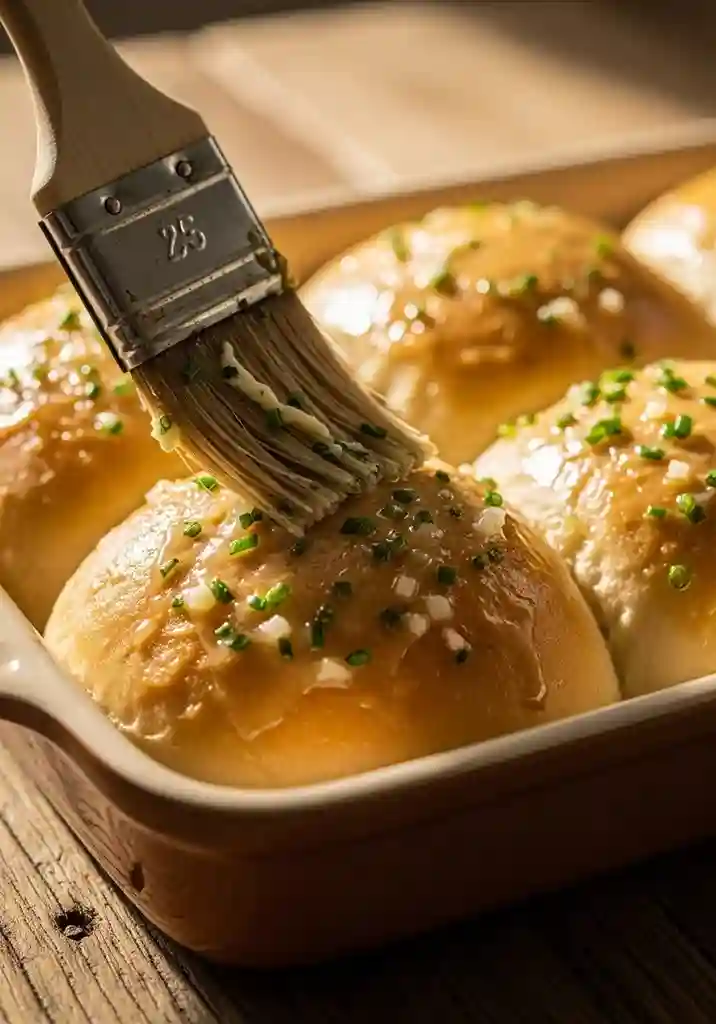
Few things in life compare to pulling apart a warm, freshly baked cheesy bread roll and watching the melted cheese stretch and pull with every bite. These soft, fluffy rolls are packed with gooey cheese on the inside and brushed with a golden, garlicky butter on top — making them absolutely impossible to resist. Whether served as a side dish, party snack, or standalone comfort food, they deliver every single time.
This recipe walks you through everything from making the soft enriched dough to choosing the best cheeses, so your rolls come out perfectly golden, fluffy, and gloriously cheesy on every occasion.

Why Everyone Loves These Cheesy Bread Rolls
What makes these cheesy bread rolls so special is the perfect balance between the pillowy soft dough and the rich, melted cheese filling. The dough is enriched with butter and milk, giving it a tender, slightly sweet crumb that contrasts beautifully with the savory, salty cheese inside.
They are incredibly versatile too — serve them alongside soups, pasta, grilled meats, or simply enjoy them warm straight from the oven. Once you bake a batch, they will disappear faster than you can make them.
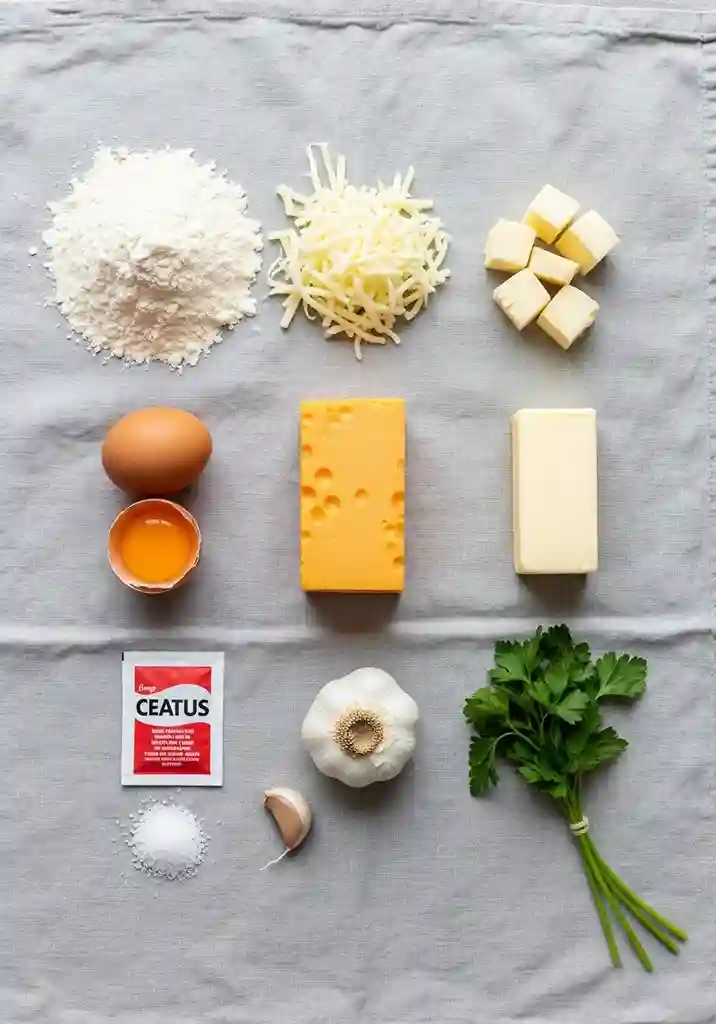
Ingredients You Will Need
Here is a complete breakdown of everything that goes into making perfect cheesy bread rolls from scratch.
| Ingredient | Amount | Notes |
| All-purpose flour | 3 cups (375 g) | Plus extra for dusting |
| Instant yeast | 2¼ tsp (1 packet) | Or active dry yeast |
| Whole milk (warm) | ¾ cup (180 ml) | 100-110 F to activate yeast |
| Granulated sugar | 1 tbsp | Feeds the yeast, slight sweetness |
| Salt | 1 tsp | Enhances all flavors |
| Egg | 1 large | Room temperature |
| Unsalted butter (softened) | 3 tbsp | Enriches the dough |
| Mozzarella cheese (shredded) | 1½ cups | Main filling; stretchy and gooey |
| Cheddar cheese (shredded) | ½ cup | Sharp flavor contrast |
| Garlic powder | ½ tsp | Mixed into filling |
| Fresh parsley (chopped) | 2 tbsp | For filling and garnish |
| Butter (melted) | 3 tbsp | For topping before baking |
| Garlic (minced) | 2 cloves | For garlic butter topping |
| Flaky sea salt | For topping | Finishing touch on top |
Equipment You Will Need
You will need a large mixing bowl or stand mixer with a dough hook, a kitchen scale for accurate measurements, a clean work surface for kneading, a greased 9×13-inch baking dish or a round cake pan, plastic wrap or a kitchen towel for proofing, a pastry brush for the garlic butter, and a sharp knife or bench scraper.
Step-by-Step Instructions
Step 1 – Activate the Yeast
In a small bowl, combine the warm milk, sugar, and instant yeast. Stir gently and let it sit for 5-10 minutes until the mixture turns foamy and fragrant. This tells you your yeast is active and your dough will rise properly. If nothing happens after 10 minutes, your yeast may be expired — start fresh for best results.
Step 2 – Make the Dough
In a large bowl or stand mixer, combine the flour and salt. Add the yeast mixture, egg, and softened butter. Mix on medium speed for 8-10 minutes (or knead by hand for 12 minutes) until the dough is smooth, soft, and slightly tacky. It should pull away cleanly from the sides of the bowl without sticking to your hands.
Step 3 – First Rise
Shape the dough into a ball and place it in a lightly oiled bowl. Cover with plastic wrap or a clean kitchen towel and set it in a warm, draft-free spot to rise for 1 to 1.5 hours, or until the dough has doubled in size. A slower rise in a warmer kitchen always gives you a better-tasting, more flavorful dough.
Step 4 – Prepare the Cheese Filling
While the dough rises, mix together the shredded mozzarella, cheddar, garlic powder, and chopped parsley in a bowl. This combination gives your rolls that irresistibly gooey center with just the right amount of savory depth. You can also add a pinch of chili flakes for a subtle kick if you enjoy a little heat.
Step 5 – Shape the Rolls
Punch down the risen dough and turn it out onto a lightly floured surface. Divide it into 12 equal portions (about 70-75 g each). Flatten each portion into a small circle, place a generous tablespoon of the cheese mixture in the center, and pull the edges of the dough up around the filling, pinching tightly to seal. Roll each one into a smooth ball with the seam side down. These are the heart of your cheesy bread rolls — take care to seal them well so the cheese stays inside during baking.
Step 6 – Second Rise and Bake
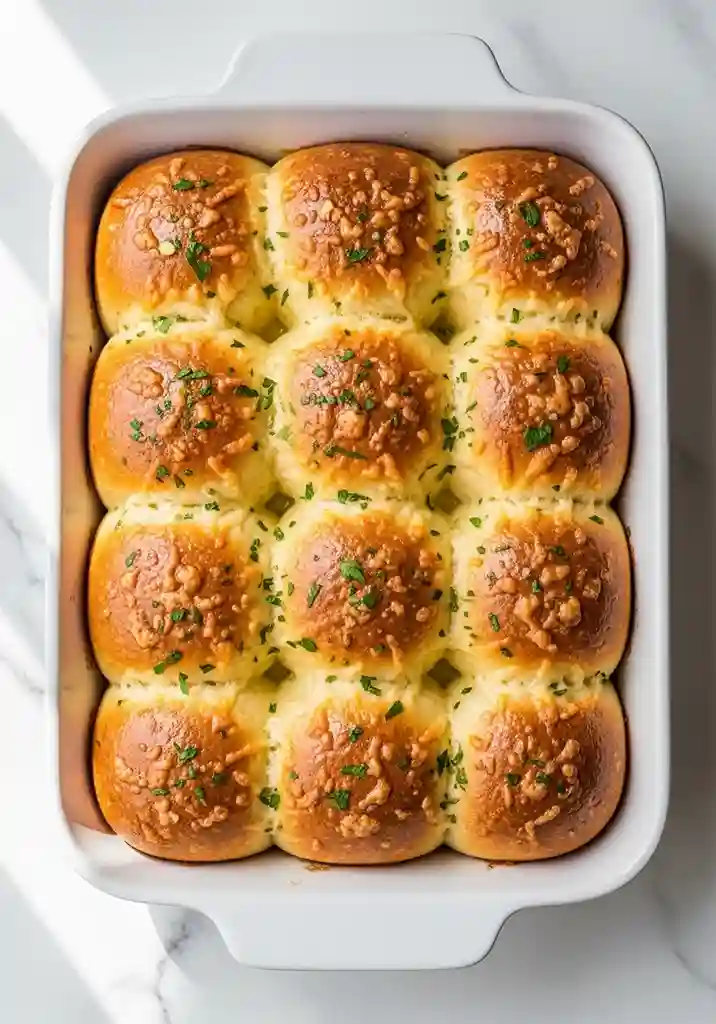
Arrange the filled rolls seam-side down in a greased baking dish, leaving just a little space between each one so they puff and touch slightly as they rise. Cover loosely and let them rest for 30-40 minutes until noticeably puffed. Preheat your oven to 375 F (190 C).
Mix the melted butter with the minced garlic and brush it generously over the top of each roll. Sprinkle with flaky sea salt and a little extra parsley. Bake for 18-22 minutes until deep golden brown on top and the cheese is bubbling at the edges.

Pro Tips for the Best Cheesy Bread Rolls
Use freshly shredded cheese. Pre-shredded cheese contains anti-caking agents that prevent it from melting smoothly. Shred your own mozzarella and cheddar for the best gooey, stretchy result inside each roll.
Do not overfill. It is tempting to add extra cheese, but overfilling makes the rolls difficult to seal and can cause blowouts in the oven. One generous tablespoon per roll is the perfect amount.
Brush butter twice. Brush the garlic butter once before baking and again immediately when the rolls come out of the oven. The second coat adds a beautiful shine and an extra layer of rich flavor.
Bake rolls touching. Placing the rolls close together in the pan means they bake against each other, keeping the sides soft and pillowy while only the tops get golden — just like classic pull-apart rolls.
Cheese Combinations to Try
One of the best things about cheesy bread rolls is how easily you can customize the filling. Try a three-cheese blend of mozzarella, gouda, and parmesan for a more complex flavor. Cream cheese mixed with cheddar creates an ultra-creamy center. A combination of gruyere and emmental gives a more nutty, sophisticated filling. For a spicy version, mix pepper jack with mozzarella and a dash of hot sauce.

How to Serve Them
These rolls are best served warm, straight from the oven when the cheese is still melted and stretchy. Serve them alongside a bowl of tomato soup, a creamy pasta dish, or a fresh garden salad for a complete meal. They also work beautifully as a party appetizer or a potluck contribution — just place the whole pan on the table and watch everyone pull them apart.
Reheat leftovers in the oven at 325 F (160 C) for 8-10 minutes, covered loosely with foil to prevent drying out. Avoid the microwave if possible, as it can make the dough rubbery and the cheese greasy.
How to Store and Freeze
Store leftover rolls in an airtight container at room temperature for up to 2 days or in the refrigerator for up to 4 days. To freeze, allow the baked rolls to cool completely, then wrap each one individually in plastic wrap and place in a freezer bag. They will keep well in the freezer for up to 2 months. Reheat directly from frozen in the oven for 12-15 minutes at 350 F.

Final Thoughts
There is a reason cheesy bread rolls never go out of style — they are warm, comforting, endlessly customizable, and universally loved. Whether you are baking them for a casual weeknight dinner or a festive gathering, they never fail to bring smiles to the table. Master this recipe once and you will find yourself making it again and again for every occasion.
If you love quick and easy bakes that deliver big on flavor, you will also want to try our 3 Ingredient Nutella Cookies — a ridiculously simple recipe that comes together in minutes and tastes absolutely incredible!