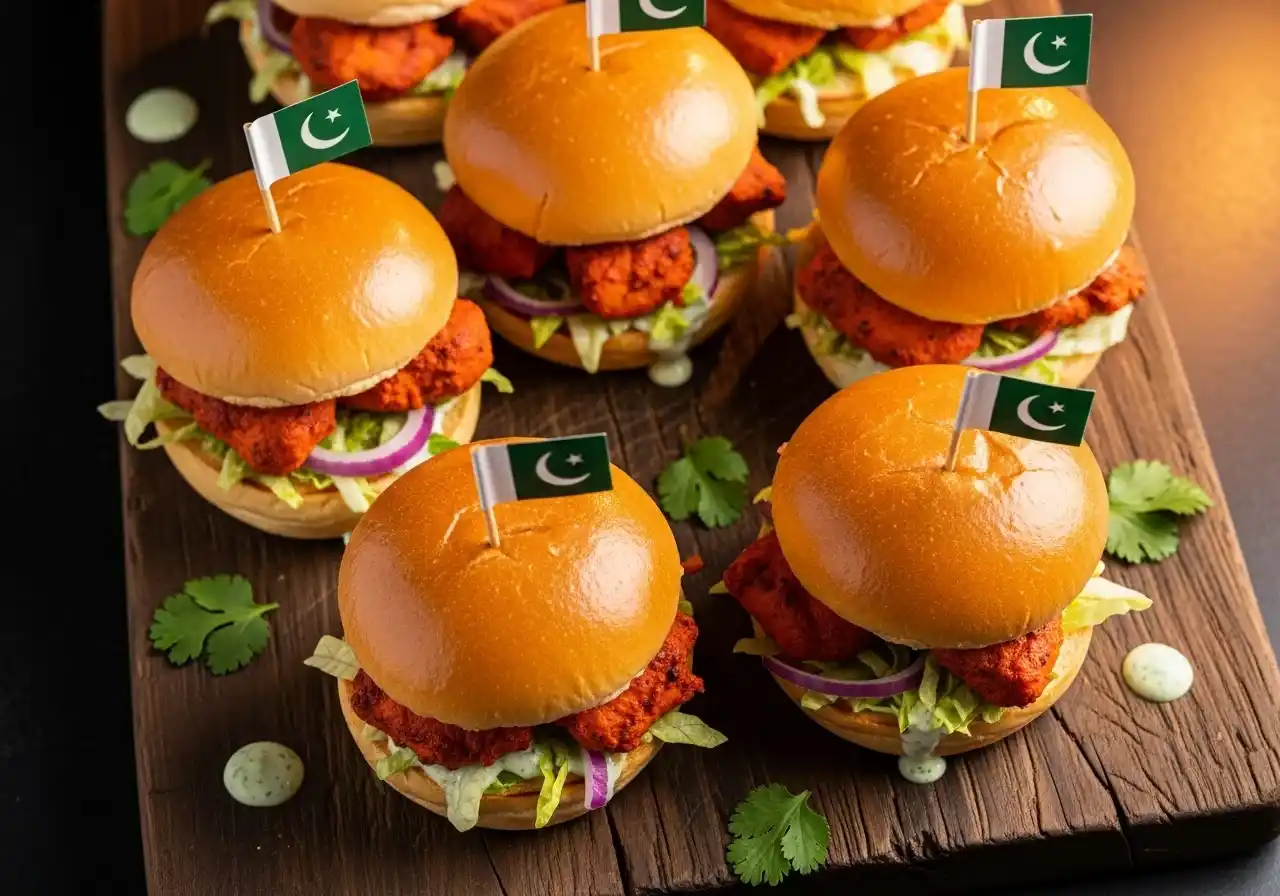
Chicken Tikka Sliders – Juicy, Spicy & Irresistible
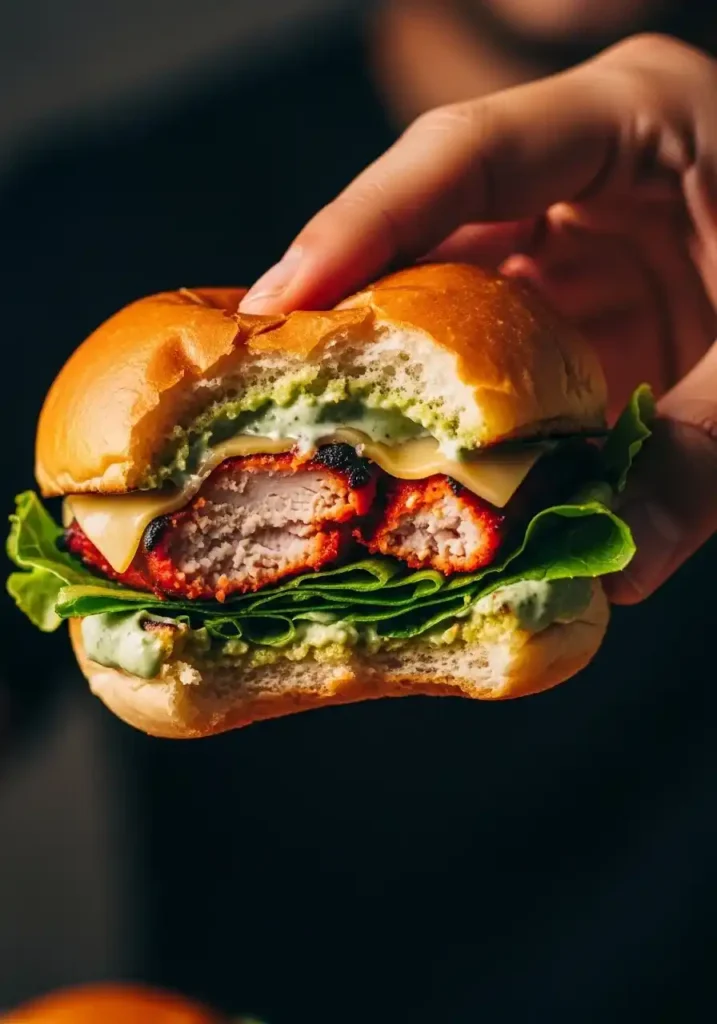
When two of the world’s most beloved food concepts collide — the bold, smoky flavors of chicken tikka and the handheld joy of a slider — the result is something truly extraordinary. Chicken tikka sliders bring together juicy, spiced, charred chicken tikka pieces nestled inside soft, pillowy mini buns, layered with crisp vegetables, cooling mint chutney, and a tangy sauce that ties everything together beautifully.
Whether you are hosting a party, putting together a game-day spread, feeding a hungry family, or simply craving something exciting for dinner, this recipe delivers bold flavor in every single bite. Follow this guide and make the most crowd-pleasing sliders of your life.
Why Chicken Tikka Sliders Are a Crowd Favorite
The genius of chicken tikka sliders lies in how perfectly the flavors balance each other. The chicken tikka brings fire, smoke, and depth from the spiced yogurt marinade. The soft bun acts as the perfect vehicle — mild and pillowy, it lets the chicken shine. The mint chutney adds a cooling, herby contrast, while the fresh vegetables bring crunch and brightness.
They are portable, easy to eat, endlessly customizable, and ready in under 40 minutes. Whether you grill, pan-fry, or broil the chicken, the result is always deeply flavorful, satisfying, and absolutely impossible to put down.
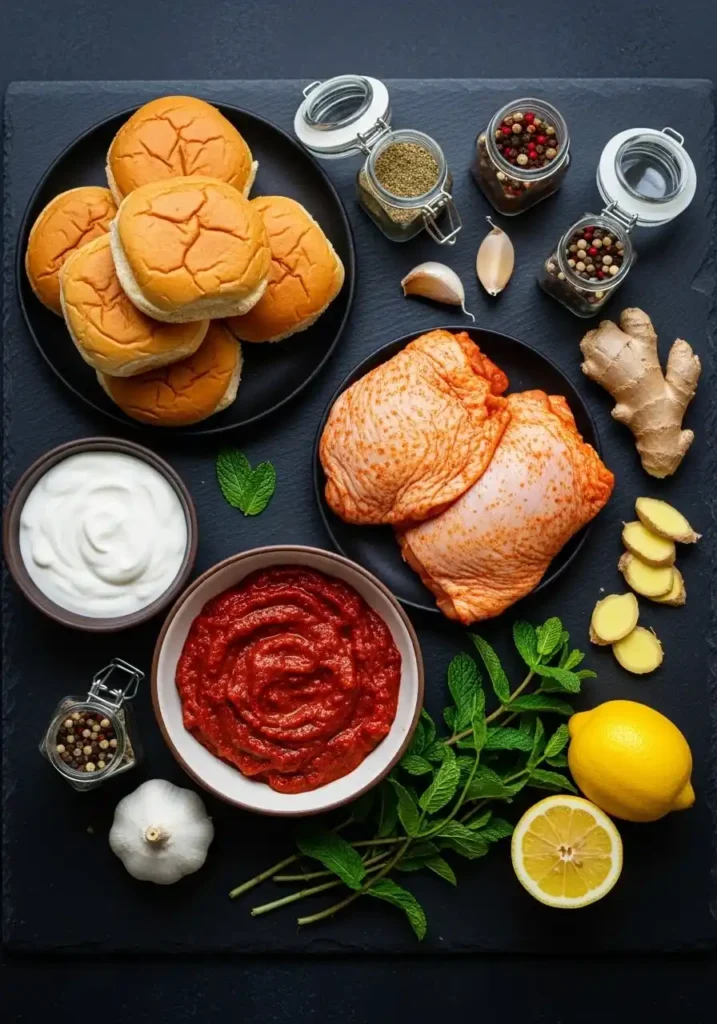
Ingredients You Will Need For Chicken Tikka Sliders
Here is everything you need to make perfect chicken tikka sliders from scratch, including the marinade, assembly components, and the signature mint chutney.
| Ingredient | Amount | Notes |
| Boneless chicken thighs | 500 g | Thighs stay juicier than breast |
| Plain yogurt | ½ cup (120 g) | Full-fat for best marinade |
| Lemon juice | 2 tbsp | Tenderizes the chicken |
| Garlic paste | 1½ tsp | Fresh paste preferred |
| Ginger paste | 1 tsp | Fresh paste preferred |
| Red chili powder | 1½ tsp | Adjust to taste |
| Kashmiri chili powder | 1 tsp | For deep red color |
| Cumin powder | 1 tsp | Earthy base spice |
| Coriander powder | 1 tsp | Rounds out the masala |
| Garam masala | ½ tsp | Added after cooking too |
| Turmeric powder | ¼ tsp | Color and warmth |
| Salt | 1¼ tsp | Adjust to preference |
| Oil | 2 tbsp | In marinade for moisture |
| Food color (orange) | A tiny pinch | Optional; for classic look |
| Slider buns | 12 mini buns | Soft brioche or plain |
| Butter (for buns) | 2 tbsp | For toasting the buns |
| Iceberg lettuce | A handful | Shredded; for crunch |
| Tomato | 1 medium | Thinly sliced |
| Red onion | ½ small | Thinly sliced rings |
| Sliced cheese | 6 slices halved | Optional; cheddar or gouda |
| Mint chutney | ½ cup | Homemade or store-bought |
| Mayonnaise or raita | ¼ cup | Mixed with chutney for sauce |
Equipment You Will Need
You will need a large mixing bowl for the marinade, a grill pan, skillet, or oven broiler for cooking the chicken, a sharp knife and chopping board, a pastry brush for buttering the buns, and tongs for handling the chicken. If using wooden skewers for a more authentic tikka presentation, soak them in water for 30 minutes before use to prevent burning.
Step-by-Step Instructions
Step 1 – Make the Tikka Marinade
In a large bowl, combine the yogurt, lemon juice, garlic paste, ginger paste, red chili powder, Kashmiri chili powder, cumin, coriander, garam masala, turmeric, salt, and oil. Mix vigorously until completely smooth and uniform — the marinade should be thick, vivid red-orange, and richly aromatic. The Kashmiri chili powder is key here as it gives the chicken its signature deep red color without making it overwhelmingly spicy.
Step 2 – Marinate the Chicken
Cut the chicken thighs into bite-sized pieces — roughly 1.5 to 2 inches each, ideal for fitting inside slider buns. Add the chicken pieces to the marinade and toss thoroughly until every piece is completely coated. Cover with plastic wrap and refrigerate for a minimum of 2 hours, or ideally overnight. The longer the chicken tikka marinates, the deeper the flavor penetration and the more tender and juicy the final result will be.
If you are short on time, even 30 minutes of marination at room temperature will give you noticeably better results than cooking the chicken plain. Do not skip this step — it is the foundation of everything.
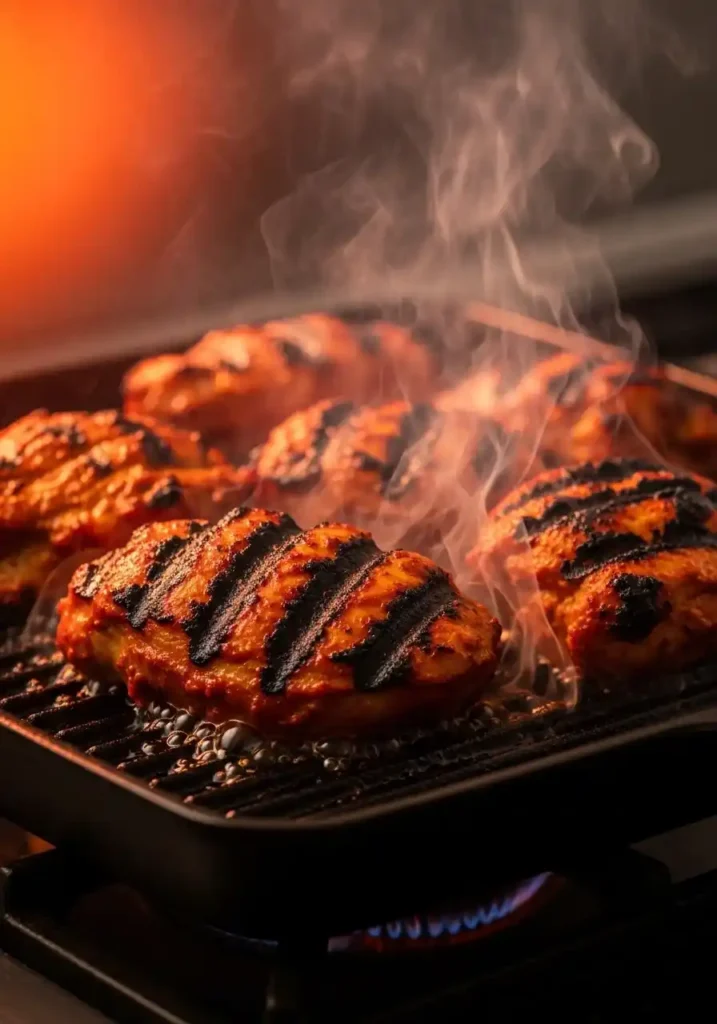
Step 3 – Cook the Chicken Tikka
Heat a grill pan, cast iron skillet, or heavy frying pan over high heat until very hot. Add a drizzle of oil and place the marinated chicken pieces in a single layer without overcrowding. Cook for 3-4 minutes per side until beautifully charred on the outside, slightly smoky, and cooked through completely. Work in batches if needed — crowding the pan creates steam instead of char. Finish with a pinch of garam masala and a squeeze of lemon.
For an even more authentic tikka experience, thread the chicken pieces onto skewers and cook under a high broiler for 8-10 minutes, turning once halfway. The broiler produces beautiful charred edges that replicate the tandoor experience at home.
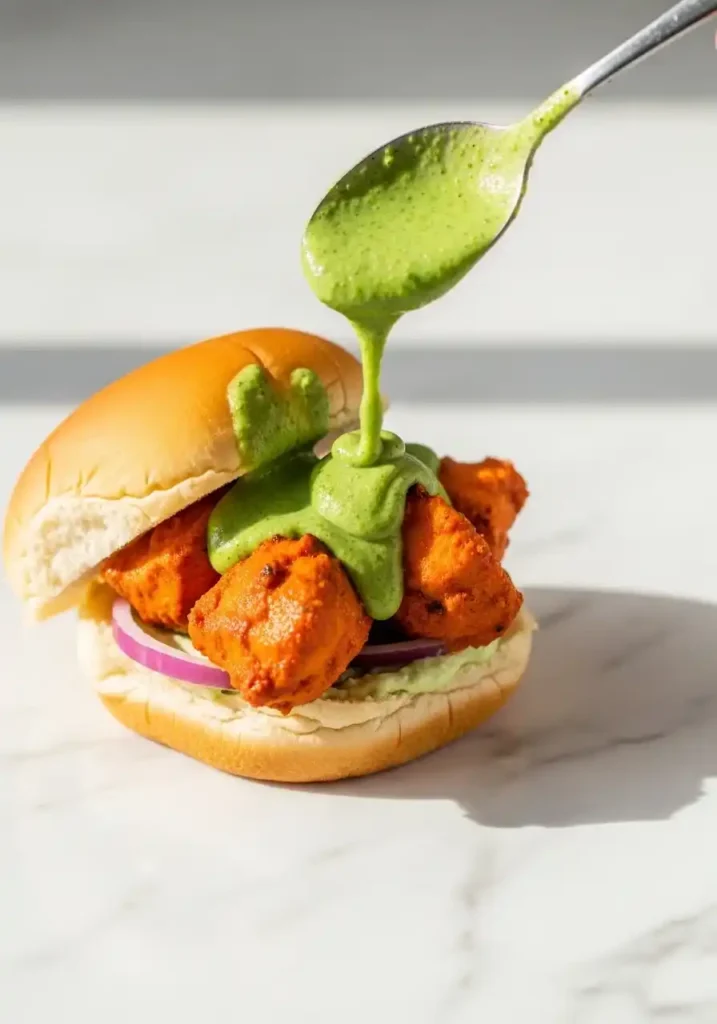
Step 4 – Prepare the Mint Chutney Sauce
In a small bowl, combine the mint chutney with mayonnaise or raita in a 1:1 ratio. Mix well until smooth and creamy. This blended sauce is the secret weapon of great chicken tikka sliders — the mayo or raita rounds out the sharp chutney, making it creamy and spreadable while still delivering that essential fresh mint and coriander flavor.
Step 5 – Toast the Buns
Slice the slider buns in half horizontally. Brush the cut sides generously with softened or melted butter. Place them butter-side down in a warm skillet or on the grill pan for 1-2 minutes until lightly golden and toasted. Toasted buns are non-negotiable — they add a slight crispness that prevents the bun from going soggy and adds a beautiful buttery richness to every bite.
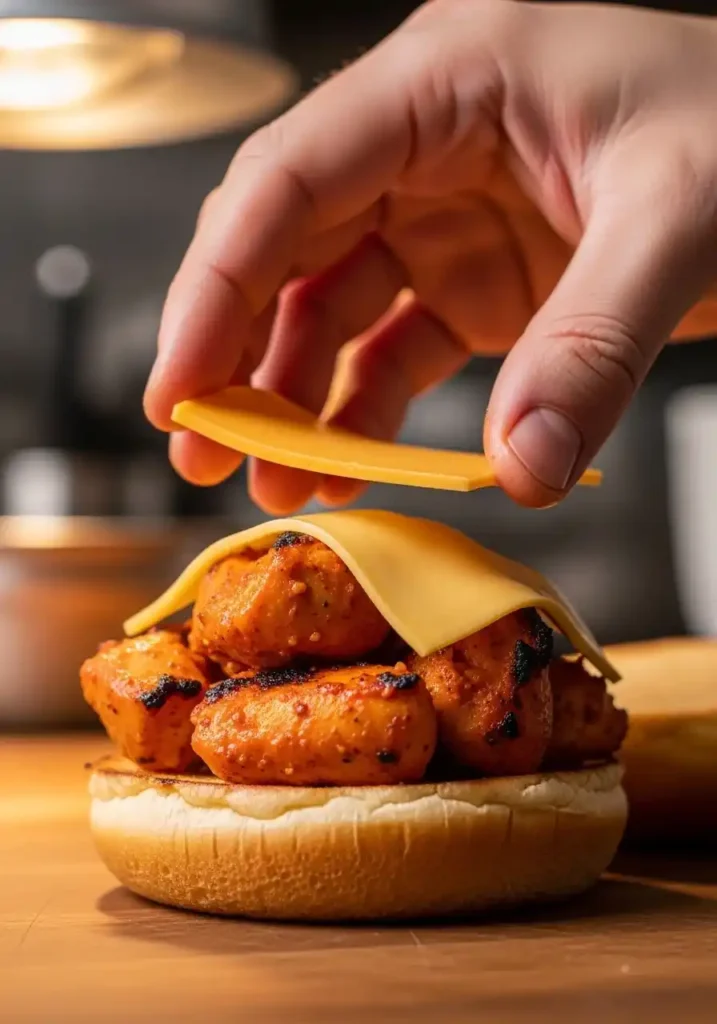
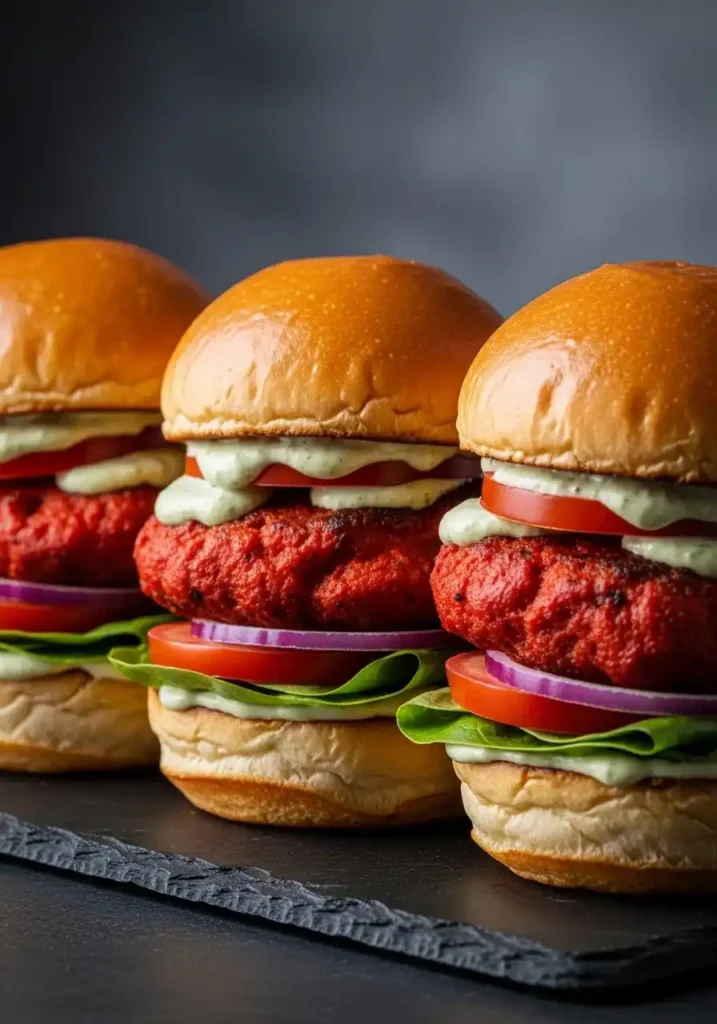
Step 6 – Assemble the Sliders
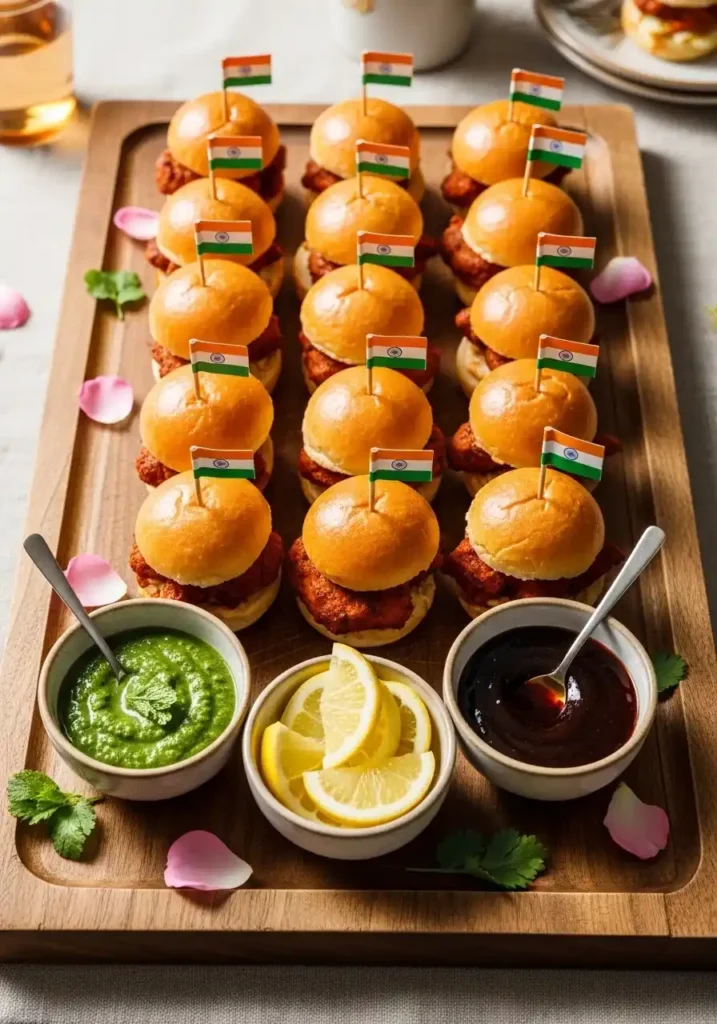
Now the fun begins. Spread the mint chutney sauce on both the top and bottom of each toasted bun. On the bottom bun, place a leaf of shredded iceberg lettuce, a slice of tomato, and a few red onion rings. Layer two or three pieces of juicy chicken tikka on top. Add a half slice of cheese if using — the heat from the chicken will melt it slightly. Press the top bun down gently and secure with a toothpick or small skewer for presentation.
Arrange all assembled sliders on a serving board or platter. Serve immediately while the chicken is still warm and the buns are fresh. Have extra chutney sauce on the side for dipping — everyone always wants more.
Pro Tips for the Best Chicken Tikka Sliders
Use chicken thighs, not breast. Thighs have more fat and connective tissue, making them stay juicy and tender even over high heat. Chicken breast dries out quickly on a hot grill and produces a tougher, less flavorful tikka.
Get your pan screaming hot. A hot pan creates the Maillard reaction — the browning and charring that gives tikka its signature smoky, slightly crispy exterior. A medium-heat pan just steams the chicken instead.
Let the chicken rest. After cooking, rest the chicken pieces for 3-5 minutes before assembling. Resting allows the juices to redistribute throughout the meat, making every piece noticeably more moist and flavorful.
Do not over-assemble. Great sliders are about balance. Too many toppings make the bun impossible to hold and overwhelm the chicken tikka flavor. Keep it to three or four components maximum for the cleanest, best eating experience.
Variations to Try
Once you have mastered the classic chicken tikka slider formula, the variations are exciting. Try a paneer tikka version for a stunning vegetarian alternative using the exact same marinade. Add a fried egg on top for a breakfast slider version. Use naan bread instead of buns for a more street-food-style presentation. A layer of tamarind chutney alongside the mint sauce adds a beautiful sweet-tangy complexity that takes the flavor to another level entirely.
How to Make Ahead and Store
The chicken tikka can be marinated up to 24 hours in advance and stored in the refrigerator — making this perfect for party prep. Cooked tikka pieces can be stored in an airtight container in the refrigerator for up to 3 days and reheated in a skillet over medium heat with a few drops of water to keep them moist. Assemble the sliders fresh just before serving for the best texture.
Final Thoughts
There is a reason chicken tikka sliders have taken the food world by storm — they combine the deep, complex spice tradition of South Asian tikka with the universally loved format of a slider, creating something that bridges cultures and pleases every palate. They are festive, flavorful, and endlessly versatile. Once you make them for a crowd, they will become your most-requested party recipe without question.
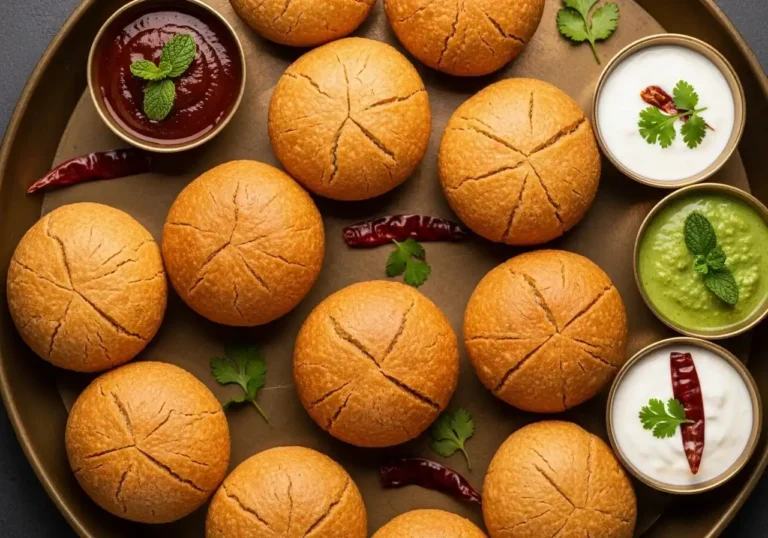
If you love bold Pakistani street food flavors, you absolutely must also try our Kachori recipe — crispy, flaky pastry shells filled with a spiced lentil or potato filling that is one of the most beloved snacks in Pakistani cuisine!