The Best Chewy Chocolate Chip Cookies You’ll Ever Bake!
Chocolate Chip Cookies You’ll Ever Bake!
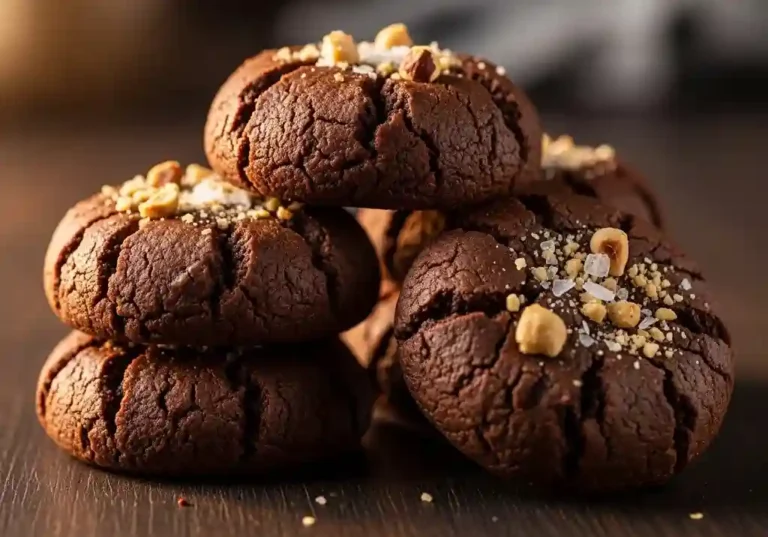
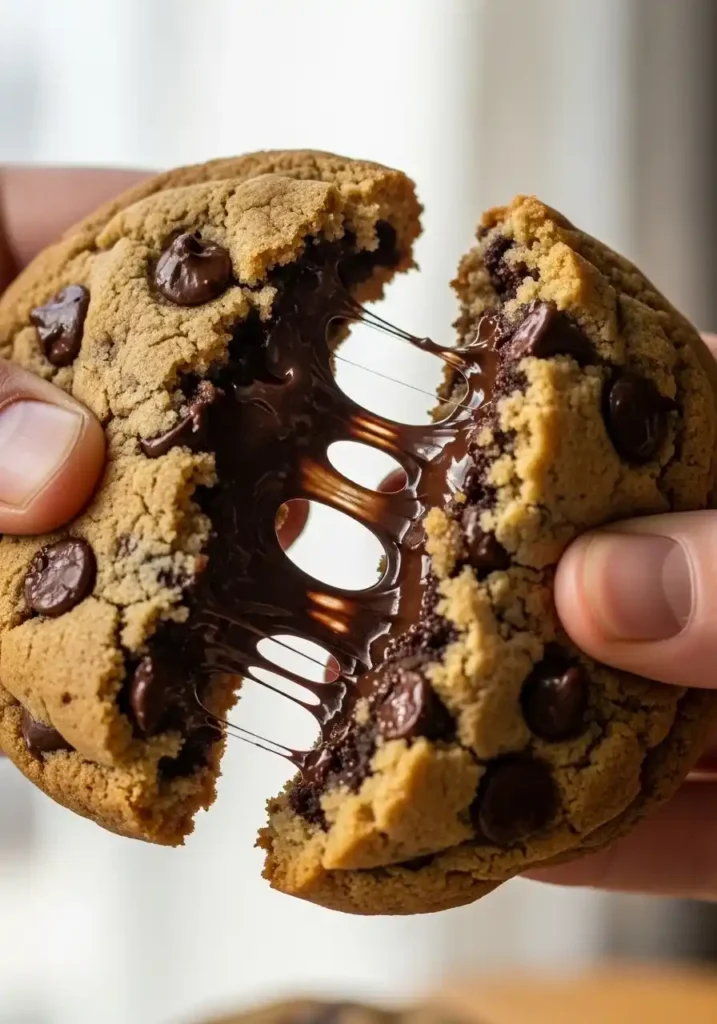
Is there a more universally beloved baked good in the entire world than a fresh batch of chocolate chip cookies, still warm from the oven, with a slightly crispy edge, a gooey molten center, and pools of melted chocolate studded throughout? We think not. This recipe has been tested and refined obsessively to deliver exactly that result: cookies that are crispy on the outside, chewy and almost fudgy in the middle, deeply buttery, and loaded with generous chunks of real chocolate in every single bite. Whether you are baking for a school event, a family gathering, a date night treat, or simply because you deserve something extraordinary on an ordinary Wednesday afternoon — this guide has everything you need to bake the best cookies of your life.
The Science Behind the Perfect Cookie
What separates a mediocre chocolate chip cookies from a transcendent one? It is not magic — it is science, applied deliciously. The fat content determines spread and richness: butter, particularly browned butter, delivers a nutty, caramel-like depth that shortening simply cannot replicate. The ratio of brown sugar to white sugar controls chewiness vs. crispness — more brown sugar means more moisture retention and a fudgier texture, while more white sugar promotes spread and snap. Eggs and egg yolks add richness and structure; using an extra yolk without the white creates a noticeably more tender and luxurious crumb. The most critical step of all is chilling the dough before baking. Resting the dough for at least 30 minutes — ideally overnight — allows the flour to fully hydrate, concentrates the flavors, and prevents excessive spreading in the oven, resulting in a thicker, chewier, more flavorful result.
What You Will Need
The ingredient list for exceptional chocolate chip cookies is deliberately simple — every single item on this list is a pantry staple, and there are no specialist ingredients required. The quality of your butter and your chocolate will have the single biggest impact on the final result, so choose the best you can afford in those two departments.
Core Ingredients (Makes 20-24 cookies):
| Ingredient | Quantity | Notes |
| Unsalted butter | 225 g (2 sticks) | Browned and cooled for deeper flavor |
| Granulated white sugar | 100 g (1/2 cup) | For spread and slight crispness |
| Brown sugar (packed) | 200 g (1 cup) | For chewiness and caramel notes |
| Large eggs | 2 whole + 1 yolk | Extra yolk = richer, fudgier texture |
| Pure vanilla extract | 2 tsp | Use real vanilla, not imitation |
| All-purpose flour | 280 g (2 1/4 cups) | Spooned and leveled, not scooped |
| Baking soda | 1 tsp | For lift and spread |
| Fine sea salt | 1 tsp | Plus flaky salt for topping |
| Chocolate chips or chopped chunks | 340 g (2 cups) | Semi-sweet or dark, 60-70% cocoa |
Optional Upgrades & Add-Ins:
| Ingredient | Quantity | Notes |
| Flaky sea salt (e.g. Maldon) | For topping | Sprinkle just before baking |
| Toasted walnuts or pecans | 1/2 cup (60 g) | Fold into dough for crunch |
| Espresso powder | 1 tsp | Intensifies chocolate flavor |
| Cinnamon | 1/4 tsp | Adds subtle warmth |
| Rolled oats | 1/2 cup (50 g) | For a heartier, chewier texture |
| White chocolate chips | 1/2 cup | Swapped in for a sweeter version |
| Peanut butter chips | 1/2 cup | For a PB chocolate combo |
Step-by-Step Baking Guide
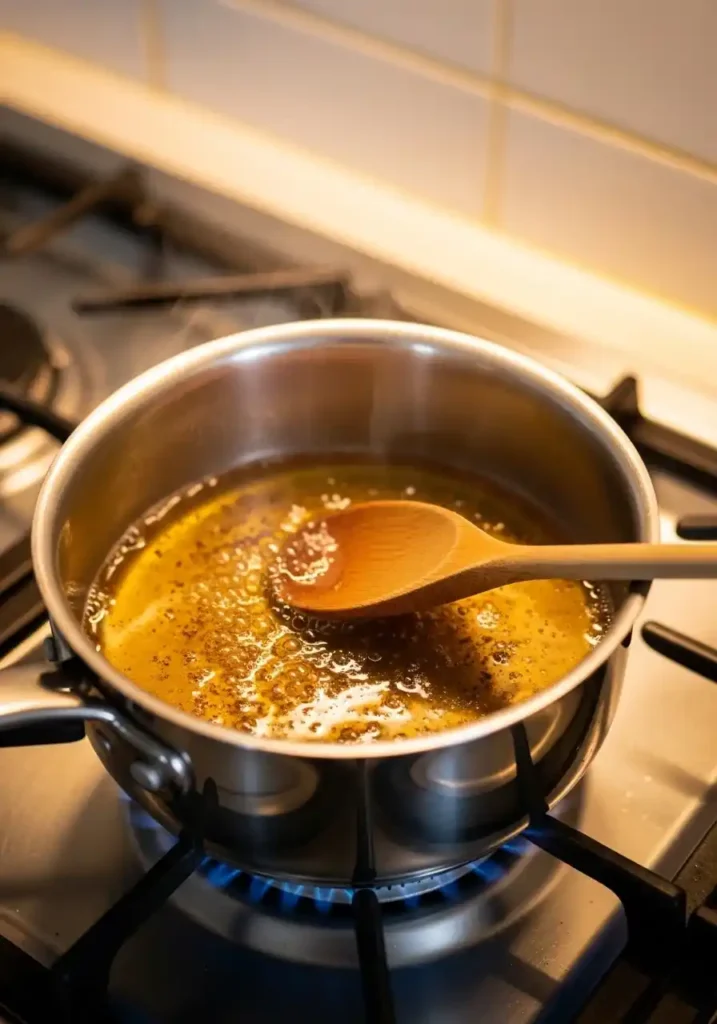
Step 1 – Brown the Butter
Place the butter in a light-colored saucepan over medium heat. Stir or swirl it frequently as it melts, foams, and then begins to turn a deep golden amber color with a nutty, toasty aroma — this takes about five to seven minutes. Watch it carefully at the end; it can go from perfectly browned to burnt very quickly. Pour the browned butter immediately into a large mixing bowl and allow it to cool to room temperature, about 20 minutes. This single step adds an extraordinary layer of caramel-like, nutty complexity to the finished cookie that you simply cannot get any other way. If you are short on time, standard melted butter works too, but browning is highly recommended.
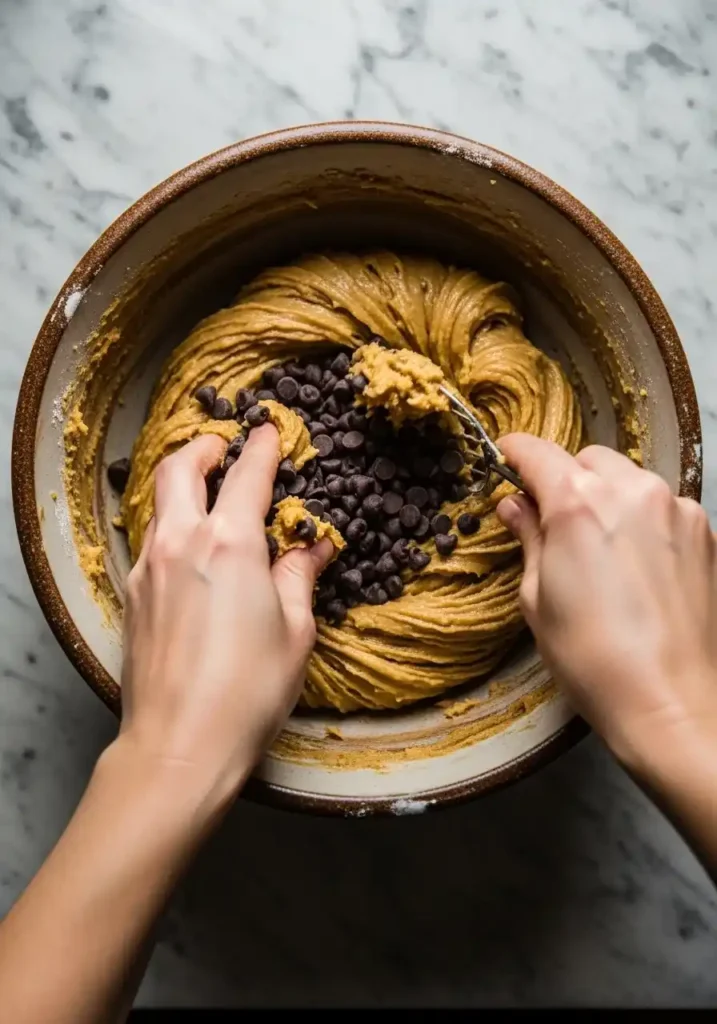
Step 2 – Mix the Dough
Add both sugars to the cooled browned butter and whisk vigorously for about two minutes until the mixture is pale, smooth, and slightly aerated. Whisk in the two whole eggs and the extra yolk, one at a time, followed by the vanilla extract. In a separate bowl, whisk together the flour, baking soda, and salt. Add the dry ingredients to the wet mixture and fold gently with a rubber spatula until just combined — do not overmix. Fold in the chocolate chip cookies or chunks, reserving a small handful to press into the tops of the dough balls before baking, which creates that beautiful, chocolate-studded appearance.
Step 3 – Chill the Dough
This is the most important — and most skipped — step. Cover the bowl of dough tightly with cling film and refrigerate for a minimum of 30 minutes, though 24 to 72 hours is ideal. Chilling firms the fat content, prevents excessive spread during baking, allows the sugars and flour to meld properly, and develops a dramatically more complex flavor. A dough chilled overnight will produce cookies that taste noticeably richer, more caramelized, and more deeply flavored than dough baked immediately.
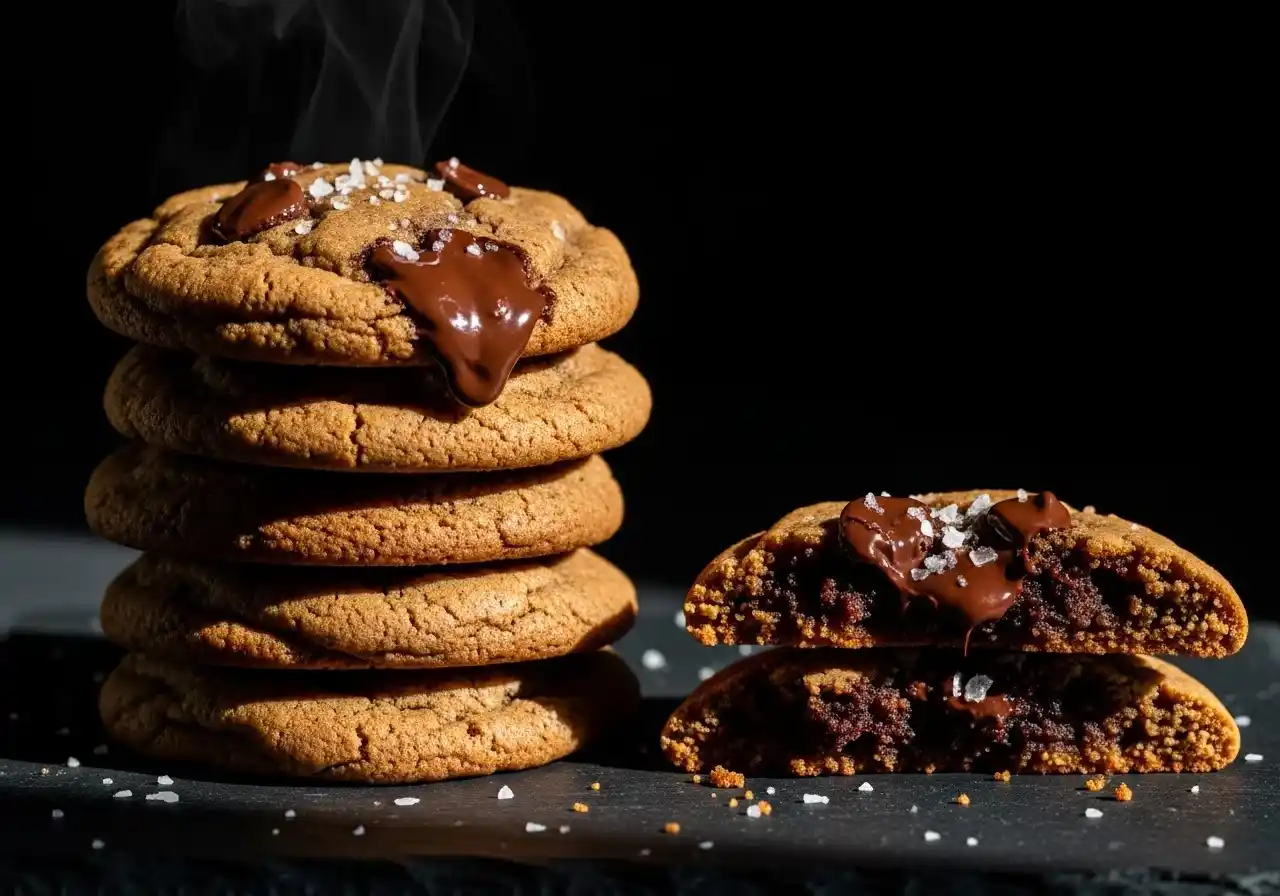
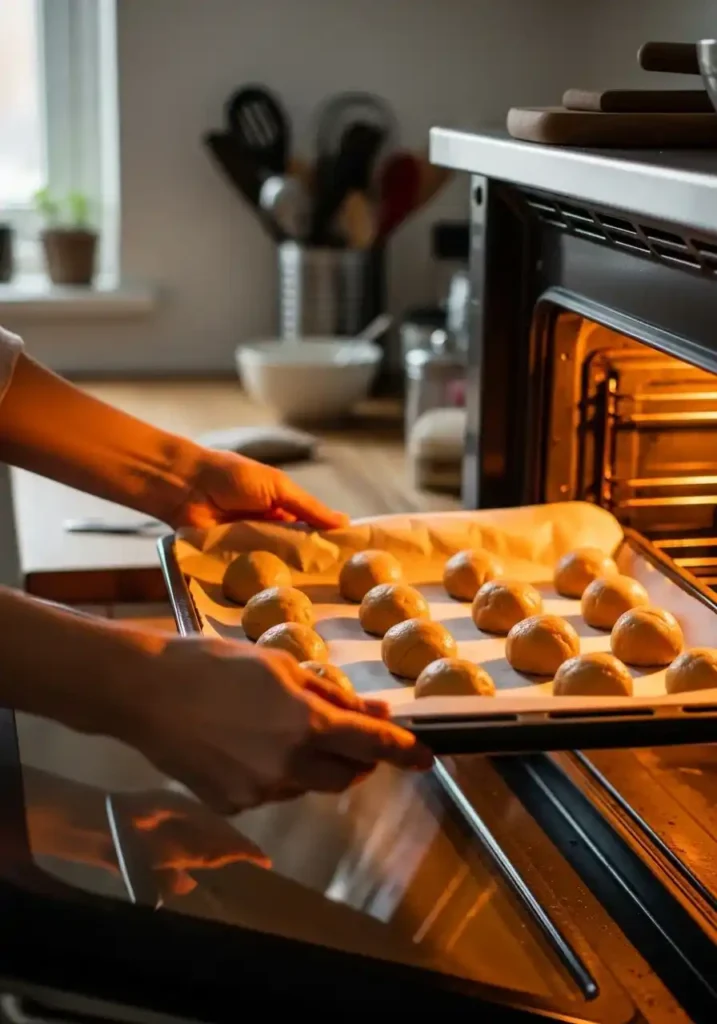
Step 4 – Bake to Perfection
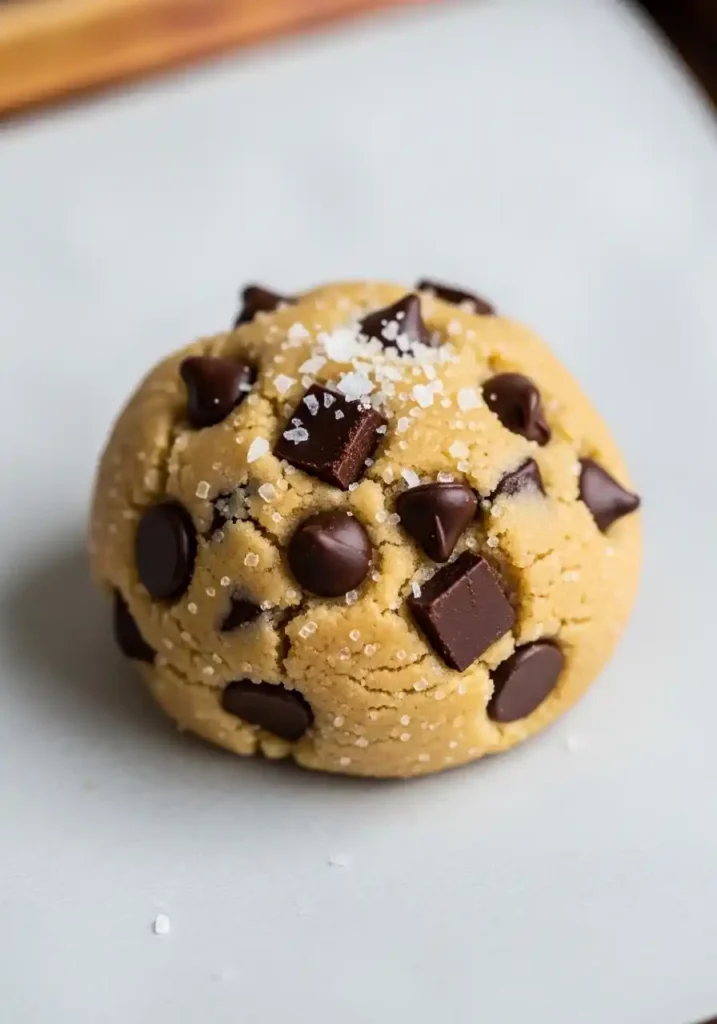
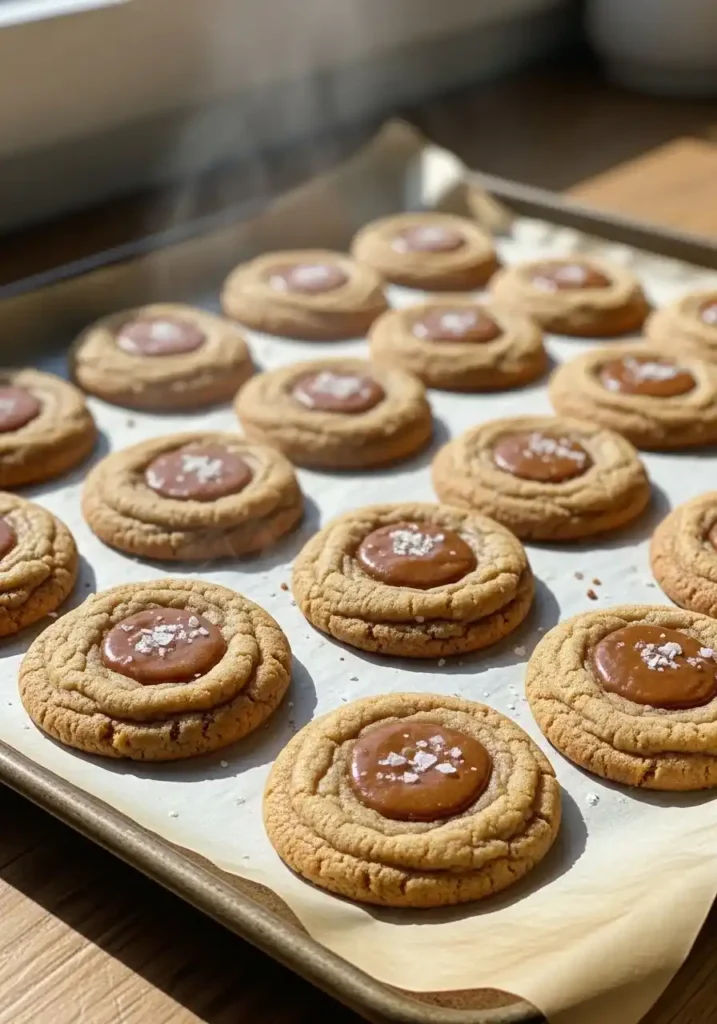
Preheat your oven to 190 C (375 F) and line two baking sheets with parchment paper. Using a cookie scoop or two spoons, portion the dough into balls approximately 50 g (about 3 tablespoons) each, placing them at least 5 cm apart on the prepared sheets. Press a few extra chocolate chip cookies on top of each ball, then sprinkle with flaky sea salt. Bake for 10 to 12 minutes, until the edges are set and golden but the centers still look underdone and glossy. Remove from the oven and allow to cool on the baking sheet for 5 minutes — they will continue to set as they cool. Resist the urge to move them too soon: this resting time is what creates that signature chewy, slightly gooey center.
Pro Tips for Perfect Results Every Time
- Always weigh your flour — scooping compacts it and easily adds 20-30% too much.
- Brown the butter for an extraordinary caramel-nutty depth that transforms the flavor.
- Use room-temperature eggs — they emulsify into the batter far more smoothly.
- Chill the dough at least 30 minutes; overnight produces dramatically better flavor.
- Underbake by a minute — cookies set as they cool; overbaking makes them dry.
- Press a few extra chocolate chip cookies on top just before baking for a bakery-worthy look.
- Flaky sea salt on top is non-negotiable — it heightens the sweetness and chocolate.
- For uniformly round cookies, use a round cookie cutter to swirl them into circles immediately after baking (the ‘cookie scoot’ technique).
Creative Variations to Try
Once you have the base recipe down, the possibilities expand beautifully. For a double chocolate version, replace a quarter of the flour with Dutch process cocoa powder: the result is a deeply fudgy, almost brownie-like creation that is extraordinary. A brown butter pecan variant — made by folding in a generous cup of toasted, roughly chopped pecans — delivers a sophisticated, bakery-quality result. For a peanut butter chocolate combination, substitute half the butter with smooth peanut butter. Adding a tablespoon of espresso powder to the dough will not make the cookies taste like coffee — instead, it acts as a flavor amplifier that makes the chocolate taste more intensely chocolatey than ever.
How to Store and Freeze
Baked cookies stay perfectly fresh stored in an airtight container at room temperature for up to five days — though in most households they disappear within the first 24 hours. To keep them soft, place a small piece of bread inside the container: the cookies will absorb its moisture and stay delightfully chewy. Unbaked cookie dough balls freeze exceptionally well: place them on a parchment-lined tray, freeze until solid (about two hours), then transfer to a zip-lock freezer bag and store for up to three months. Bake directly from frozen, adding just two to three extra minutes to the baking time — freshly baked cookies on demand, any time you want them.
Final Thoughts
Mastering a truly great batch of homemade chocolate chip cookies is one of the most rewarding things you can do in a kitchen. These are not complicated bakes — they require no stand mixer, no specialist equipment, no professional training. All they require is quality ingredients, a little patience (mostly just the chilling time), and a willingness to pull them from the oven one minute before you think they are done. Do that, and you will produce cookies so good that people will ask you for the recipe every single time you bake them.And if you are looking for something refreshing to wash down these warm, gooey cookies, do not miss our Fresh Homemade Lemonade Recipe — the perfect cold drink to pair with your baking session