Crispy Vanilla Creme Brulee: Foolproof, Silky & Easy to Make
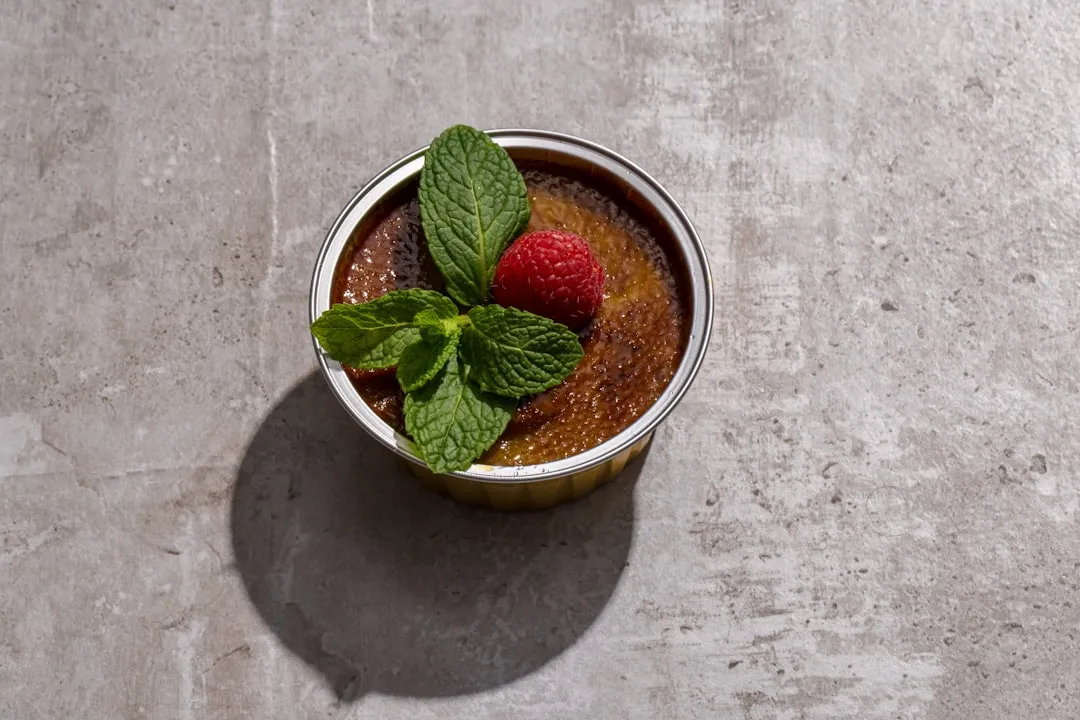
There is nothing quite like the satisfying crack of a sugar shell revealing a velvety, custard-like center. This guide shows you exactly how to make restaurant-quality vanilla creme brulee at home with just six simple ingredients. You will master the water bath technique and torching method to ensure a silky-smooth texture every single time. Trust me, once you taste this homemade version, you will never order it out again.
Quick Answer: Vanilla creme brulee is a classic French dessert featuring a smooth, rich custard base topped with a thin layer of hard caramelized sugar. To make it, blend egg yolks, sugar, cream, and vanilla bean paste, then bake in a water bath until set. Finally, torch the sugar crust until it cracks perfectly for a delightful textural contrast.
6 Simple Ingredients for the Perfect Custard Base
This rich vanilla creme brulee requires exactly six simple ingredients for the perfect custard base. Heavy whipping cream provides the necessary fat for a luxurious mouthfeel that milk cannot replicate. Fresh vanilla bean seeds offer a superior aromatic depth compared to artificial extracts. Egg yolks act as the thickening agent to set the custard without turning it into a rubbery scramble. Granulated sugar sweetens the base and creates the signature caramelized crust. A pinch of salt balances the sweetness to enhance the vanilla flavor profile.
Why a Water Bath Is Essential for Creamy Texture
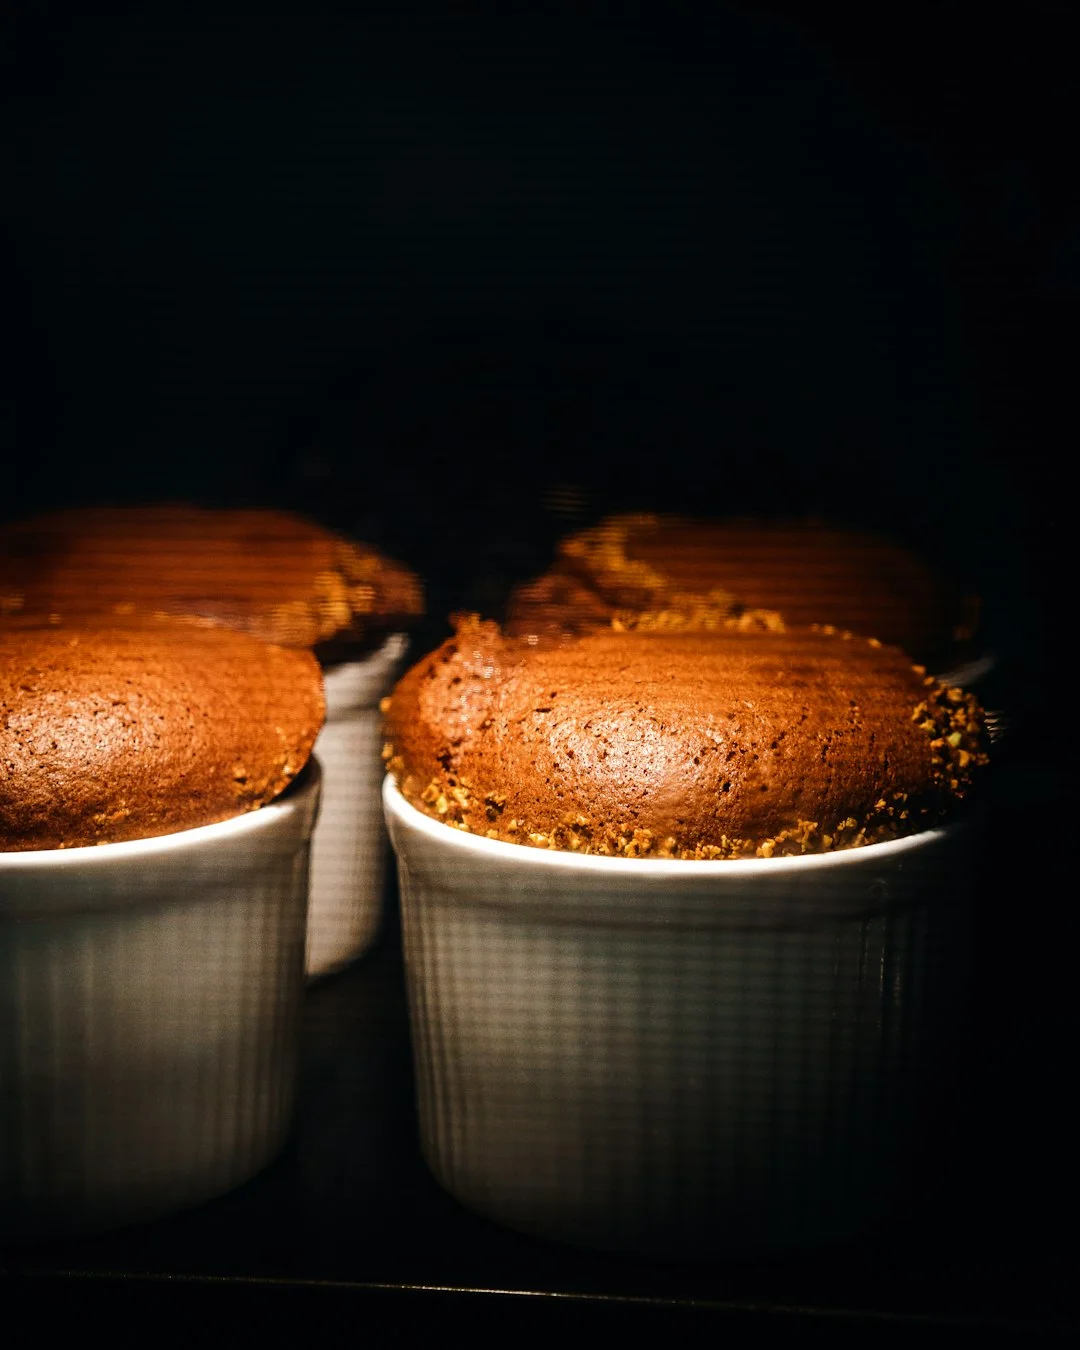
A water bath keeps the oven temperature steady, preventing eggs from curdling during baking. This gentle, moist heat ensures the custard sets slowly and evenly without forming bubbles or cracks. Without a water bath, the direct dry heat of the oven will cause the proteins to tighten too quickly, resulting in a grainy texture. Wrapping the bottom of your roasting pan in aluminum foil prevents any water from seeping into the ramekins during the bake. This simple step guarantees a smooth, silky finish that defines a perfect vanilla creme brulee.
How to Temper Eggs Without Scrambling Them
Tempering slowly adds hot liquid to eggs, gradually raising their temperature to prevent scrambling. If you pour boiling cream directly into cold eggs, they will instantly cook into scrambled bits. Whisking the egg yolks and sugar vigorously creates a pale, ribbon-like mixture before adding any heat. Pouring the hot cream into the eggs in a thin, steady stream while whisking constantly prevents premature coagulation. This technique is the secret behind the best vanilla creme brulee recipe because it maintains the emulsion’s integrity.
Step-by-Step Method to Bake Vanilla Creme Brulee
Step 1: Heat the Cream and Vanilla
Heat heavy cream and vanilla seeds over medium heat until they just begin to simmer. Do not let the cream come to a rolling boil, as this can scorch the sugars and curdle the dairy. Remove the pan from the heat immediately once you see small bubbles forming around the edges. Let the mixture steep for 15 minutes to infuse the cream with intense vanilla flavor. This steeping time is crucial for developing a deep, aromatic profile that stands out in the final dish. Line the pan with parchment paper so that the bars can be lifted out cleanly.
Step 2: Whisk Egg Yolks and Sugar
Whisk egg yolks and half the sugar until the mixture turns pale yellow and thickens. This process incorporates air and dissolves the sugar crystals completely. If you skip this step, the sugar may sink to the bottom of the ramekins and burn during baking. The mixture should look creamy and uniform, not grainy or separated. Taking an extra minute here ensures a smooth texture in the final custard.
Step 3: Temper the Eggs with Hot Cream
Slowly pour hot cream into the egg mixture while whisking constantly to temper the eggs. Start with a few tablespoons to warm the eggs before adding the rest of the cream. Whisking continuously prevents the eggs from cooking instantly upon contact with the hot liquid. Once all the cream is incorporated, the mixture should be a uniform pale yellow color. This tempered custard base is now ready for straining and baking. Use room-temperature cream cheese because cold cream cheese creates lumps.
Step 4: Strain and Pour into Ramekins
Strain the custard through a fine-mesh sieve into a large measuring cup or bowl. Straining removes any cooked egg bits or undissolved sugar crystals that could affect the texture. This step also removes the vanilla bean pod and any tough fibrous strands. Divide the mixture evenly among six 6-ounce ramekins for individual servings. Ensuring equal distribution helps all portions bake evenly in the oven.
Step 5: Bake in a Water Bath
Preheat your oven to 325°F (163°C) and place the ramekins in a roasting pan filled with hot water halfway up their sides. Bake for 40 to 45 minutes until the edges are set but the center still has a slight jiggle. The custard will continue to set as it cools, so removing it too early will result in a runny center. Use a spoon to carefully lift the ramekins out of the water bath after baking. Let them cool at room temperature for at least one hour before refrigerating. Bake until edges are set because residual heat finishes the center as it cools.
Step 6: Chill and Torch the Sugar
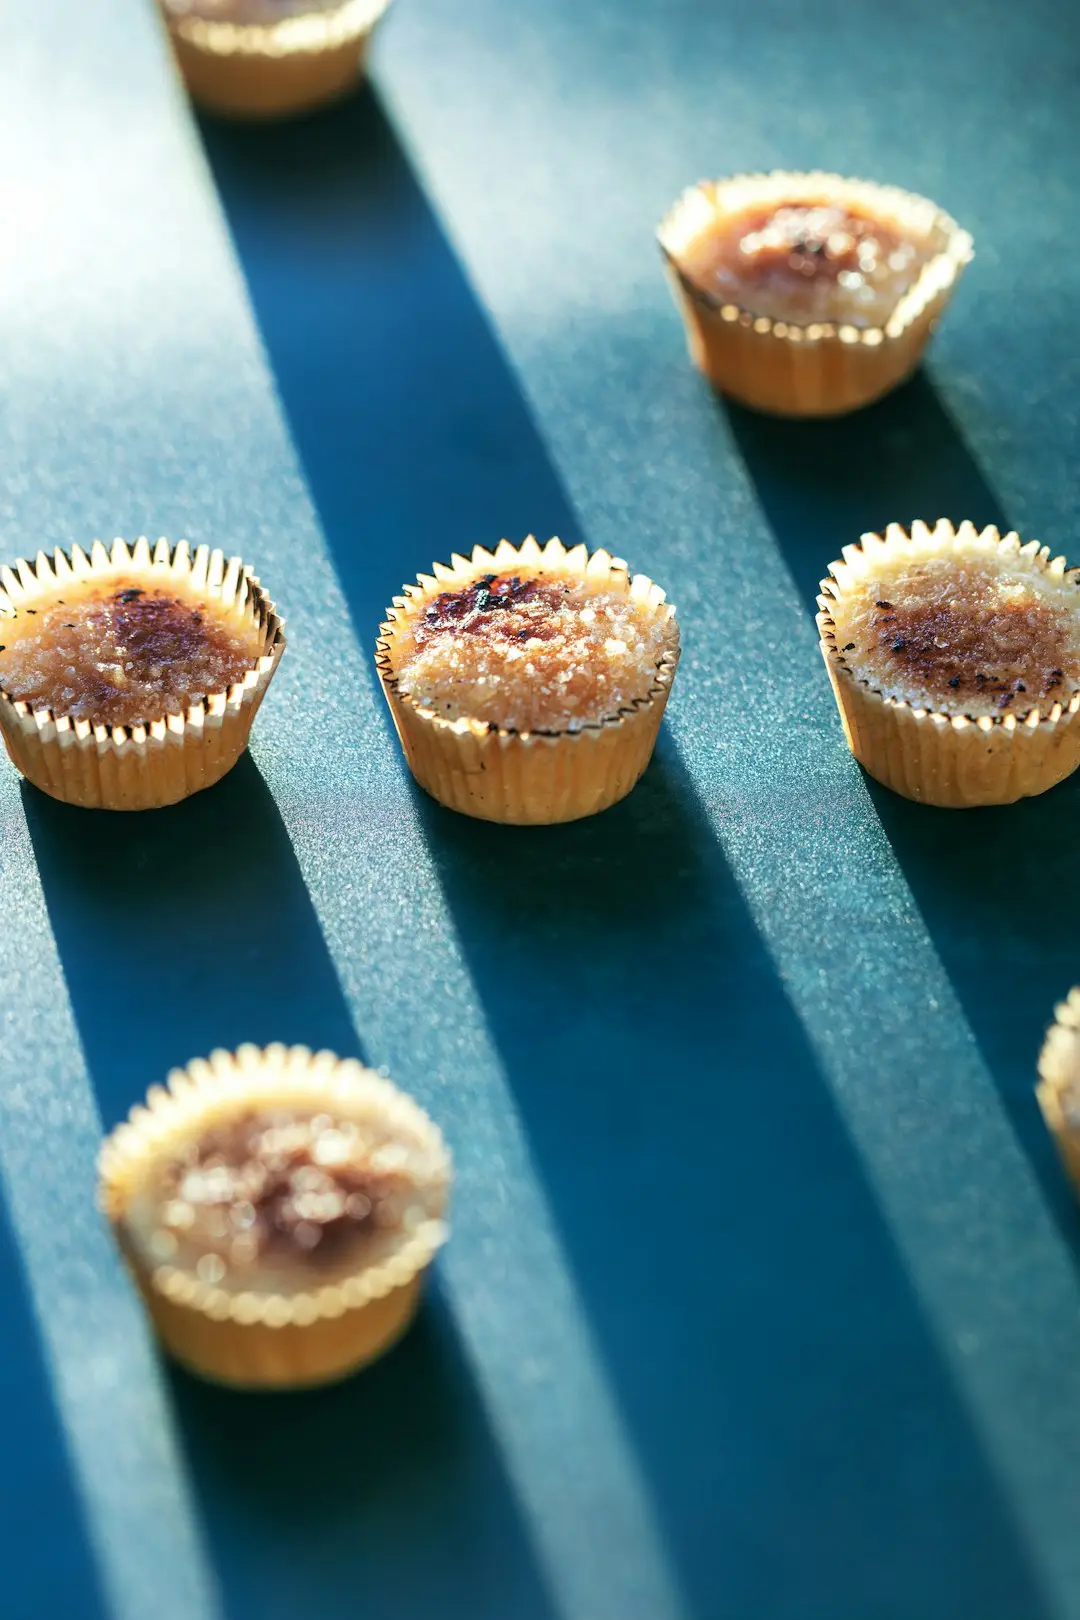
Refrigerate covered custards for at least 4 hours, or up to 3 days, before serving. Chilling firms the custard and deepens the vanilla flavor significantly. Just before serving, sprinkle a thin, even layer of granulated sugar over the top of each custard. Use a kitchen torch to caramelize the sugar until it turns a deep golden amber color. The sugar shell should be hard and crisp when tapped with a spoon. Chill fully before slicing so that the bars hold their shape and slice cleanly.
Six precise baking steps guarantee a foolproof, creamy vanilla creme brulee every single time. The key is patience during the tempering and baking stages to avoid curdling. Rushing the process is the most common mistake home cooks make when attempting this delicate dessert. Take your time with each stage to achieve that signature silky texture. The result is a sophisticated dessert that looks and tastes like it came from a high-end pastry shop.
Troubleshooting Common Creme Brulee Mistakes
Grainy texture results from skipping the straining step or overheating the eggs during cooking. Always use a fine-mesh sieve to catch any accidentally cooked egg pieces. If your custard is runny after baking, it likely did not reach the proper doneness cue of a slight jiggle. Bake it for an additional 5 minutes and check again with a gentle shake. A burnt sugar top happens when the torch is held too close or moved too slowly. Keep the flame moving constantly to create an even, golden layer rather than blackened spots. These adjustments will help you perfect your technique for the next batch.
Make-Ahead Storage and Freezing Instructions
Covered creme brulee stays fresh in the refrigerator for up to 5 days. The custard base remains safe and flavorful during this period, making it an excellent make-ahead dessert. You can prepare the custards up to 3 days in advance and torch them just before serving. Do not torch the sugar until right before eating, as it will turn chewy and dissolve if left exposed to air. Freezing is not recommended for this recipe because the texture becomes watery and grainy upon thawing. Stick to refrigeration for the best quality and mouthfeel.
3 Flavor Variations Worth Trying
Infusing the cream with different flavors creates unique, delicious twists on this classic dessert. For a citrus variation, add the zest of two oranges to the cream while steeping the vanilla. The bright orange oil cuts through the richness of the heavy cream beautifully. Chocolate lovers can stir in 1/2 cup of melted dark chocolate after straining the custard. This creates a decadent mocha-like flavor that pairs well with the caramelized sugar. Coffee enthusiasts can dissolve 1 tablespoon of instant espresso powder into the warm cream before combining with eggs. These variations allow you to customize the dessert to match your personal taste preferences.
Serving Suggestions and Pairings
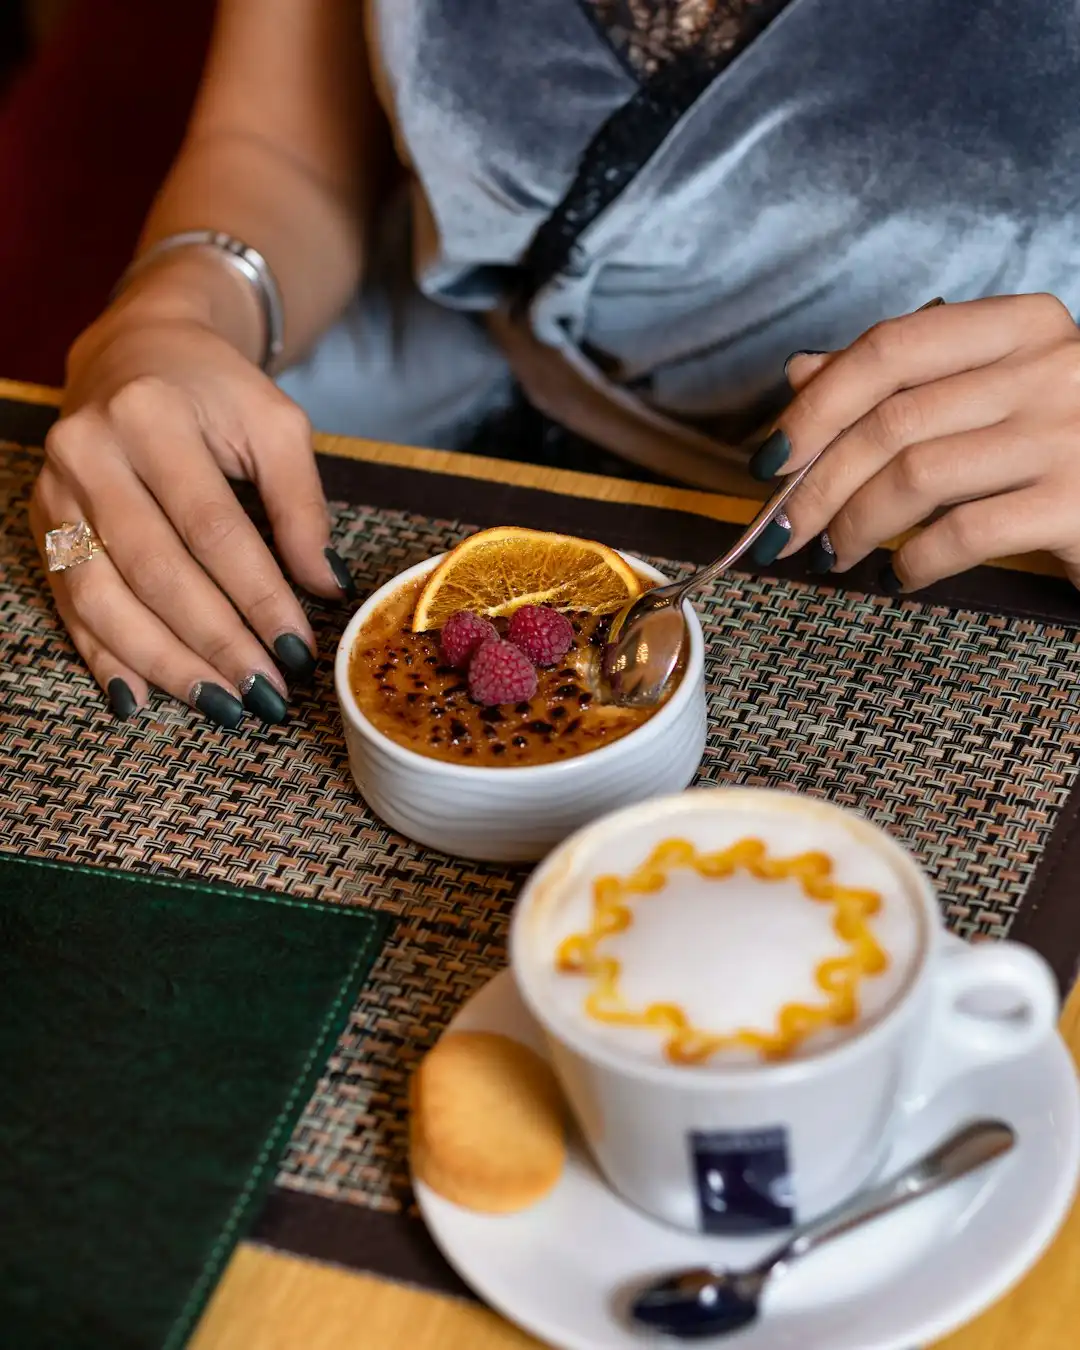
Serve vanilla creme brulee at room temperature for the best contrast between crisp sugar and cool custard. Pair it with a strong black coffee to balance the sweetness and richness of the dessert. Fresh berries like raspberries or strawberries add a tart acidity that complements the creamy base. A light glass of sweet dessert wine such as Moscato enhances the vanilla notes in the custard. These pairings elevate the dining experience by creating a harmonious balance of flavors and textures. Consider garnishing with a fresh mint leaf for a pop of color and freshness.
Frequently Asked Questions About Creme Brulee
Home cooks often ask specific questions about techniques and ingredients needed for successful creme brulee. Here are answers to the most common queries to help you bake with confidence. Understanding the science behind each step will improve your results significantly. These tips address the practical concerns that often arise during the baking process. Use this section as a quick reference guide while you prepare your dessert.
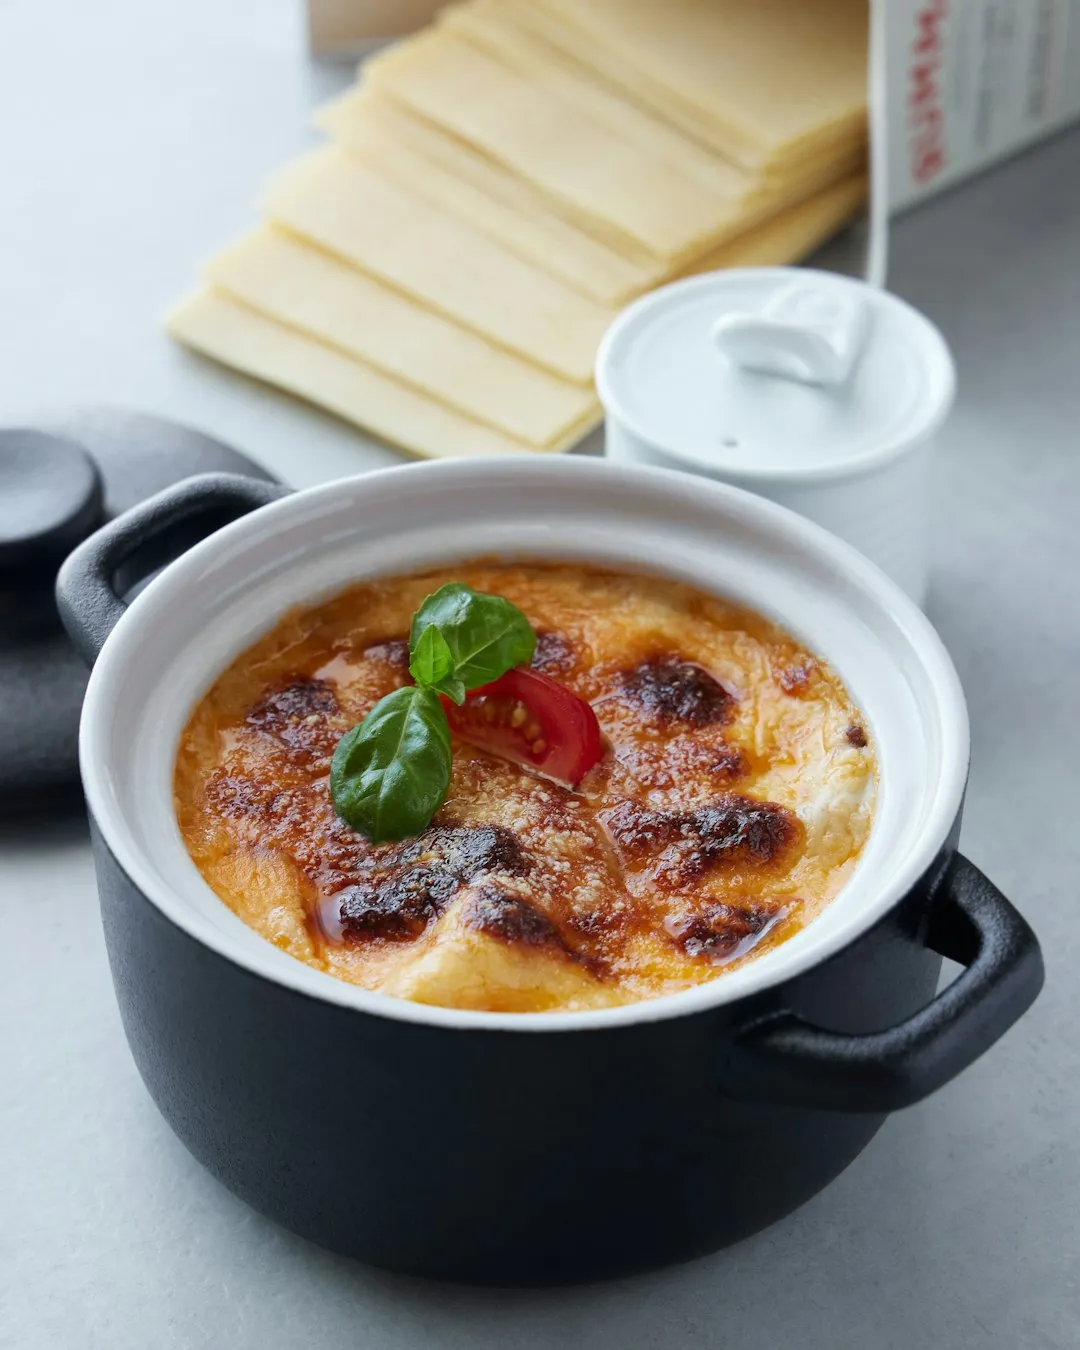
Why is my creme brulee not setting? Is it undercooked?
A liquid center after baking indicates that the creme brulee is likely undercooked. Bake it for 5-10 additional minutes in a 325°F oven until the edges are firm and the center has a slight jiggle. The custard will continue to set as it cools, so do not overbake it to the point where it becomes rubbery.
I would love to hear how your vanilla creme brulee turned out, so please share your results in the comments below. If you enjoy this creamy dessert, you might also want to try my recipe for the best vanilla bean creme brulee cheesecake cupcakes for a fun twist. Save this post to your favorite dessert board so you can easily find it when planning your next dinner party If you love this, you might also enjoy our Baked tiramisu cheesecake recipe recipe!
Recipe Checklist
- 2 cups heavy whipping cream
- 1 vanilla bean, split and scraped (or 2 tsp pure vanilla extract)
- 1/2 cup granulated sugar for custard
- 5 large egg yolks
- 1/4 cup granulated sugar for topping
- Pinch of fine sea salt
Frequently Asked Questions
Final Thoughts
Making vanilla creme brulee at home brings so much comfort and bakery-quality joy to your kitchen. With these simple steps, you can achieve the perfect texture and flavor every single time without any guesswork. Give this delicious recipe a try today, and let me know in the comments below how yours turned out!
About Zoya
Zoya is a self-taught home baker with over 8 years of experience baking cakes, no-bake desserts, dips, and traditional Pakistani sweets for family and friends. She has tested every recipe on this blog multiple times in her own kitchen before publishing. She is based in the US and runs this blog as a place to share reliable, approachable recipes.