
Indulge in the Fluffiest Caramel Cloud Cake
Within 45 minutes, you can create 8 servings of the fluffiest, most divine caramel cloud cake you’ve ever tasted. I still remember my first attempt at making a caramel cloud cake – it was a disaster, but I’ve since perfected the recipe and I’m excited to share it with you. With 15 minutes of prep time and 30 minutes of cook time, this cake is a show-stopping dessert that’s sure to impress your friends and family.
What is a Caramel Cloud Cake Recipe?
Introduction to Cloud Cakes
Cloud cakes are known for their light and airy texture, with a tender crumb and a delicate flavor. The caramel cloud cake is a variation of this cake, featuring a rich caramel sauce and a crispy, golden crust. This unique combination of textures and flavors makes the caramel cloud cake a truly special dessert.
With 8 servings per recipe, the caramel cloud cake is perfect for large gatherings or special occasions. The cake’s fluffy texture and sweet, caramel flavor make it a crowd-pleaser, and its impressive presentation is sure to wow your friends and family. In just 45 minutes, you can create a show-stopping dessert that’s sure to impress.

Ingredients and Equipment
Essential Ingredients
To make a caramel cloud cake, you’ll need 2 cups of all-purpose flour, 1 cup of granulated sugar, 3 large eggs, and 1/2 cup of unsalted butter, softened. You’ll also need 1 teaspoon of vanilla extract, 1 cup of whole milk, and 1/4 teaspoon of salt. These ingredients will help you create a light and airy cake with a delicate flavor and a crispy, golden crust.
In addition to these ingredients, you’ll need a few pieces of equipment, including a 9-inch round cake pan, a mixer, and a whisk. Having the right equipment is crucial for making a successful caramel cloud cake, as it ensures the cake is baked evenly and at the right temperature. With the right tools and ingredients, you’ll be able to create a show-stopping dessert that’s sure to impress.

For the caramel sauce, you’ll also need: 1 cup brown sugar, 4 tablespoons unsalted butter, 1/2 cup heavy cream.
How to Make Caramel Cloud Cake
Step 1: Preheat the Oven
Preheat your oven to 350 degrees Fahrenheit, the perfect temperature for baking a cake. This step is crucial because it ensures the cake bakes evenly and at the right temperature. While the oven is heating up, prepare your cake pan by greasing it with butter and flour to prevent the cake from sticking. This will help the cake release from the pan easily and prevent it from breaking apart.
Step 2: Mix the Batter
In a large mixing bowl, combine 2 cups of flour, 1 cup of sugar, and 1/2 cup of softened butter. Mix the ingredients together until they form a smooth, velvety batter. Don’t overmix, as this can lead to a dense, tough cake. The goal is to create a smooth batter that will yield a light and airy cake. To achieve this, mix the ingredients just until they come together in a cohesive batter.
Step 3: Add the Eggs and Vanilla
Add 3 large eggs to the batter, one at a time, mixing well after each addition. This ensures the eggs are fully incorporated and the batter is smooth. Then, add 1 teaspoon of vanilla extract and mix until combined. The vanilla adds a subtle flavor and aroma to the cake, which complements the caramel sauce perfectly. By adding the eggs one at a time, you’ll ensure they’re fully incorporated and the batter is smooth and even.
Step 4: Add the Milk and Salt
Add 1 cup of whole milk to the batter, mixing until combined. The milk adds moisture and tenderness to the cake, making it light and fluffy. Then, add 1/4 teaspoon of salt and mix until smooth. The salt enhances the flavors in the cake and helps balance the sweetness of the caramel sauce. By adding the milk and salt, you’ll create a balanced flavor profile that’s both sweet and savory.
Step 5: Pour the Batter into the Pan
Pour the batter into the prepared cake pan, smoothing the top with a spatula. This ensures the cake bakes evenly and has a smooth surface. Don’t worry if the batter seems a bit thin – it will thicken as it bakes. To ensure the cake releases from the pan easily, make sure to grease the pan thoroughly and flour it lightly.
Step 6: Bake the Cake
Bake the cake for 30 minutes, or until it is golden brown and a toothpick inserted into the center comes out clean. This step is crucial because it ensures the cake is fully baked and cooked through. Remove the cake from the oven and let it cool in the pan for 10 minutes. Then, transfer it to a wire rack to cool completely. By letting the cake cool completely, you’ll ensure it’s set and ready to serve.
Step 7: Make the Caramel Sauce
In a medium saucepan, melt 1 cup of granulated sugar over medium heat, stirring constantly until it turns a deep amber color and smells fragrant; this careful melt prevents scorching and gives the sauce its signature richness. Immediately whisk in 4 tablespoons of unsalted butter, letting it melt completely before slowly pouring in 1/2 cup of heavy cream, stirring continuously until the mixture is smooth, glossy, and slightly thickened; the butter adds silkiness while the cream balances the sweetness, and the constant stirring ensures a velvety texture without lumps. Remove the pan from the heat and let the caramel cool for a few minutes so it thickens just enough to coat the back of a spoon, then set it aside while the cake finishes cooling.
Step 8: Drizzle and Caramelize the Top
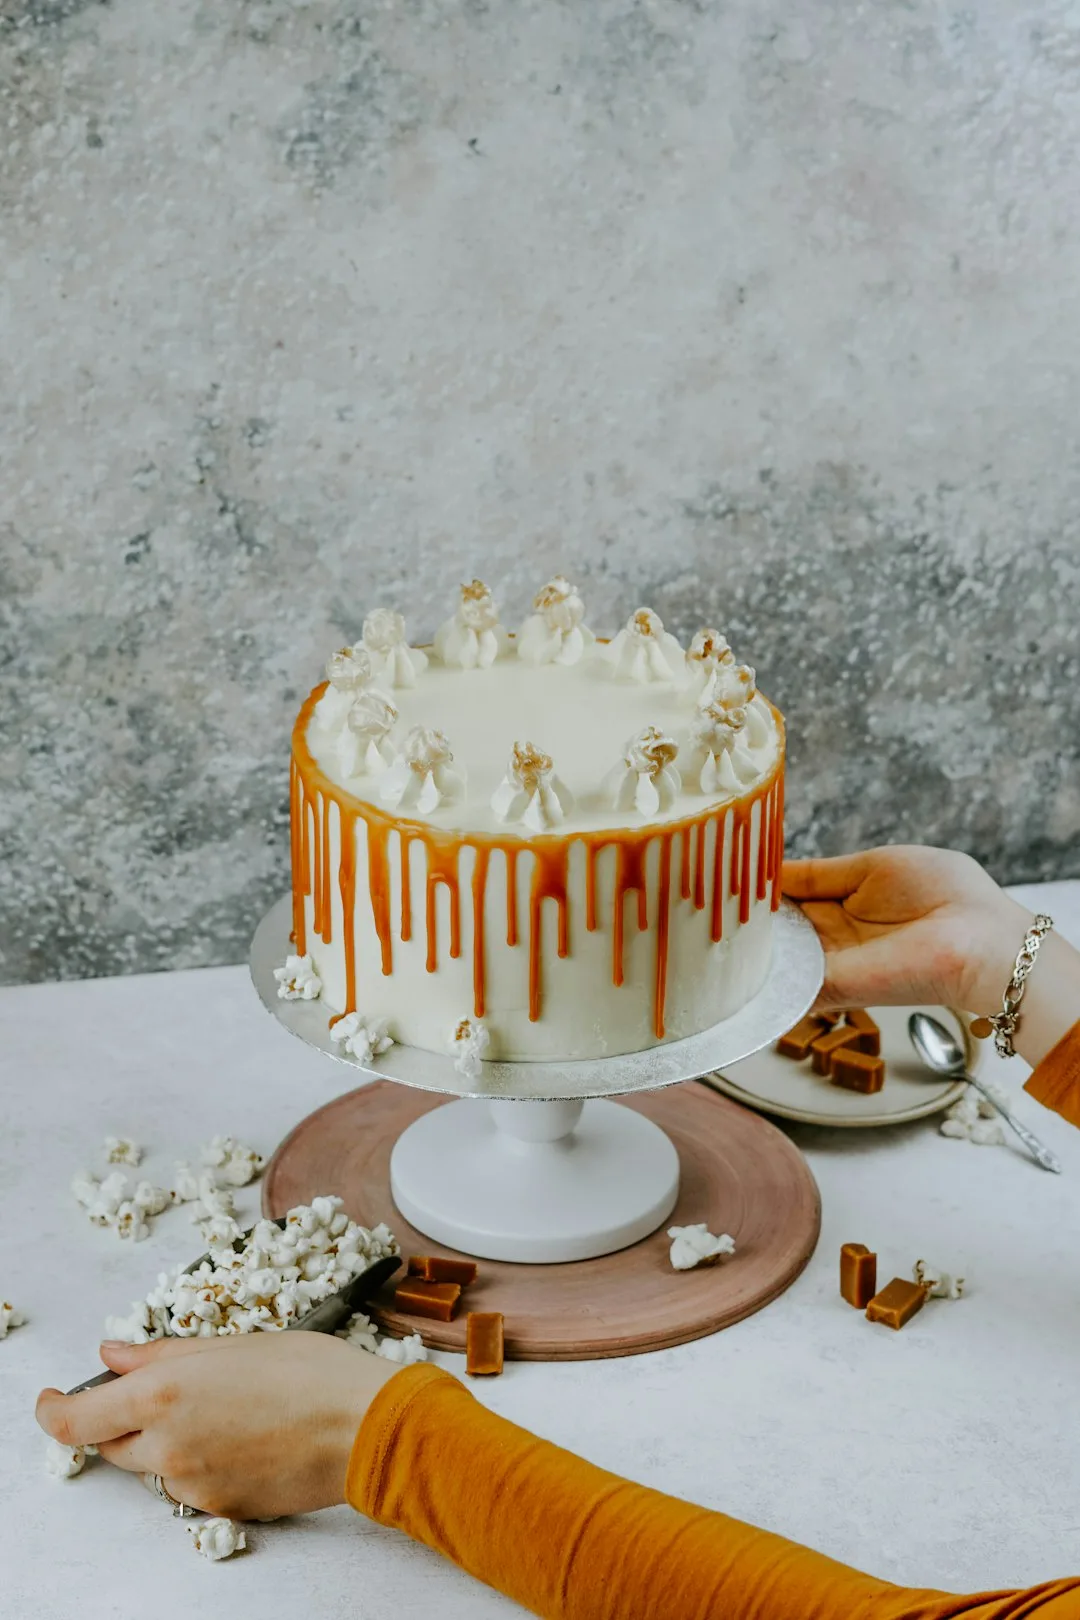
Once the cake is completely cool, place it on a heat‑proof serving plate and generously drizzle the warm caramel sauce over the surface, using a spatula to spread any excess to the sides for an even, glossy finish; this step creates the promised caramel‑laden crown and adds a luscious moisture layer. For a crisp, caramelized top, preheat your oven’s broiler on high, then position the cake about 6 inches below the heating element and broil for 1–2 minutes, watching closely until the sauce bubbles and turns a deep, caramel‑brown crust—this quick burst of heat gives the cake its signature crunchy caramel shell without burning.
Frequently Asked Questions
Final Thoughts
Making caramel cloud cake at home brings so much comfort and bakery-quality joy to your kitchen. With these simple steps and reliable techniques, you can achieve the perfect texture and flavor every single time without any guesswork. Give this delicious recipe a try today, and let me know in the comments below how yours turned out!
About Zoya
Zoya is a self-taught home baker with over 8 years of experience baking cakes, no-bake desserts, dips, and traditional sweets for family and friends. She has tested every recipe on this blog multiple times in her own kitchen before publishing.