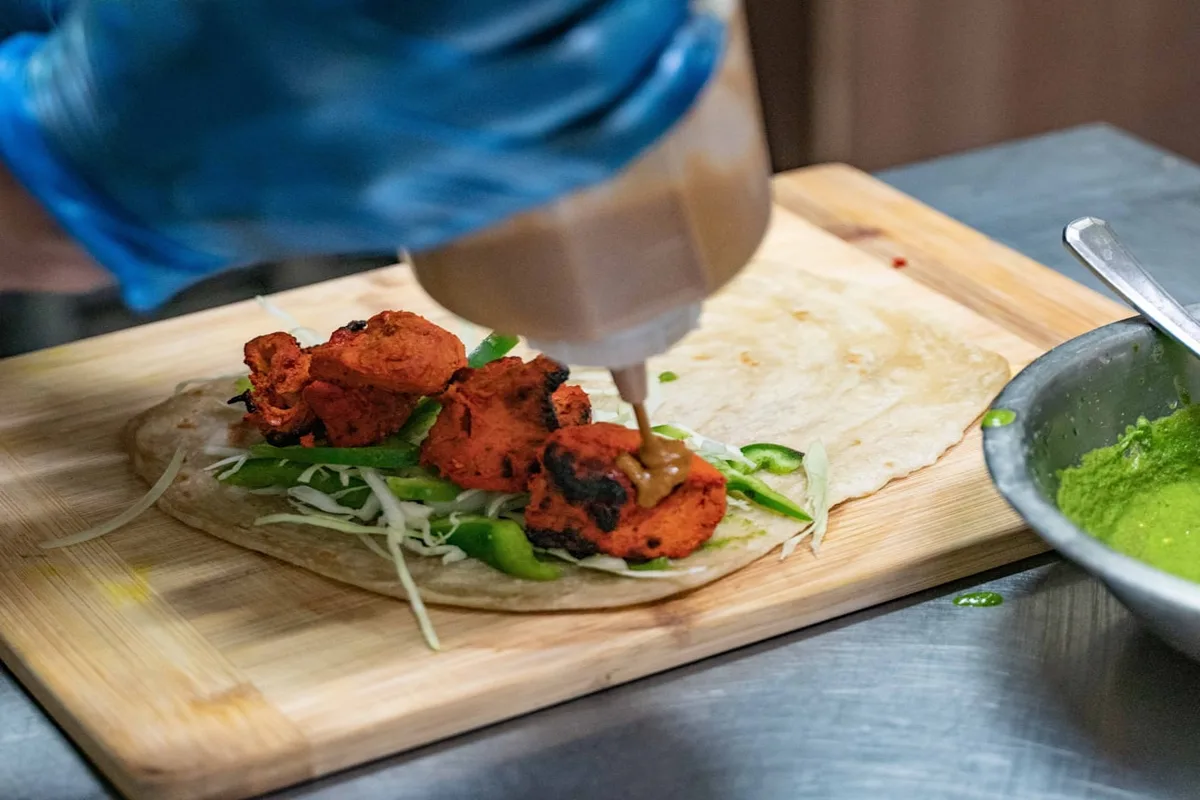
Crispy Chicken Tikka Paratha Rolls Recipe Revealed
Welcome to my kitchen, where I’m excited to share with you my recipe for crispy chicken tikka paratha rolls! This dish is a perfect combination of Indian flavors and textures, with tender chicken tikka wrapped in a crispy paratha bread. In this recipe, I’ll guide you through the steps to make this delicious dish from scratch.
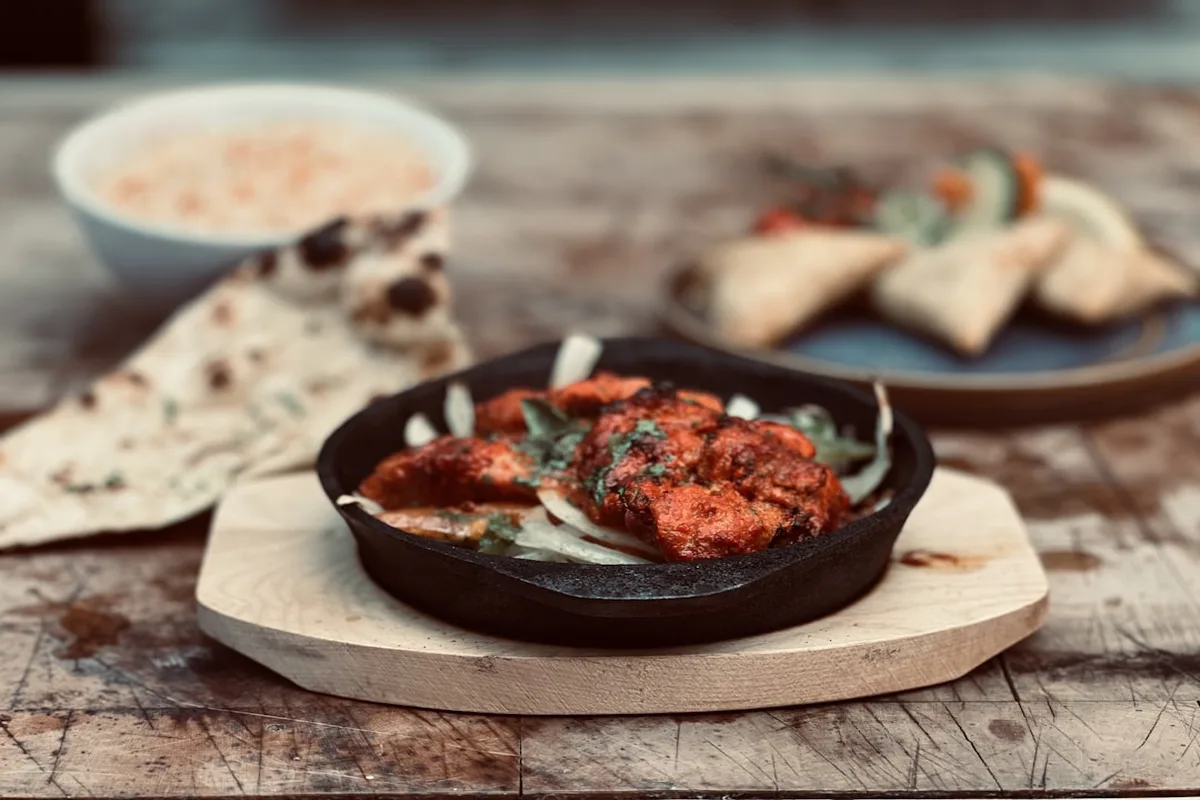
To start, you’ll need to prepare the ingredients, which includes 2 cups of all-purpose flour, 1 teaspoon of salt, 1/4 teaspoon of black pepper, 1/2 cup of ghee or oil, 2 large onions, 2 large tomatoes, 1 teaspoon of cumin seeds, 1 teaspoon of coriander powder, 1/2 teaspoon of garam masala powder, 1/2 teaspoon of cayenne pepper, 1/2 cup of plain yogurt, 2 tablespoons of lemon juice, 2 tablespoons of chopped cilantro, and 8 boneless, skinless chicken breast or thighs, cut into small pieces.
Once you have all the ingredients ready, you can start by marinating the chicken in a mixture of yogurt, lemon juice, and spices for 15 minutes. This step is crucial, as it allows the chicken to absorb all the flavors and become tender and juicy.
Next, you’ll need to cook the chicken tikka in a skillet over medium heat for 10 minutes, or until it’s golden brown and cooked through. Be careful not to overcook the chicken, as it can become dry and tough.
While the chicken is cooking, you can start preparing the paratha dough by kneading it for 20 minutes, until it becomes smooth and pliable. This step is important, as it helps the paratha to roll out evenly and cook uniformly.
Once the paratha dough is ready, you can roll out each paratha into a thin circle, about 5 minutes per paratha. Make sure to roll them out evenly, so they cook uniformly and don’t become too thick or too thin.
Now it’s time to assemble the chicken tikka paratha rolls by placing a few pieces of chicken tikka in the center of each paratha and rolling it up. Make sure the filling is evenly distributed, so each bite is packed with flavor.
Finally, cook the paratha rolls in a skillet over medium heat for 2-3 minutes, or until they’re golden brown and crispy. This step gives the paratha a nice texture and flavor, and helps to bring all the ingredients together.
FAQs
Below, you’ll find some frequently asked questions about chicken tikka paratha rolls, including their calorie count, storage instructions, and customization options.
Q: What is chicken tikka paratha rolls? A: This recipe yields 8 servings of crispy chicken tikka paratha rolls, a dish that requires specific ingredients and steps to achieve a crispy and golden result, made with chicken and paratha bread, needing about 45 minutes to prepare and cook completely.
Q: What is the calorie count of chicken tikka paratha rolls? A: Each serving has 320 calories, including 35g of protein, 20g of fat, and 20g of carbohydrates. This makes it a relatively balanced meal, perfect for a quick and easy dinner.
Q: What is the best way to store chicken tikka paratha rolls? A: You can store chicken tikka paratha rolls for up to 3 days in an airtight container in the refrigerator. They can also be frozen for up to 2 months and reheated in a skillet or oven when needed.
Q: Can I customize the filling of chicken tikka paratha rolls? A: Yes, you can customize the filling to your taste by adding different spices, herbs, or sauces to the chicken tikka, or using different types of cheese or vegetables. This allows you to experiment with various flavor combinations and find your favorite.
Q: What is the best way to reheat chicken tikka paratha rolls? A: To reheat chicken tikka paratha rolls, cook them in a skillet over medium heat or in the oven at 350°F. Be careful not to overheat them, as this can cause them to become dry or tough.
Q: Are chicken tikka paratha rolls healthy? A: Chicken tikka paratha rolls are relatively healthy, as they are a good source of protein and contain a balance of carbohydrates and fat. However, they can be high in sodium and saturated fat, so it’s best to consume them in moderation as part of a balanced diet.
Q: Can I make chicken tikka paratha rolls from scratch? A: Yes, you can make chicken tikka paratha rolls from scratch by following this recipe, which includes making the paratha dough and cooking the chicken tikka. This allows you to control the ingredients and ensure that your dish is made with fresh and healthy components.
Recipe Checklist
- 2 cups all-purpose flour
- 1 teaspoon salt
- 1/4 teaspoon black pepper
- 1/2 cup ghee or oil
- 2 large onions, finely chopped
- 2 large tomatoes, diced
- 1 teaspoon cumin seeds
- 1 teaspoon coriander powder
- 1/2 teaspoon garam masala powder
- 1/2 teaspoon cayenne pepper
- 1/2 cup plain yogurt
- 2 tablespoons lemon juice
- 2 tablespoons chopped cilantro
- 8 boneless, skinless chicken breast or thighs, cut into small pieces
What Makes a Great Chicken Tikka Roll
A good chicken tikka roll comes down to two things: well-marinated, juicy chicken and a paratha that stays crisp even after it’s rolled around the filling. These paratha rolls get both right.
How to Make Chicken Tikka Paratha Rolls
Step 1: Importance of Fresh Ingredients
Spend no more than 30 minutes preparing the ingredients. Use fresh cilantro for its bright, citrusy flavor; avoid dried cilantro as it negatively impacts the overall taste.
Step 2: Prepare the Chicken Tikka
Marinate the chicken pieces in a mixture of yogurt, lemon juice, and spices for 15 minutes. This allows the chicken to absorb the flavors, resulting in tender and juicy tikka.
Step 3: Cook the Chicken Tikka
Cook the marinated chicken in a skillet over medium heat for 10 minutes, stirring until it turns golden brown and is cooked through.
Step 4: Prepare the Paratha Dough
Combine flour, salt, and ghee or oil, then knead the dough for 20 minutes until it becomes smooth and pliable.
Step 5: Roll Out the Paratha
Roll each portion of dough into a thin circle, taking about 5 minutes per paratha, ensuring an even thickness.
Step 6: Assemble the Chicken Tikka Paratha Rolls
Place a few pieces of cooked chicken tikka in the center of each rolled‑out paratha and roll it up, distributing the filling evenly without overfilling.
Step 7: Cook the Paratha Rolls
Cook each assembled roll in a skillet over medium heat for 2–3 minutes until the paratha is golden brown and crispy.
Frequently Asked Questions
Final Thoughts
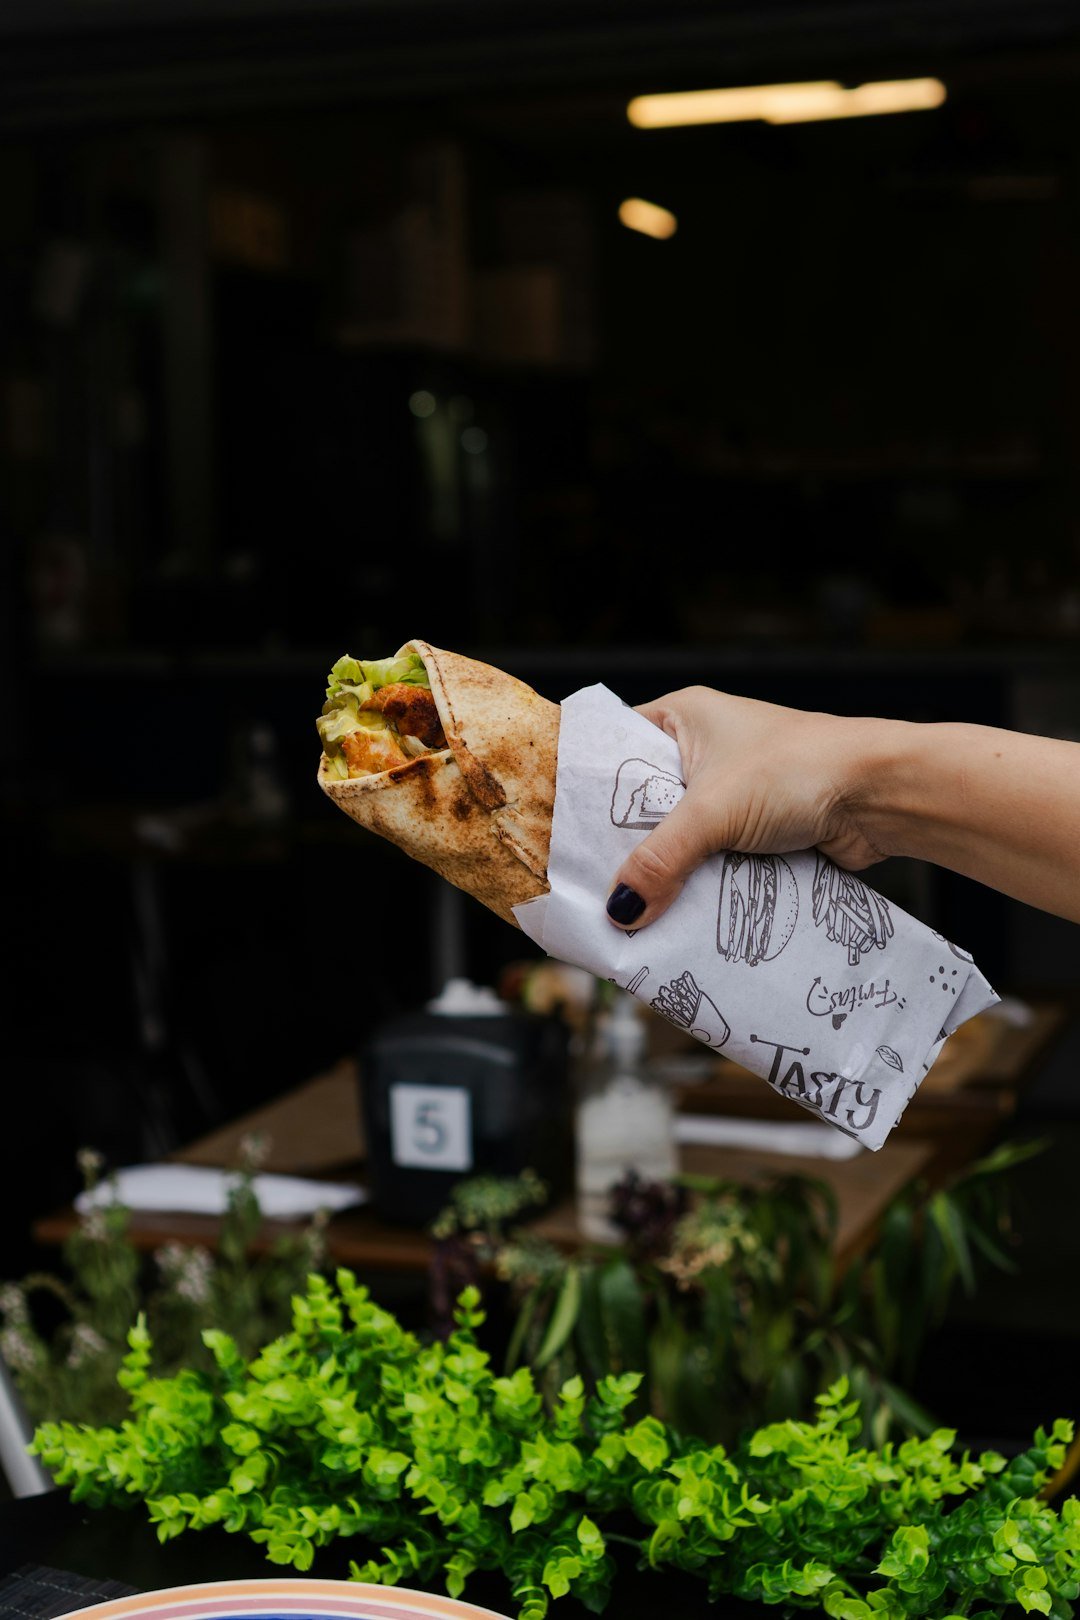
Making chicken tikka paratha rolls at home means you control the spice level, the freshness, and the crisp on that paratha — something you just can’t guarantee from a takeout order. Give this recipe a try, and let me know in the comments how your rolls turned out!
About Zoya
Zoya is a self-taught home baker with over 8 years of experience baking cakes, no-bake desserts, dips, and traditional sweets for family and friends. She has tested every recipe on this blog multiple times in her own kitchen before publishing.