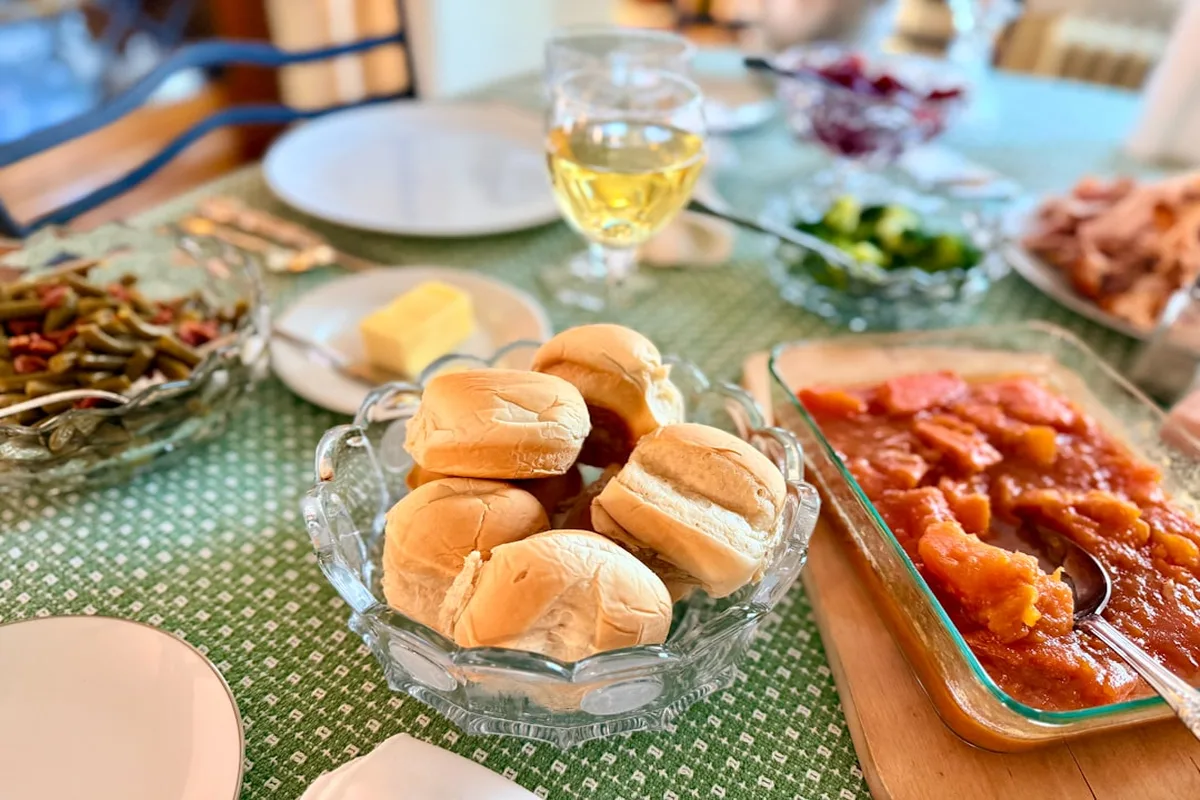
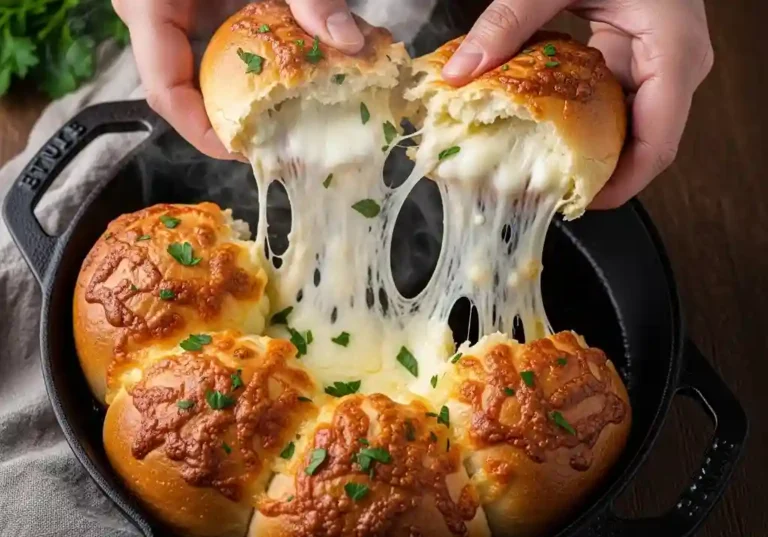
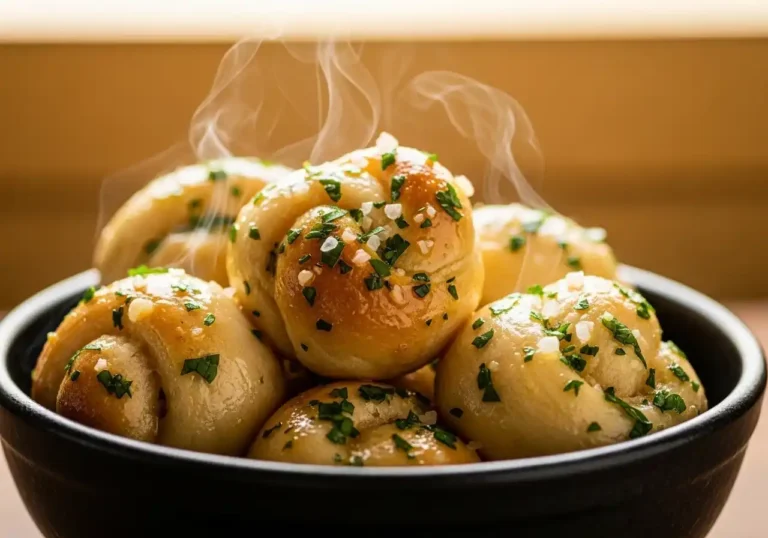
Within 45 minutes, you can have a batch of freshly baked, pillow-soft garlic butter dinner rolls warm on your table. Prepared with simple pantry staples—active dry yeast, warm milk and water, flour, a touch of sugar, and melted butter—these golden rolls are brushed straight out of the oven with aromatic melted garlic and fresh herbs. They make Sunday dinners, holiday feasts, or cozy weeknight meals feel extraordinary, and best of all, they can easily be made ahead for effortless entertaining.
Easy garlic butter dinner rolls are a delicious and flavorful addition to any meal. They’re perfect for a crowd, and you can easily double or triple the recipe to feed a large group of people. The best part is that they can be made ahead of time, making them a convenient option for meal prep. In fact, 20 minutes of the total 45-minute preparation time is dedicated to letting the dough rise, which allows you to prepare other dishes while you wait. This recipe makes 8 rolls, which is perfect for a small gathering or a week’s worth of breakfasts.
Understanding the Ingredients
To make easy garlic butter dinner rolls, you’ll need 1 1/2 cups of warm water, 2 teaspoons of active dry yeast, 3 tablespoons of sugar, 4 cups of all-purpose flour, 1 teaspoon of salt, 1/4 cup of unsalted butter, 3 cloves of garlic, and 1/2 cup of grated cheddar cheese. Each ingredient plays a crucial role in the final result, and using the right amounts is essential for achieving the perfect texture and flavor. For example, the yeast is responsible for making the dough rise, while the garlic and butter give the rolls their distinctive flavor. The cheese adds a nice tanginess and helps to balance out the richness of the butter.
Step-by-Step Instructions
Making easy garlic butter dinner rolls involves several steps, each with its own importance. The first step is to activate the yeast, which takes 5 minutes. Then, you’ll need to mix the dough for 10 minutes until it becomes smooth and elastic. After that, the dough needs to rise for 20 minutes in a warm place, allowing it to double in size and giving your dinner rolls a light, airy texture. Finally, you’ll need to shape the dough into rolls and bake them in a preheated oven for 10 minutes, or until golden brown. Each step is crucial for achieving the perfect texture and flavor, and skipping any of them can result in subpar rolls.
Step 1: Activate the Yeast (5 minutes)
To start, you’ll need to activate the yeast in warm water, which takes 5 minutes. This step is crucial for the dough to rise properly, as the yeast should start to foam and bubble, indicating it’s active and ready to use. Make sure the water is not too hot, as this can kill the yeast and prevent the dough from rising. The ideal temperature for activating yeast is between 100°F and 110°F. You can check the temperature using a thermometer to ensure it’s within the correct range.
Step 2: Mix the Dough
(10 minutes)
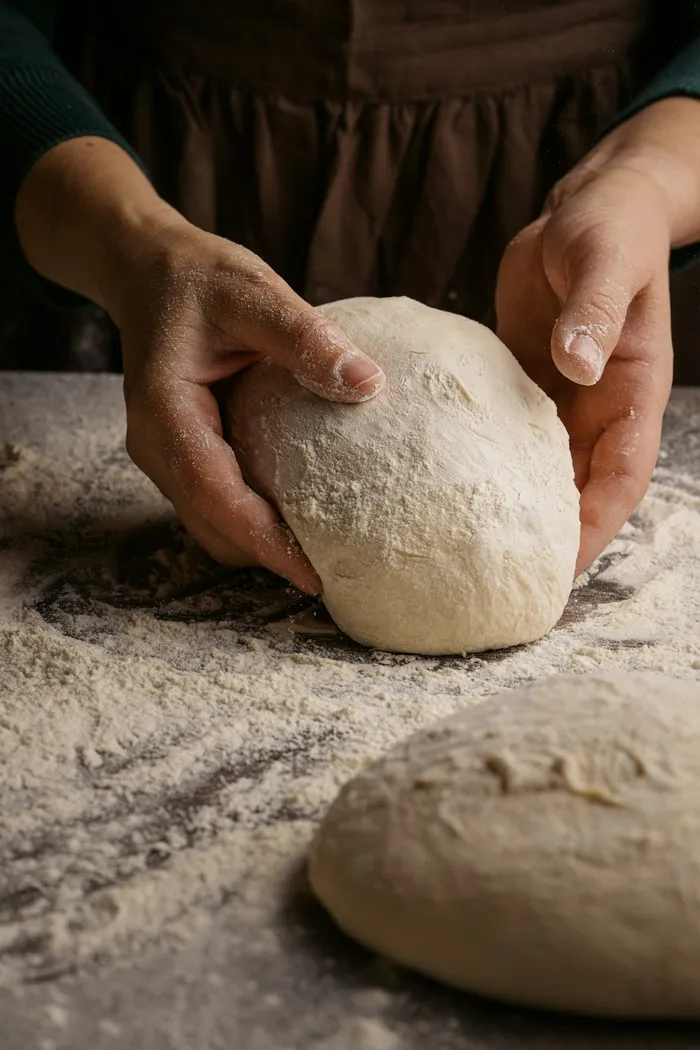
Next, you’ll need to mix the dough for 10 minutes until it becomes smooth and elastic. Don’t overmix, as this can lead to tough dinner rolls. The dough should be sticky, but not too sticky, to ensure the right texture, which is essential for the rolls to hold their shape. You can use a stand mixer or a hand mixer to mix the dough, but make sure to scrape down the sides of the bowl to ensure all the ingredients are well incorporated. If you’re using a stand mixer, use the dough hook attachment to mix the dough. If you’re using a hand mixer, use the beaters to mix the dough.
Step 3: Let the Dough Rise (20 minutes)
After mixing the dough, you’ll need to let it rise for 20 minutes in a warm place. This step is critical for the final result, as it allows the yeast to ferment and the dough to develop its structure, giving your dinner rolls a light, airy texture. Make sure the area is draft-free and at a comfortable temperature, around 75°F to 80°F. You can let the dough rise in a warm place, such as near a window or on the counter. Just make sure it’s not too hot or too cold, as this can affect the rising process.
[[IMAGE_PLACEHOLDER_1]]
Step 4: Shape and Bake the Rolls (10 minutes)
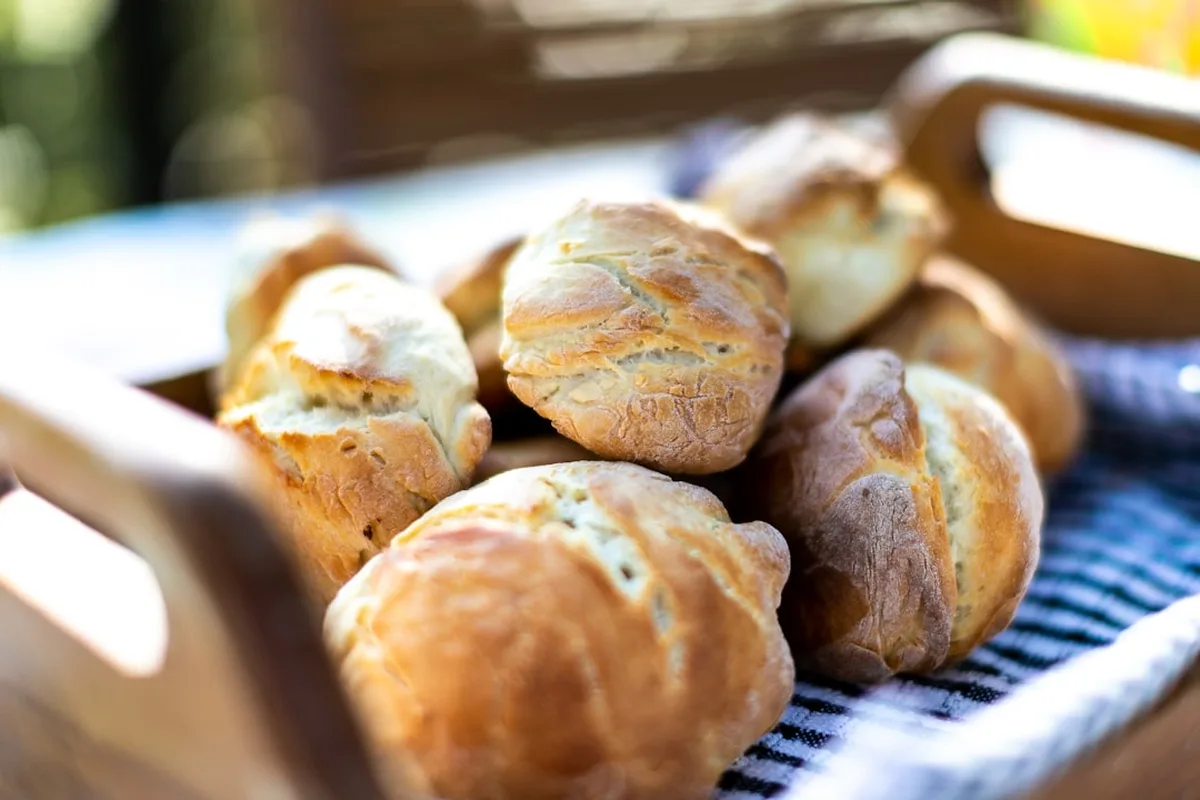
Finally, you’ll need to shape the dough into rolls and bake them in a preheated oven for 10 minutes, or until golden brown. This step is important for giving the rolls their final shape and crispy exterior, which adds to their overall texture and flavor. Make sure to leave enough space between each roll to allow for even baking and to prevent them from sticking together. You can brush the rolls with melted butter before baking to give them a golden brown color and a rich, buttery flavor.
Step 5: Add Garlic Butter (2 minutes)
After the rolls have baked for 5 minutes, you’ll need to add the garlic butter. This step is crucial for giving the rolls their distinctive flavor. To make the garlic butter, simply mix 1/4 cup of softened butter with 3 cloves of minced garlic. You can adjust the amount of garlic to your taste, but 3 cloves is a good starting point. Once you’ve mixed the garlic butter, brush it evenly onto the rolls, making sure to get it all the way to the edges.
Step 6: Finish Baking (5 minutes)
After adding the garlic butter, you’ll need to finish baking the rolls for an additional 5 minutes, or until they’re golden brown. This step is important for giving the rolls their final texture and flavor. Make sure to keep an eye on the rolls while they’re baking, as they can go from perfectly baked to burnt in a matter of minutes. Once the rolls are done, remove them from the oven and let them cool on a wire rack for a few minutes before serving.
Tips and Pro Tips
To ensure the best results, make sure to use high-quality ingredients and follow the instructions carefully. Here are some additional tips to help you make the perfect easy garlic butter dinner rolls: use a digital thermometer to ensure the water is at the right temperature, don’t overmix the dough, and use a pastry brush to apply the garlic butter evenly. By following these tips, you’ll be able to create delicious and flavorful dinner rolls that are sure to impress your family and friends. Additionally, make sure to not overbake the rolls, as this can make them dry and crumbly. Instead, bake them until they’re lightly golden brown and still soft to the touch.
Flavor Variations
While the classic easy garlic butter dinner rolls recipe is delicious on its own, you can also experiment with different flavor variations to create unique and exciting taste experiences. Some ideas include adding dried herbs, such as thyme or rosemary, to the dough for a savory flavor, or using different types of cheese, such as parmesan or feta, for a tangy twist. You can also try adding some spice, such as red pepper flakes, to give the rolls a bit of heat. Another option is to add some chopped fresh herbs, such as parsley or chives, to the garlic butter for a fresh and flavorful taste.
[[IMAGE_PLACEHOLDER_2]]
Storage and Freezing
Easy garlic butter dinner rolls can be stored at room temperature for up to 3 days or frozen for up to 2 months. To freeze, simply place the rolls in a single layer on a baking sheet and put them in the freezer until they’re frozen solid. Then, transfer the frozen rolls to a freezer-safe bag or container and store them in the freezer. To thaw, simply leave the rolls at room temperature for a few hours or reheat them in the oven until they’re warm and crispy. You can also store the rolls in an airtight container at room temperature for up to 3 days. Just make sure to keep them away from direct sunlight and heat sources, as this can cause them to become stale.
Serving Suggestions
Easy garlic butter dinner rolls are perfect for serving alongside your favorite meals, such as soups, stews, or roasted vegetables. You can also use them to make delicious sandwiches, such as sliders or subs. For a fun and easy snack, try serving the rolls with a side of marinara sauce or a green salad. Some popular vessels for dips include the ceramic dip bowl set and the Premier Home Goods dip bowl set. Some popular dippers include Pillsbury biscuits and Pepperidge Farm frozen garlic knots. You can also serve the rolls with a side of cheese or charcuterie for a quick and easy appetizer.
Recipe Checklist
Recipe Checklist
4 cups all-purpose flour or bread flour (divided)
2 teaspoons (1 packet) active dry yeast
1 1/2 cups warm water (105°F to 115°F) & 3 tablespoons sugar
1/4 cup unsalted butter, softened & 1 teaspoon fine salt
Optional: 1/2 cup finely grated cheddar or parmesan cheese
Frequently Asked Questions
Can I prepare garlic butter dinner rolls ahead of time?▼
Yes! You can shape the rolls and arrange them in your baking pan, cover tightly with plastic wrap, and refrigerate for up to 24 hours. Let them sit at room temperature for 45-60 minutes to complete their second rise before baking.
How do I get the dinner rolls extra soft and fluffy?▼
Do not add too much flour during kneading. The dough should be slightly tacky to the touch. Brushing the rolls with melted garlic butter immediately as they come out of the oven softens the golden crust and locks in moisture.
Can I freeze baked garlic butter dinner rolls?▼
Yes, let the baked rolls cool completely, then place them in a freezer-safe zip-top bag and freeze for up to 2 months. Reheat in a 300°F (150°C) oven wrapped in foil for 10 minutes until warm and fresh.
How do I know when the rolls are done baking?▼
The rolls are done when their tops are deep golden brown and tapping the center roll sounds hollow. An instant-read thermometer inserted into the center should read 190°F to 200°F (88°C to 93°C).
Final Thoughts
Baking homemade garlic butter dinner rolls transforms any family dinner into something truly special. The heavenly aroma of warm yeast bread, sizzling garlic, and melted butter filling your kitchen is unmatched. Bake a batch for your next meal, and let me know in the comments below how quickly they disappeared!
About Zoya
Zoya is a self-taught home baker with over 8 years of experience baking cakes, no-bake desserts, dips, and traditional Pakistani sweets for family and friends. She has tested every recipe on this blog multiple times in her own home kitchen, focusing on approachable techniques, reliable measurements, and crowd-pleasing results.
If you have ever walked past a street food stall and been stopped dead in your tracks by an intoxicating cloud of smoky, charred spices, you already understand the magnetic power of Indian tandoor cooking. Now imagine all of that bold, fire-kissed flavor tucked inside a soft, pillowy naan bun. That is exactly what Tandoori…
If there is one bread that can make any meal feel truly special, it is roghni naan. That golden surface brushed with butter and sesame seeds, the pillowy softness when you tear into it, the way it soaks up a rich curry or dal — it is pure comfort food in every single bite. And…
Do you love best cheesy garlic bread, try making it now with simple steps and enjoy the warm joy of homemade delight, bake it today for an amazing treat
Few things in life compare to pulling apart a warm, freshly baked cheesy bread roll and watching the melted cheese stretch and pull with every bite. These soft, fluffy rolls are packed with gooey cheese on the inside and brushed with a golden, garlicky butter on top — making them absolutely impossible to resist. Whether…
Are you craving a delicious and satisfying meal that can be prepared in no time? Look no further than this easy chicken alfredo flatbread recipe, perfect for a weeknight dinner or a special occasion. With its creamy sauce, tender chicken, and crispy crust, it’s sure to become a family favorite. Introduction to Flatbreads What is…
Garlic knots are one of those rare foods that manage to be simple and spectacular at the same time. With just a few basic ingredients, you can create warm, fluffy, herb-buttered bites that disappear from the table almost instantly. Whether you are planning a pizza night, a cozy dinner, or a crowd-pleasing party snack, garlic…