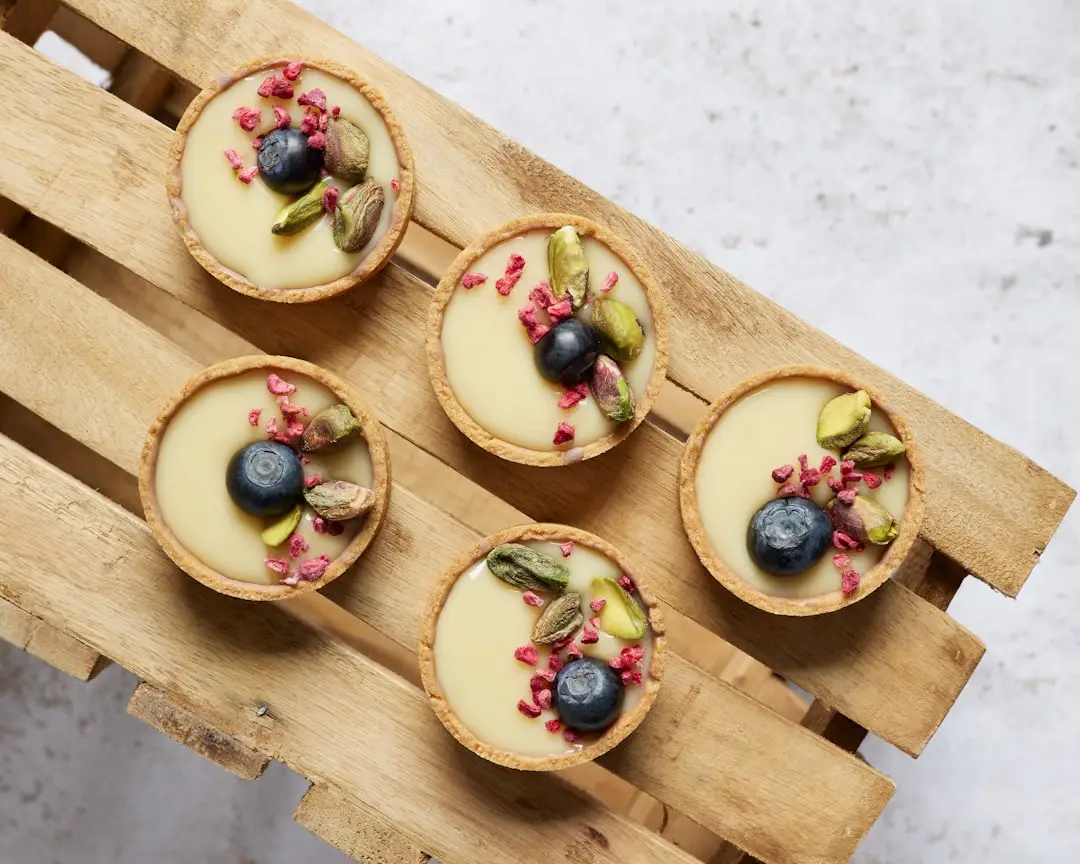
Easy Mini Tarts Recipe in 35 Minutes
Have you ever wondered what makes the perfect Mini Tarts? It takes 15 minutes to prepare and 20 minutes to bake a batch of 12 Mini Tarts. With a few simple ingredients and some easy-to-follow steps, you can create a dessert that’s both crispy and velvety. I still remember my first attempt at baking mini tarts — I skipped the fork-docking step and baked them at too high a temp — produced shells that puffed up in the oven like little doughy pillows with no room for filling, but I learned from my mistakes and now I’m excited to share my foolproof recipe with you. The party was a huge success, and the Mini Tarts were a hit with both kids and adults. Since then, I’ve perfected the recipe, and I’m happy to share it with you today.
Quick Answer: Mini Tarts are small pastries that can be baked in 35 minutes with simple ingredients and easy steps, typically consisting of a crust and various fillings, requiring basic kitchen tools and minimal preparation to produce a batch of sweet or savory treats.
Understanding the Importance of Oven Temperature
Oven Preheat
Preheat your oven to 375°F (190°C). It’s crucial to get the temperature just right, as it affects the texture and consistency of your Mini Tarts. I learned this the hard way when I first started baking – my tarts would often come out too dense or too crispy. Trust me, this step makes all the difference! To ensure accuracy, use an oven thermometer to check the temperature.
The oven temperature is 375°F. It’s all about finding that sweet spot where the crust is crispy, but the filling is still soft and velvety. Don’t skip this step, as it can make or break your Mini Tarts. Remember, a consistent oven temperature is key to achieving the perfect texture.
How to Make Mini Tarts
Step 1: Prepare the Crust
It takes exactly 10 minutes to prepare the crust. In a large bowl, whisk together 1 1/2 cups of all-purpose flour, 1/4 cup of confectioners’ sugar, and 1/4 teaspoon of salt. Add 1/2 cup of cold unsalted butter, cut into small pieces, and use a pastry blender or your fingers to work it into the flour mixture until it resembles coarse crumbs. Don’t overwork the dough, as this can lead to a tough crust. The mixture should look like coarse crumbs with some larger pea-sized pieces of butter remaining.
Step 2: Roll Out the Crust
Roll out the crust to 1/8 inch. This will give you a delicate, flaky crust that’s perfect for Mini Tarts. Remember to keep the crust cold, as this will help it hold its shape when you cut out the tart shells. If the dough becomes too warm, refrigerate it for 10-15 minutes to firm it up before rolling.
Step 3: Cut Out the Tart Shells
use a 3-inch cookie cutter and press each round into a greased mini tart pan or a greased cup of a standard 12-cup muffin tin — the pan walls are what hold the filling in during baking. You should be able to get about 12 shells from the dough. Don’t worry if they’re not all perfectly uniform – this is all part of the charm of homemade treats. Gather the scraps, re-roll the dough, and cut out additional shells if needed.
Step 4: Add Filling and Bake
Spoon 1-2 tablespoons of your chosen filling (such as a simple homemade custard filling made from the heavy cream and egg in the ingredient list — see the detailed Custard Filling Recipe Box right below) into each unbaked tart shell. Dock the bottom of each shell with a fork to prevent puffing, then bake for exactly 20 minutes at 375°F until the crust edges turn lightly golden. The filling should be set and the crust should be crispy.
Creamy Custard Filling Method (Uses Heavy Cream & Egg):
Ingredients: 1/4 cup heavy cream, 1 large egg, 2 tbsp confectioners’ sugar, 1/2 tsp vanilla extract.
- In a small bowl, whisk the egg, confectioners’ sugar, and vanilla extract until smooth and pale.
- Slowly pour in the heavy cream while whisking continuously until fully blended.
- Spoon 1-2 tablespoons into each unbaked tart shell. Bake at 375°F (190°C) for 20 minutes until the custard center is just set.
Step 5: Cool the Mini Tarts
Let the Mini Tarts cool in the pan for 5 minutes before transferring them to a wire rack to cool completely. This will help them set and make them easier to handle. Don’t skip this step, as it can make a big difference in the texture and consistency of your dessert.
Step 6: Serve and Enjoy
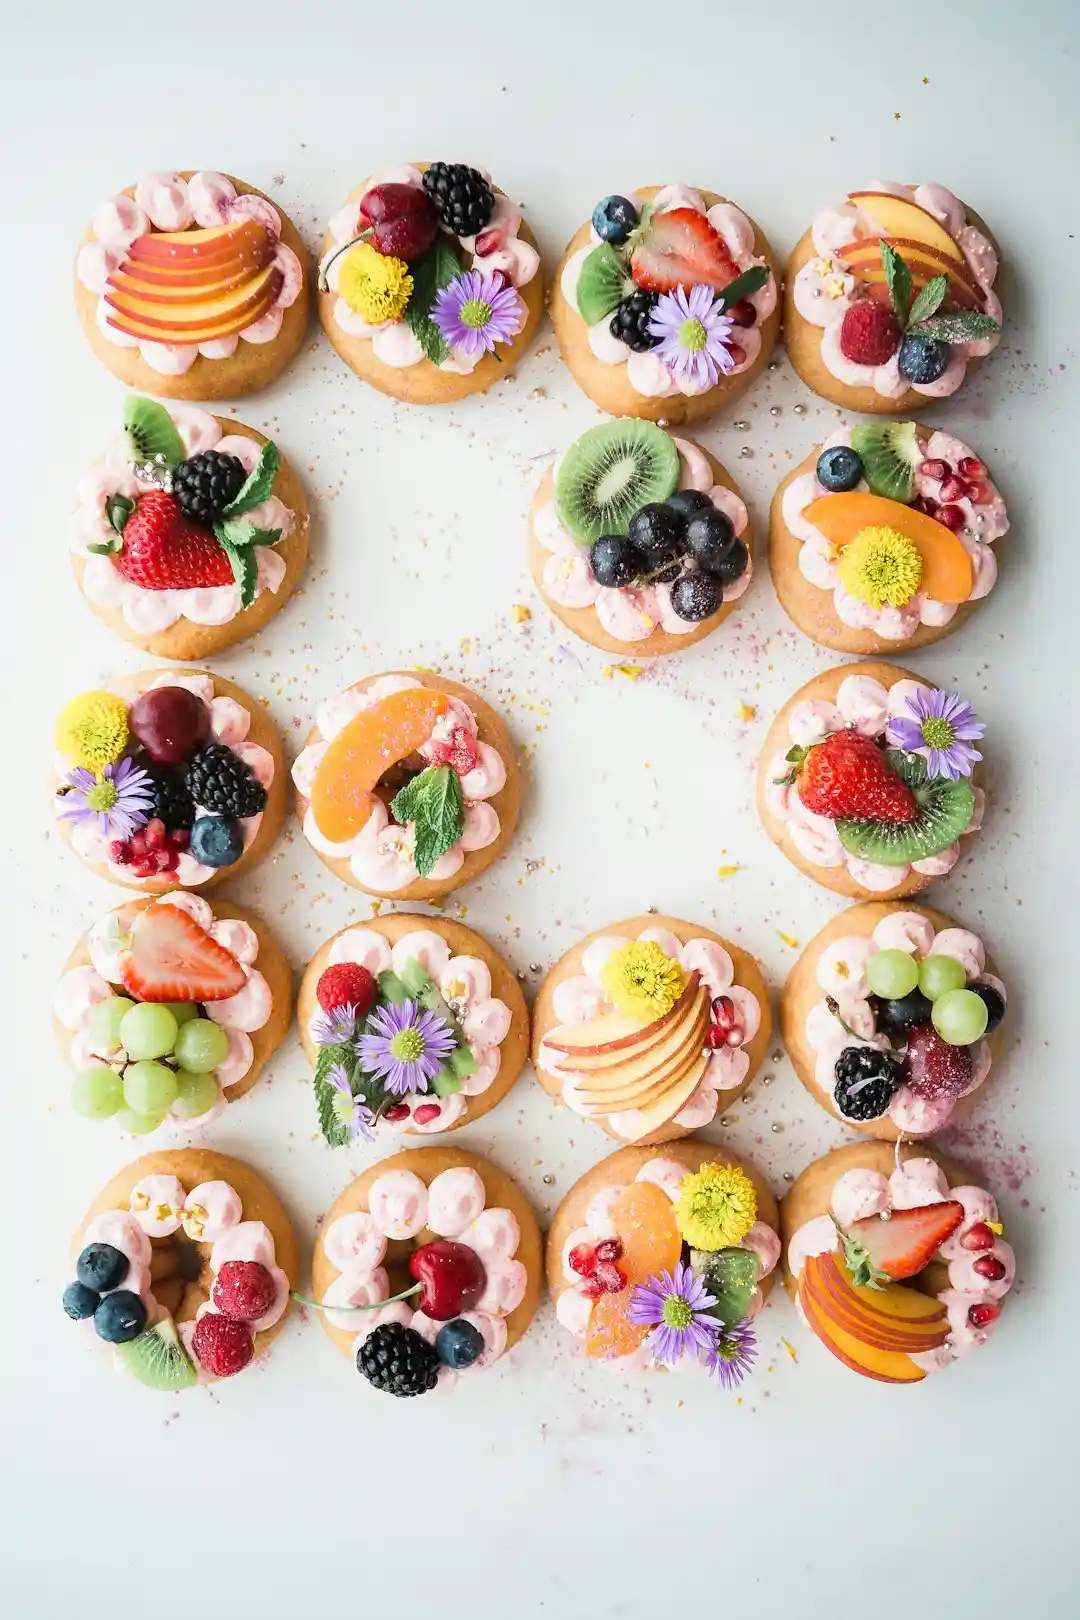
Once the Mini Tarts are completely cool, you can serve and enjoy them. You can dust them with powdered sugar, add a dollop of whipped cream, or serve them with a side of fresh fruit. The possibilities are endless, and it’s up to you to get creative and have fun with it!
Mini Tarts require 7 ingredients. With a little practice, you’ll be baking like a pro in no time. Here’s a pro tip: Use a variety of fillings to keep things interesting – from classic fruit curds to rich chocolate ganaches.
Baking the Mini Tarts
Bake Time and Temperature
Bake for exactly 20 minutes at 375°F (190°C). This will give you a crispy, golden crust that’s perfect for holding your favorite fillings. Don’t open the oven door during the baking time, as this can cause them to sink or not cook evenly.
Bake for 20 minutes. It’s a moment of truth, as you wait to see if they will turn out perfectly golden and delicious. The best part is that you can customize them with a variety of fillings and toppings to suit any taste or occasion.

Cooling and Serving
Cooling Time
Let them cool for exactly 10 minutes before serving. This will help them set and make them easier to handle. Don’t skip this step, as it can make a big difference in the texture and consistency of your dessert.
Cool for 10 minutes. It’s a moment to relax and enjoy the fruits of your labor – literally! One more thing: Consider using a variety of flavors and toppings to keep things interesting – from classic fruit curds to rich chocolate ganaches, and even options like cheese or herbs.
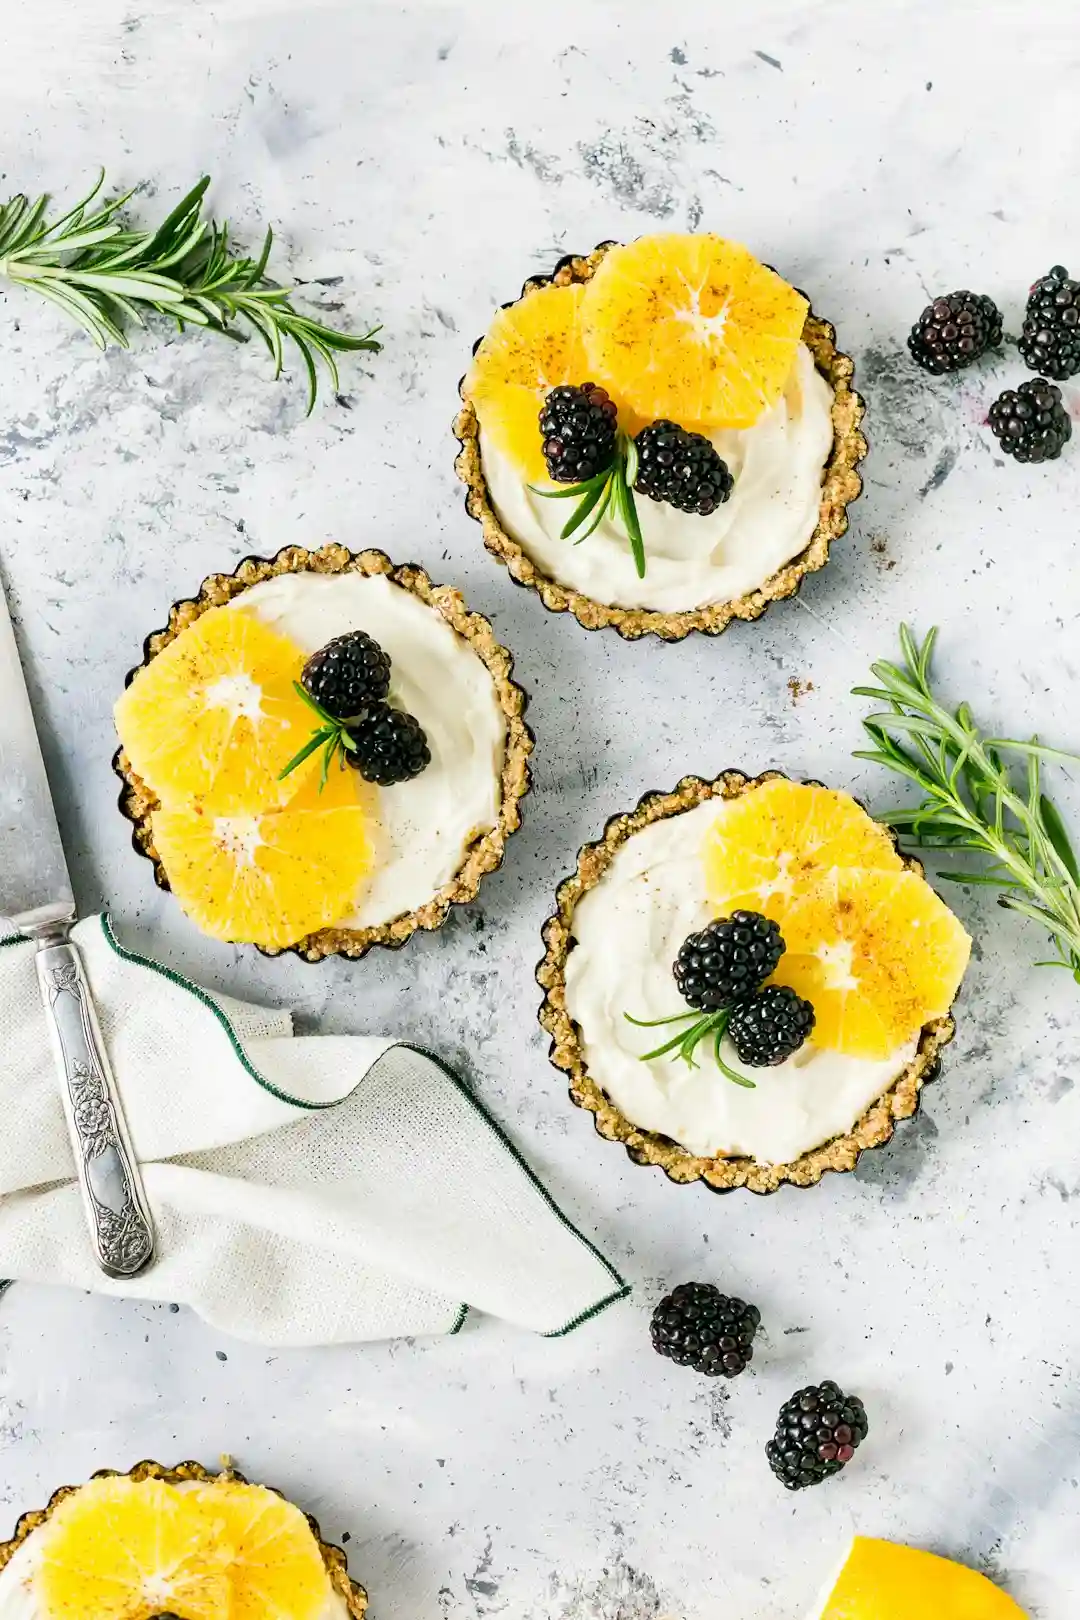
About Zoya
I’m Zoya — a self-taught home baker with 8+ years of recipe testing behind me. I started Bake With Zoya to share the recipes I actually make at home, tested until they work reliably in a regular kitchen oven with ingredients from any grocery store. Every recipe here goes through my kitchen at least three times before it makes it onto this site.
Pro Tip for Crisp Tart Crusts:
Always dock (prick) the bottom of each pastry shell with a fork before filling. If pre-baking empty shells (blind baking), line with parchment paper and fill with pie weights or dried beans to prevent the crust from puffing up or shrinking.
Tips and Variations
Using Different Fillings
Use 3 different fillings. The key is to find a filling that complements the crispy, golden crust. Here’s a secret: Try using a combination of fillings to create a unique and delicious flavor profile.
Don’t be afraid to experiment and try new things – it’s all part of the fun of baking!
Storing and Freezing
Storing the Mini Tarts
Store them at room temperature for up to 3 days. This will help keep them fresh and delicious. Here’s a pro tip: Consider freezing to keep them fresh for longer – simply place them in a single layer on a baking sheet and freeze until solid, then transfer to an airtight container or freezer bag.
Store them for 3 days. It’s a way to keep them fresh and delicious for a longer period of time. Trust me on this one: Freezing is a game-changer – it allows you to enjoy them at any time, without sacrificing flavor or texture.
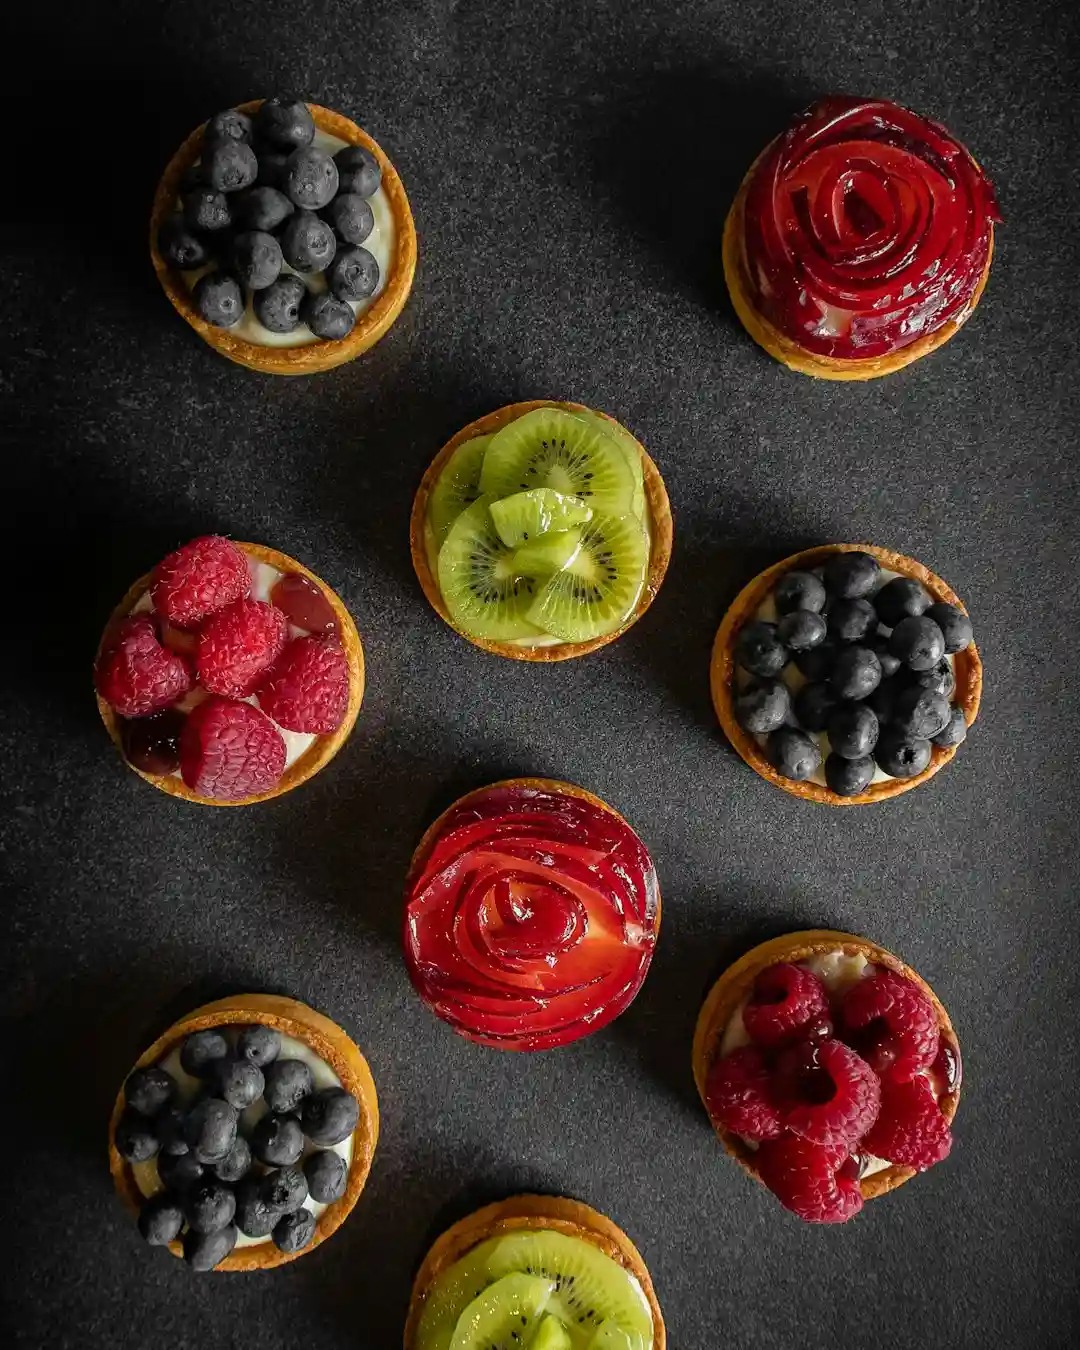
Serving Ideas
Using Mini Tarts as a Dessert
Here’s a secret: Try using a variety of fillings to create a unique and delicious flavor profile.
Don’t be afraid to experiment and try new things – it’s all part of the fun of baking! You can serve them at any time of day – from breakfast to dinner, they’re always a hit. Consider serving them in a variety of vessels, such as a footed dessert dish or a wooden serving board, and pair them with a variety of dippers, such as whipped cream or caramel sauce.
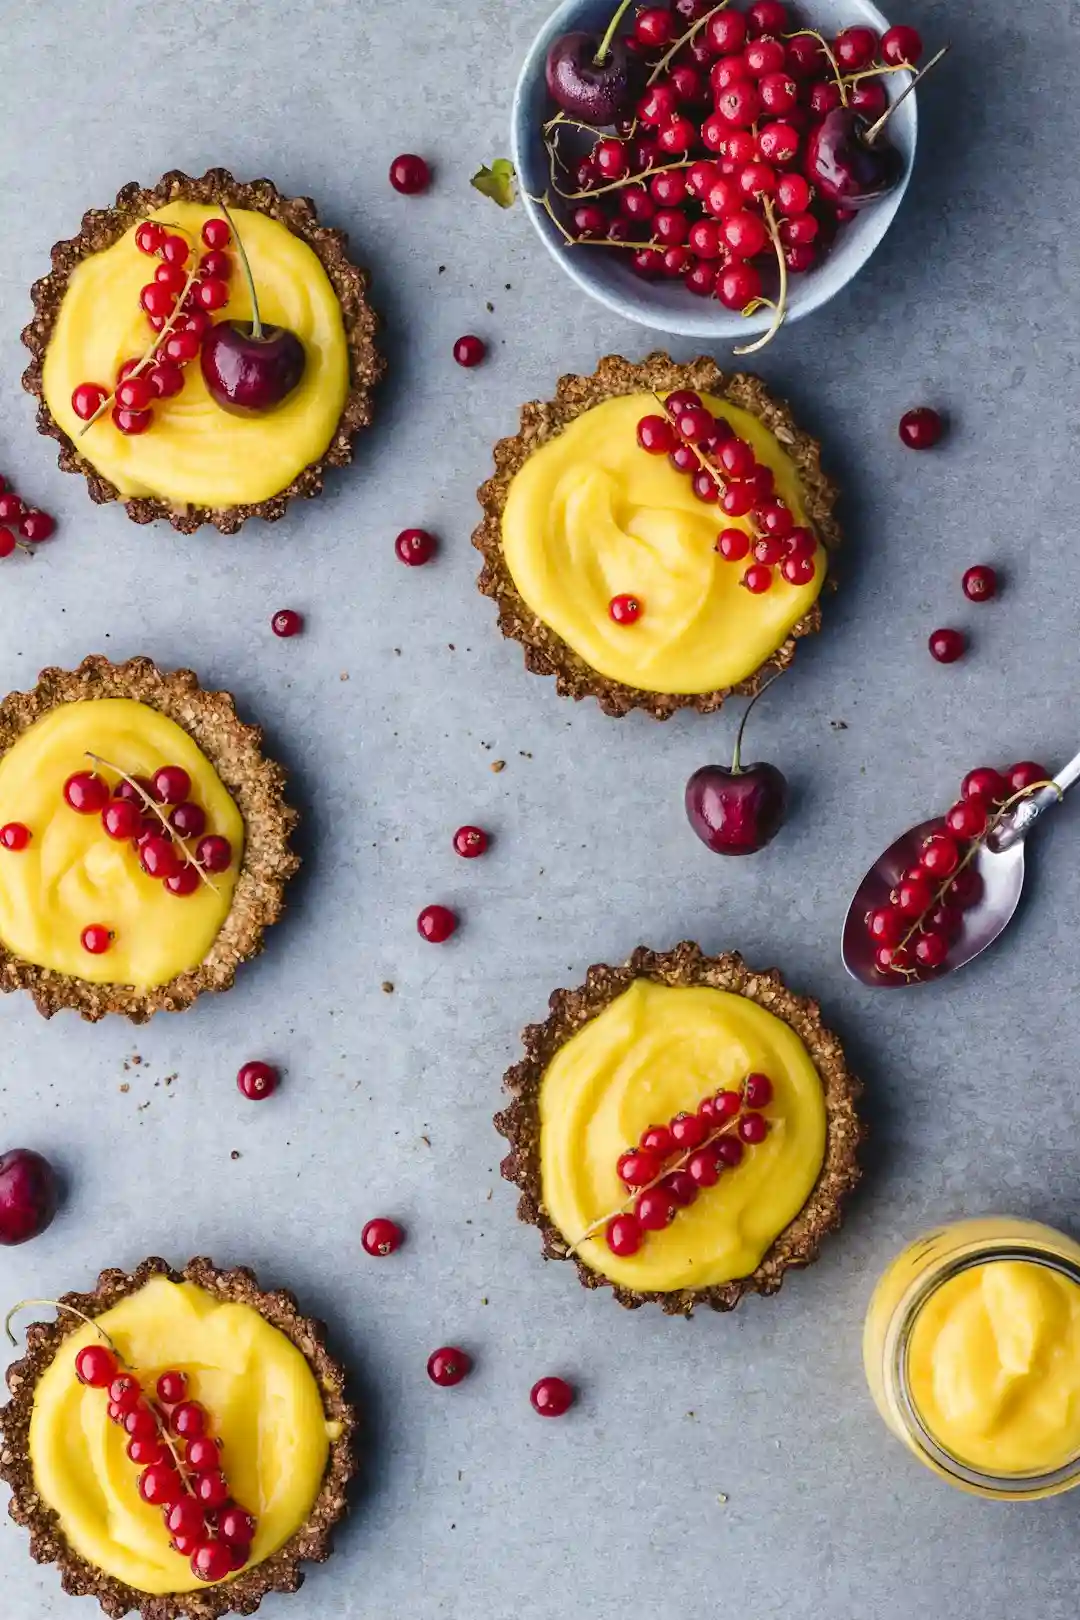
Whether you fill them sweet or savory, mini tarts are endlessly adaptable — and because the shells bake in just 20 minutes, you can have a fresh batch ready in under 35 minutes from start to finish.

Troubleshooting Common Issues
Common Issues
They can sink. This can be caused by a variety of factors, including overmixing the dough or not baking at the right temperature. Here’s a pro tip: Try using a thermometer to ensure that your oven is at the right temperature, and avoid overmixing the dough to prevent them from sinking.
Yes, troubleshoot issues. It’s a way to identify and fix problems that can affect the texture and consistency of your dessert. Troubleshooting common issues is a game-changer – it allows you to identify and fix problems before they become major issues.
Frequently Asked Questions
Final Thoughts
If you enjoyed this recipe, you might also love Unlock the Secret to Best Key Lime Pie Bars and Irresistible Apple Pie Snickerdoodle Cookies Recipe.
Making Mini Tarts is fun. With a little practice, you’ll be baking like a pro in no time. One more thing: Consider using a variety of flavors and toppings to keep things interesting – from classic fruit curds to rich chocolate ganaches.
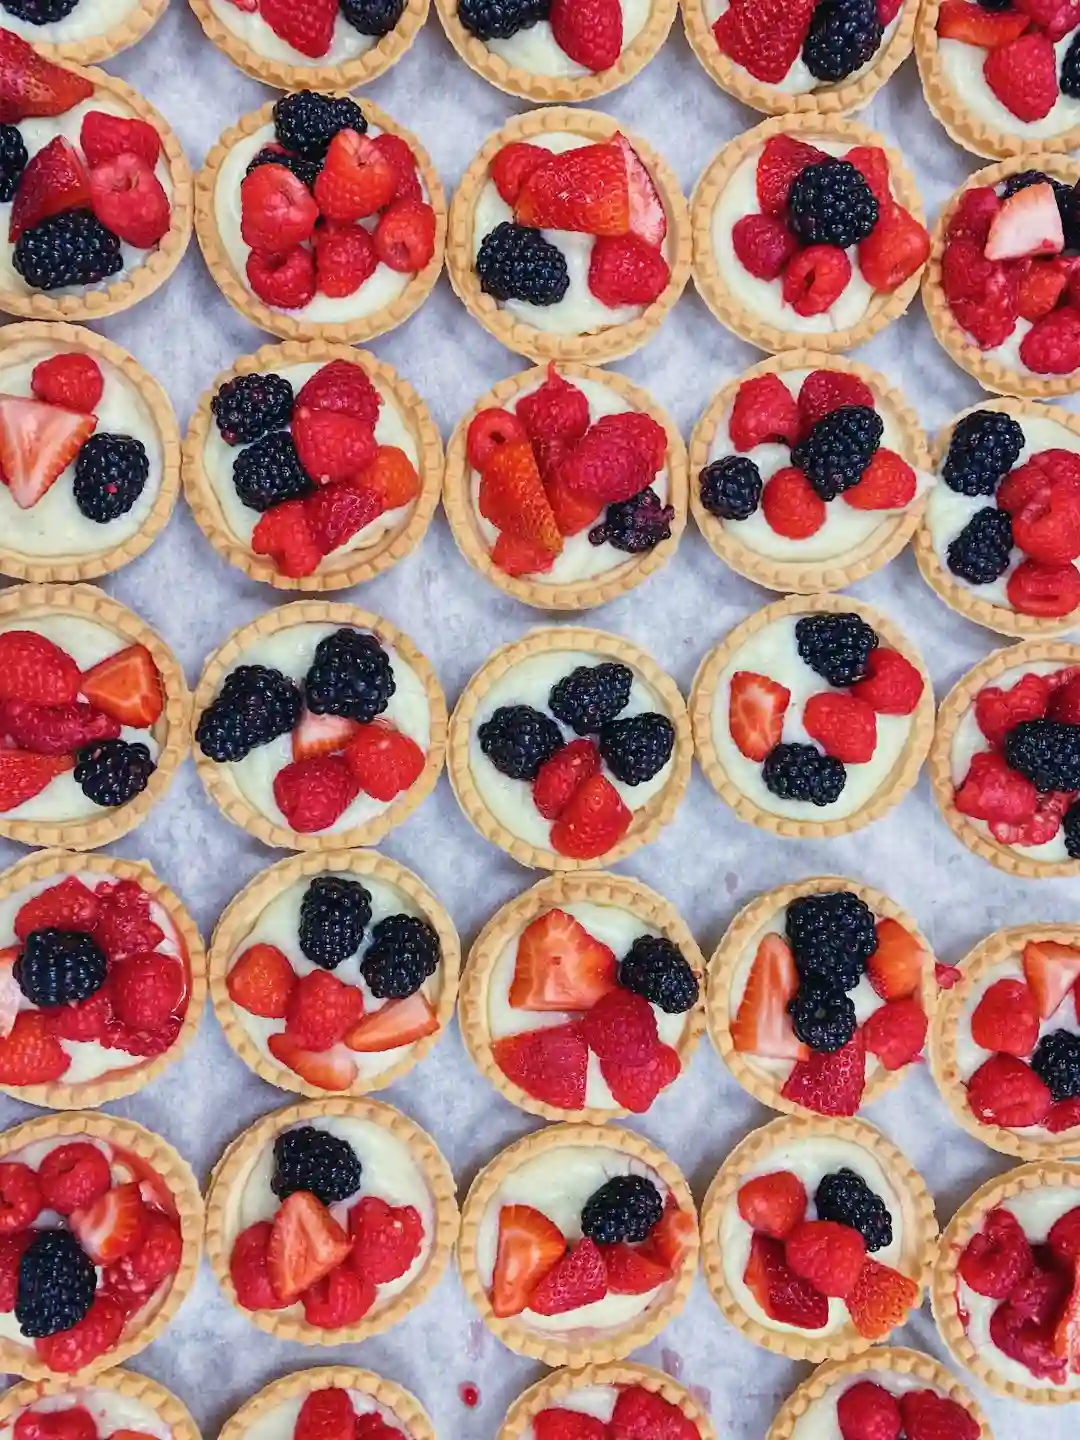
I hope you’ve enjoyed this recipe! Don’t be afraid to experiment and try new things – it’s all part of the fun of baking. Share your experiences and tips in the comments below, and don’t forget to share your favorite creations on social media If you love this, you might also enjoy our Mini Cheesecakes recipe!