Indulge in a Decadent Single-Serve Red Velvet Cake
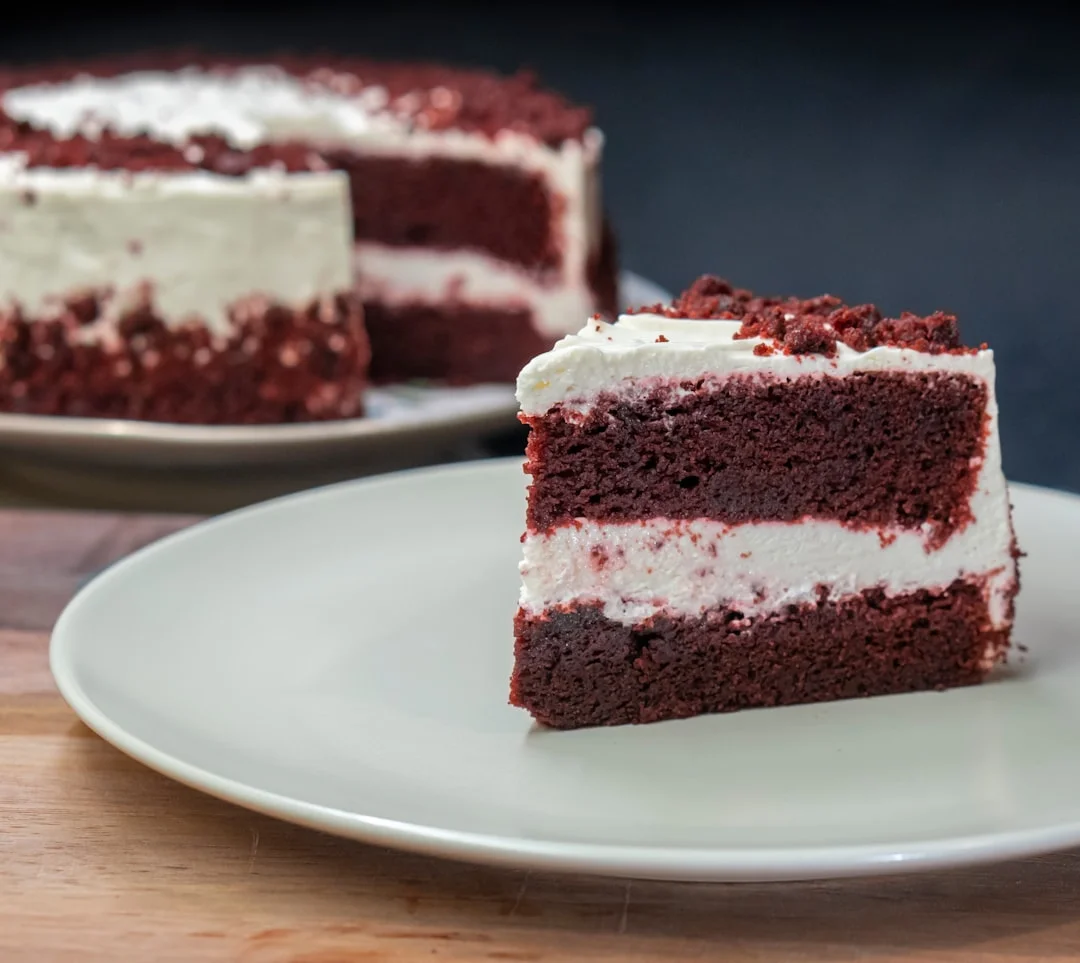
When an intense red velvet craving strikes, baking an entire multi-layer cake is usually out of the question. That is where this ultimate single-serve red velvet cake comes in. Tender, deeply moist, boasting a subtle cocoa tang, and crowned with freshly whipped cream cheese frosting, this personal-sized dessert delivers bakery-level satisfaction in less than 20 minutes without leaving behind days of leftovers.
Quick Answer: To make a single-serve red velvet cake, whisk 1/4 cup flour, 2 tbsp sugar, 1/2 tbsp cocoa powder, and 1/4 tsp baking powder in a ramekin. Stir in 3 tbsp buttermilk, 1 1/2 tbsp melted butter, vanilla, and red food coloring. Bake at 350°F (175°C) for 15 minutes or microwave for 65 seconds, then crown with homemade cream cheese frosting.
Why You Will Love This Single-Serve Red Velvet Cake
Authentic red velvet cake is renowned for its velvety crumb, a delicate texture made possible by the reaction between buttermilk, vinegar, and cocoa powder. In traditional large-batch baking, keeping small measurements proportional can be tricky. This single-serving recipe is meticulously scaled down so you achieve that signature pillowy texture, gentle cocoa warmth, and iconic crimson shade every single time.
Whether you bake it gently in a standard oven inside a ceramic ramekin for a bakery-style dome or zap it in a coffee mug in the microwave when you need immediate comfort, this recipe requires just one bowl and no electric mixer for the batter.

Key Ingredients and Smart Substitutions
Because this cake yields a single portion, every single teaspoon of ingredient matters. Here is what you need for the cake and frosting:
- All-Purpose Flour: 1/4 cup measured correctly with the spoon-and-level technique provides the perfect structural base.
- Granulated Sugar: 2 tablespoons sweetens the batter without overpowering the subtle cocoa flavor.
- Unsweetened Cocoa Powder: Exactly 1/2 tablespoon gives the classic red velvet mild chocolate flavor. Avoid Dutch-processed cocoa if possible, as natural cocoa reacts better with the acidic leavening.
- Baking Powder: 1/4 teaspoon gives the mini cake its fluffy, springy lift.
- Buttermilk: 3 tablespoons adds moisture and acidity. If you do not have buttermilk, mix 3 tablespoons of milk with 1/4 teaspoon of white vinegar and let it stand for 5 minutes.
- Melted Butter: 1 1/2 tablespoons melted unsalted butter provides richer flavor than vegetable oil, though neutral oil can be substituted for an ultra-soft texture.
- Pure Vanilla Extract & Salt: Enhances the chocolate and cream notes.
- Red Food Coloring: Liquid or gel red coloring provides that gorgeous crimson presentation.
- Cream Cheese Frosting: 2 tablespoons softened cream cheese, 1 tablespoon softened butter, and 3 tablespoons powdered sugar beaten until silky smooth.
Step-by-Step Baking Instructions
Step 1: Whisk the Dry Ingredients
Lightly grease a 6-ounce oven-safe ramekin or standard ceramic mug with butter or cooking spray. In a small bowl (or directly inside the ramekin), whisk together 1/4 cup flour, 2 tablespoons sugar, 1/2 tablespoon cocoa powder, 1/4 teaspoon baking powder, and a tiny pinch of salt until thoroughly combined and free of lumps.
Step 2: Add the Liquids and Blend
Pour in 3 tablespoons buttermilk, 1 1/2 tablespoons melted butter, 1/4 teaspoon vanilla extract, and 1/4 to 1/2 teaspoon of red food coloring. Stir gently with a small whisk or fork until you have a smooth, glossy red batter. Take care not to overmix; stop as soon as no dry flour pockets remain.
Step 3: Bake in Oven or Microwave
Oven Method (Recommended for best texture): Preheat your oven to 350°F (175°C). Place the ramekin on a small baking sheet and bake for 14 to 16 minutes until a toothpick inserted into the center emerges clean and the edges pull slightly away from the ramekin.
Microwave Method (Fastest): Place your mug or microwave-safe ramekin in the center of the microwave. Cook on high power for 60 to 75 seconds. The center should feel spongy and just set to the touch. Do not overcook, or the cake will turn rubbery.
Step 4: Whip the Cream Cheese Frosting
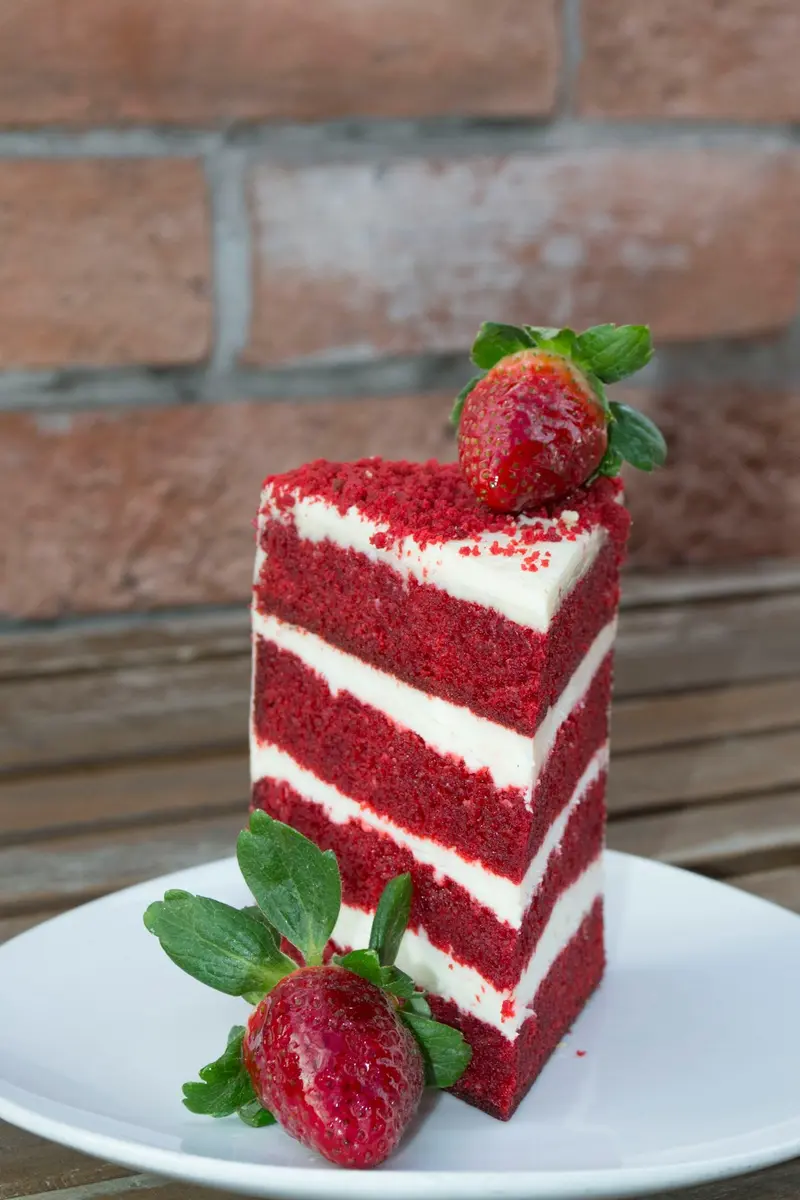
While the cake cools for 5 to 10 minutes, prepare the frosting. In a small dish, vigorously beat 2 tablespoons of room-temperature cream cheese and 1 tablespoon of softened butter with a fork until creamy. Stir in 3 tablespoons of powdered sugar and a drop of vanilla extract until completely smooth and spreadable. Swirl the frosting generously over the warm cake.
Baker Pro Tips for Single-Serve Success
Making a mug or ramekin cake foolproof comes down to three essential rules:
- Do Not Pack the Flour: When measuring 1/4 cup flour, fluff it with a spoon first, then level it off. Excess flour turns small cakes dry and dense.
- Let It Rest Before Frosting: If you pipe frosting onto a piping hot cake straight out of the oven or microwave, the cream cheese will melt into liquid. Let the ramekin sit for 8-10 minutes so it is pleasantly warm, not boiling.
- Customize with Chocolate Chips: Drop a tablespoon of white chocolate chips or mini dark chocolate chips into the batter before baking for a molten chocolate center!
Craving more personal desserts? Check out our delicious Single-Serve Chocolate Chip Cookies recipe for warm, bakery-style cookies made in minutes!
Recipe Checklist
- 1/4 cup all-purpose flour (spooned & leveled)
- 2 tablespoons granulated sugar
- 1/2 tablespoon unsweetened natural cocoa powder
- 1/4 teaspoon baking powder & pinch of fine salt
- 3 tablespoons buttermilk (or milk + vinegar substitute)
- 1 1/2 tablespoons unsalted butter, melted
- 1/4 teaspoon vanilla extract & 1/4 tsp red food coloring
- Frosting: 2 tbsp cream cheese, 1 tbsp butter, 3 tbsp powdered sugar
Frequently Asked Questions
Final Thoughts
Baking a single-serve red velvet cake is the ultimate cozy baking project. You get the indulgence of a bakery-style red velvet crumb and luscious cream cheese frosting in just minutes, with virtually zero cleanup. Give this recipe a spin the next time you need a sweet personal treat, and let me know in the comments how yours turned out!
About Zoya
Zoya is a self-taught home baker with over 8 years of experience baking cakes, no-bake desserts, dips, and traditional Pakistani sweets for family and friends. She has tested every recipe on this blog multiple times in her own home kitchen, focusing on approachable techniques, reliable measurements, and crowd-pleasing results.